


Clean Your Air Fryer the Smart Way: No More Grease, Smoke, or Funky Smells
Difficulty: Novice
Time: 5-15 minutes daily, 30-45 minutes for deep clean
Cost: Under $5 for supplies
Why You'll Like This
That crispy chicken you just made was perfect—but now you're staring at a greasy, crumb-filled air fryer wondering how to tackle the mess. Your air fryer works harder than most kitchen gadgets, circulating hot air to create that perfect crispiness, which means that powerful airflow spreads oil particles and food debris to every interior surface. Food residue and oil splatters build up fast, and ignoring them leads to smoke, funky smells, and even potential safety hazards. This guide shows you exactly how to keep your air fryer spotless with minimal effort and maximum results—turning those few minutes of daily care into hours saved scrubbing later.
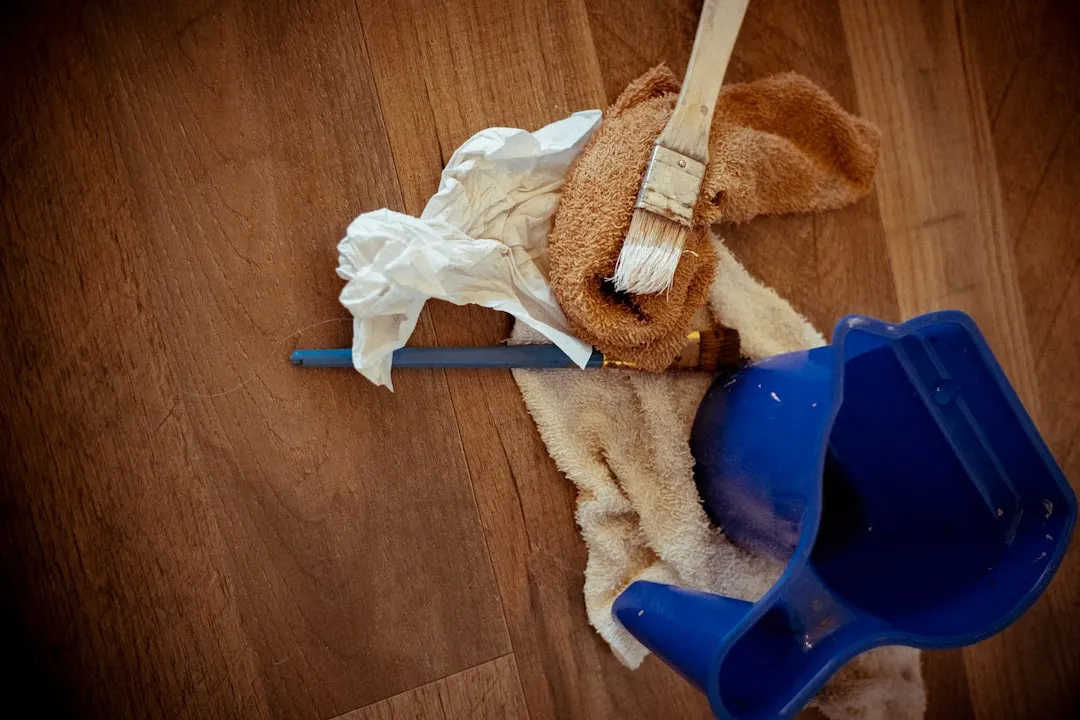
What You'll Need
Materials
- Warm water
- Mild dish soap
- Baking soda (for tough spots)
- White vinegar (optional, for odors)
- 1 dishwasher tablet (for deep cleaning hack)
Tools
- Soft sponge or microfiber cloth
- Non-abrasive brush or old toothbrush
- Paper towels
- Clean dish towels for drying
Safety First
- Always unplug and cool completely before cleaning—heating elements stay hot longer than you'd think
- Never submerge the main unit in water or run it with soapy water inside (despite viral TikTok videos)
- Skip harsh abrasives like steel wool or scouring powders that damage non-stick coatings
- Avoid metal utensils when scraping—use plastic scrapers or your fingernails instead
Steps
Daily Quick Clean (5 minutes)
-
Unplug and let cool completely. This takes about 15-20 minutes after cooking.
-
Remove and shake out the basket. Dump loose crumbs and wipe surfaces gently. Fresh residue hasn't had time to polymerize and oxidize into stubborn buildup.
-
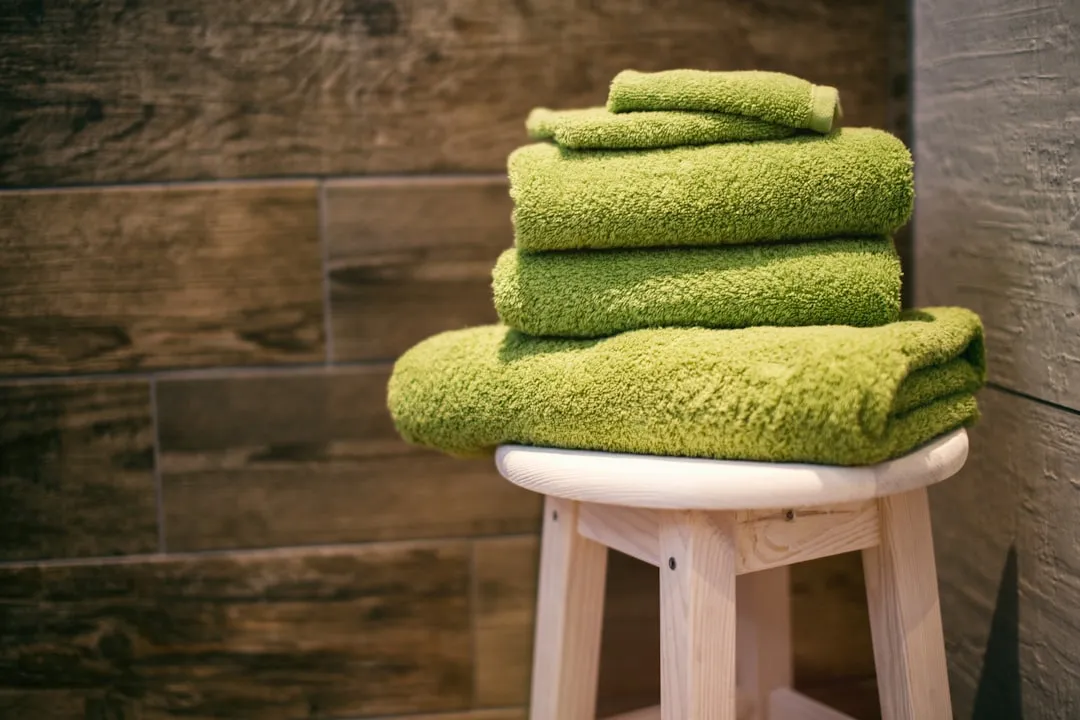
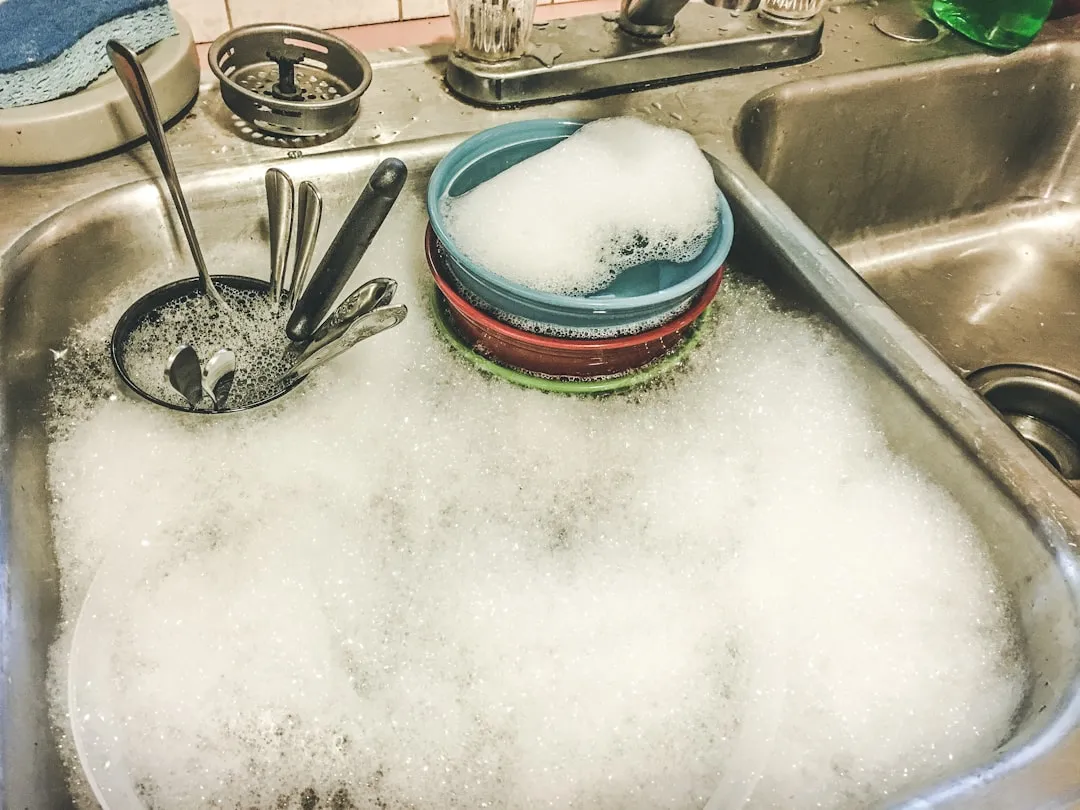
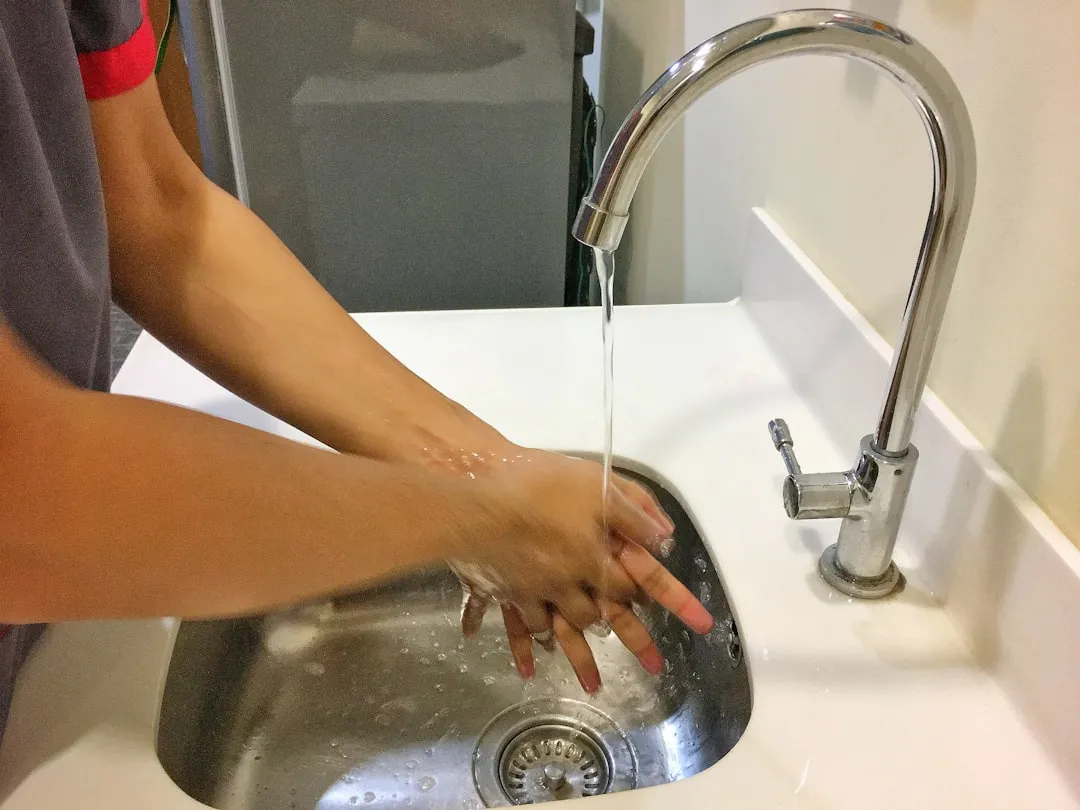
Wash removable parts with warm soapy water. A soft sponge and gentle dish soap work perfectly for daily maintenance.
- Tip: This quick routine prevents residue from hardening into the tough, dark grime that requires aggressive scrubbing.
-
Wipe the interior chamber. Use a damp microfiber cloth to remove grease splatters. Microfiber's split fibers trap grease particles more effectively than regular cloth.
-
Dry thoroughly before reassembling. This prevents water spots and eliminates the moisture that can harbor bacteria growth.
Weekly Deep Clean (30-45 minutes)
-
Soak stubborn parts. Place the basket, tray, and pan in hot soapy water for 15-20 minutes. Extended soaking time allows hot water to penetrate and soften the weekly accumulation of polymerized oils that daily cleaning missed.
-
Try the dishwasher tablet trick for tough buildup. Drop a tablet in hot water with your basket and let it fizz for 15 minutes. The enzymes in dishwasher tablets are specifically designed to break down proteins and lipids that regular dish soap can't tackle.
-
Attack burnt spots with baking soda paste. Mix baking soda with water, spread on burnt areas, let sit 15-20 minutes, then scrub gently. Baking soda's mild alkalinity neutralizes acidic food residues while its gentle abrasive action lifts carbonized buildup.
-
Clean the heating element carefully. Turn your air fryer upside down and gently clean with a soft brush or damp cloth—never spray directly. The heating element collects the finest grease particles that daily cleaning can't reach.
- Safety note: Make sure it's completely cool and unplugged first.
Why it works: Regular deep cleaning prevents grease buildup that can interfere with proper air circulation. Clean heating elements transfer heat more efficiently, while unobstructed airflow ensures even crisping and prevents hot spots.
Cleanup & Disposal
- Store leftover dish soap and baking soda in their original containers
- Empty grease into a small container and refrigerate until full, then dispose in trash—never pour down the drain
- Rinse and air-dry cleaning cloths before storing
Troubleshooting
Problem: Lingering odors even after cleaning → Fix: Slice a lemon and run your air fryer at low heat for 5 minutes, then wipe clean, or leave baking soda overnight with unit unplugged. This would have been prevented by daily interior wiping after step 4.
Problem: Smoking during cooking → Fix: Check for grease buildup on heating element or food debris in the tray—clean immediately. This indicates you need to escalate from daily to deep cleaning more frequently.
Problem: Stubborn burnt-on food → Fix: Soak longer, use dishwasher tablet method, or make a stronger baking soda paste. This typically means daily cleaning wasn't removing fresh residue effectively.
Variations & Upgrades
- Prevention hack: Use perforated parchment liners or reusable silicone mats to catch drips and crumbs before they hit the basket
- Time-saver: Many baskets are dishwasher-safe (top rack only to protect coating), but handwashing preserves non-stick surfaces longer
- Heavy-use schedule: Monthly deep cleaning for daily users, weekly for occasional users
FAQ
Can I put my air fryer parts in the dishwasher? Many are dishwasher-safe, but constant dishwasher exposure may degrade non-stick coatings over time. Use top rack only and check your manual.
What about that viral TikTok cleaning hack? Never put water in your air fryer and turn it on—it's dangerous and can damage the electrical components. The daily cleaning method above is safer and just as effective.
When should I replace parts? Consider replacing when you notice chipped non-stick coating, warped components, or persistent odors that won't go away. These issues typically develop when cleaning isn't consistent enough to prevent deep buildup.
A clean air fryer isn't just about appearances—it's about getting the best performance from your investment. With consistent care, most air fryers can last up to five years or more. In my experience, the few minutes you spend cleaning after each use save you from dealing with stubborn buildup and keep your favorite kitchen gadget working perfectly. Your air fryer—and your taste buds—will thank you for the extra care.


Comments
Be the first, drop a comment!