


Deep-Clean Your Child's Car Seat Safely Without Ruining It
Difficulty: Moderate
Time: 90 minutes
Cost: ~$8
Why You'll Like This
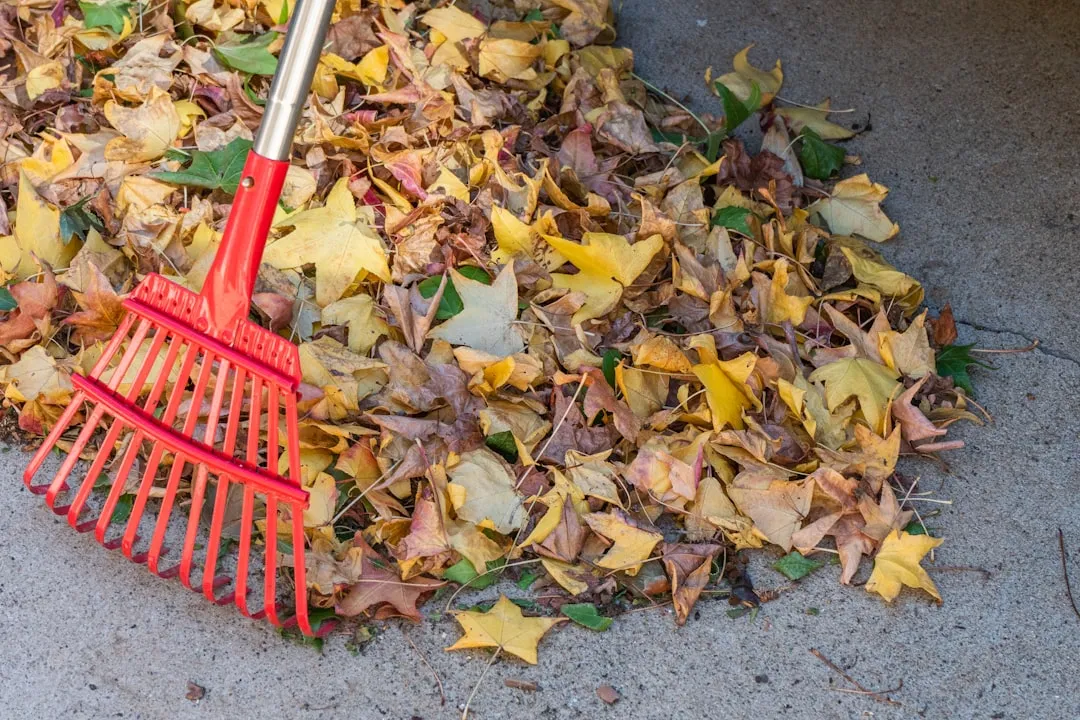
Got a car seat that looks like it survived a food fight? You are not alone, and cleaning it properly matters more than you might think. Research shows that a harness is the only thing between your child and physics in a car crash, so the wrong cleaning approach can literally compromise safety. Plus, scientists found that child car seats have twice as many dangerous germs as an average toilet.
This guide shows you exactly how to deep-clean your seat without damaging the parts that protect your child. You will tackle those stubborn sticky spots and the goldfish cracker graveyard, and you will keep every safety feature intact.
What You'll Need
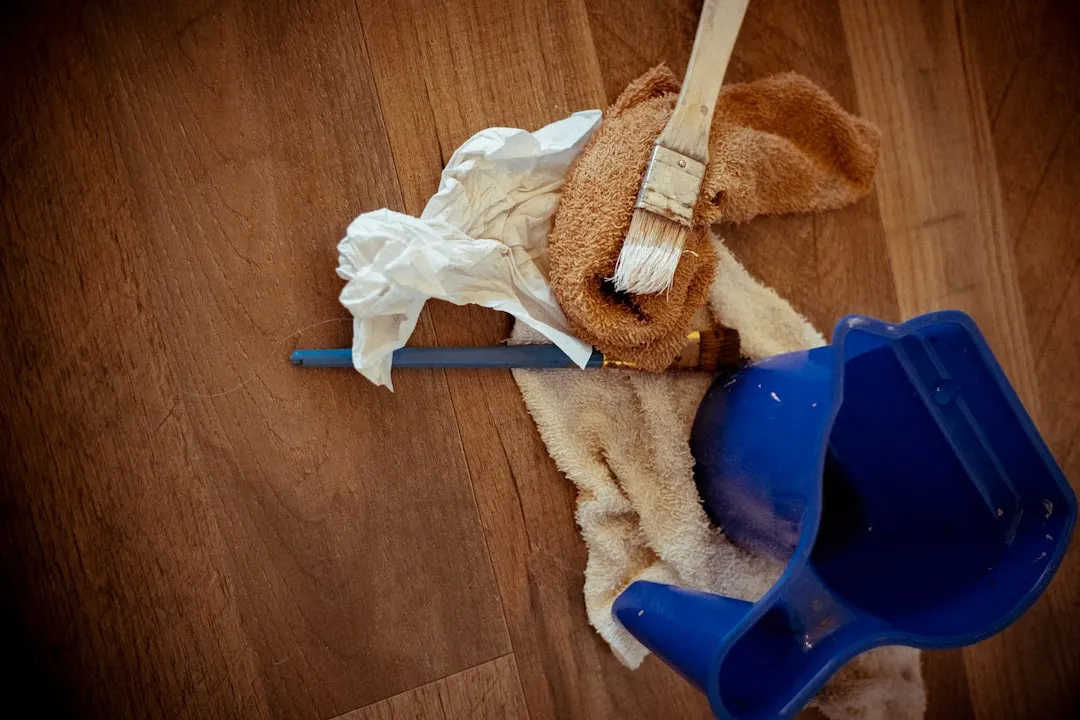
Materials
- Mild soap or gentle detergent
- Warm water
- Clean microfiber cloths (3-4)
- Soft-bristled brush (old toothbrush works)
Tools
- Vacuum cleaner with crevice tool attachment
- Small bowl for soap mixture
- Clean towels for drying
- Your car seat's manual (crucial!)
Safety First
- Check your manufacturer's manual before starting, cleaning rules vary drastically by brand
- Work in a well-ventilated area away from the vehicle
- Never machine wash harness straps (can weaken life-saving fibers)
- Never use pressure washers, hoses, bleach, or ammonia-based cleaners
- Test any cleaning solution on an inconspicuous area first
- Keep all water away from buckle mechanisms
Steps
-
Locate your car seat manual and check the specific cleaning instructions before you start. Some manufacturers only allow spot cleaning, while others permit machine washing, ignoring these rules can compromise safety features.
-
Remove the car seat completely from your vehicle. Full access makes cleaning faster and prevents water from dripping into your upholstery.
-
Photograph the setup before disassembly. Trust me, you will want reference photos when it is time to put everything back together correctly.
-
Vacuum thoroughly using the crevice tool to pull out crumbs, sand, and dirt from under covers, around buckles, and along seams. Use a vacuum with crevice tool to reach those impossible corners where snacks go to fossilize.
-
Check if your seat cover is removable. Most seat covers are removable and machine washable, but verify with your manual first. Look for snaps, velcro, or elastic anchors.
-
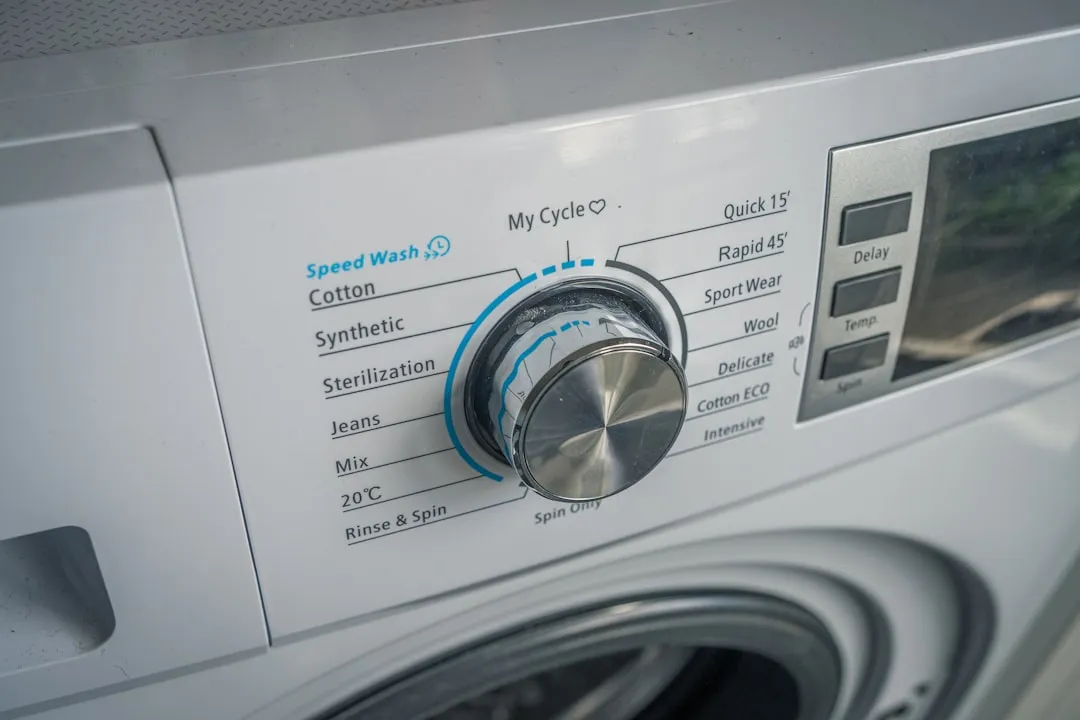
For machine-washable covers: Remove according to the manual and use gentle cycle with cold water. Close all harness covers to prevent snagging. Never use fabric softener, it reduces flame retardant effectiveness.
Tip: Britax's SafeWash fabric is one of the few that can handle machine drying, but most require air-drying only.
-
For spot-cleaning only covers: Mix warm water with a few drops of mild soap. Dip your microfiber cloth, wring it out well, and clean in small sections. Keep moisture light so you do not soak the padding.
-
Clean harness straps carefully. Use a damp cloth with mild soap for spot cleaning only. Machine washing can harm tensile strength of the webbing and make it unsafe.
-
Clean buckles with water only. Rinse under warm running water without soap or detergents, residue can impair buckle function. Let them air-dry completely.
-
Allow everything to air-dry completely before reassembly. Avoid direct heat sources like hair dryers or sun-drying, plastic components can warp.
Critical Post-Cleaning Inspection
Before putting the seat back in service, look it over with fresh eyes:
- Check strap condition: Harness webbing should be supple and flexible, a rough or rigid feel suggests weakened fibers
- Look for damage: Watch for fraying, discoloration, or worn areas where the material looks thin, especially at stress points
- Test the fit: A cover that is too tight or loose can affect harness positioning and buckle function
- Verify reassembly: Follow your manual step-by-step when putting everything back together
If your seat shows any of these issues, contact the manufacturer before using it again.
Cleanup & Disposal
- Store leftover mild soap solution in a labeled container for future cleaning
- Rinse and air-dry microfiber cloths for reuse
- Dispose of heavily soiled cloths in regular trash
- Clean vacuum attachments before storing
Troubleshooting
Problem: Cover shrunk after washing → Fix: You likely used hot water or heat drying; contact manufacturer for replacement if needed
Problem: Buckle will not click properly after cleaning → Fix: Rinse again with just warm water to remove soap residue interfering with the mechanism
Problem: Straps feel stiff after cleaning → Fix: Stop using the seat immediately and contact the manufacturer, stiff straps can indicate compromised safety
Variations & Upgrades
- Weekly maintenance: Vacuum and a quick damp-cloth wipe keeps messes from becoming projects
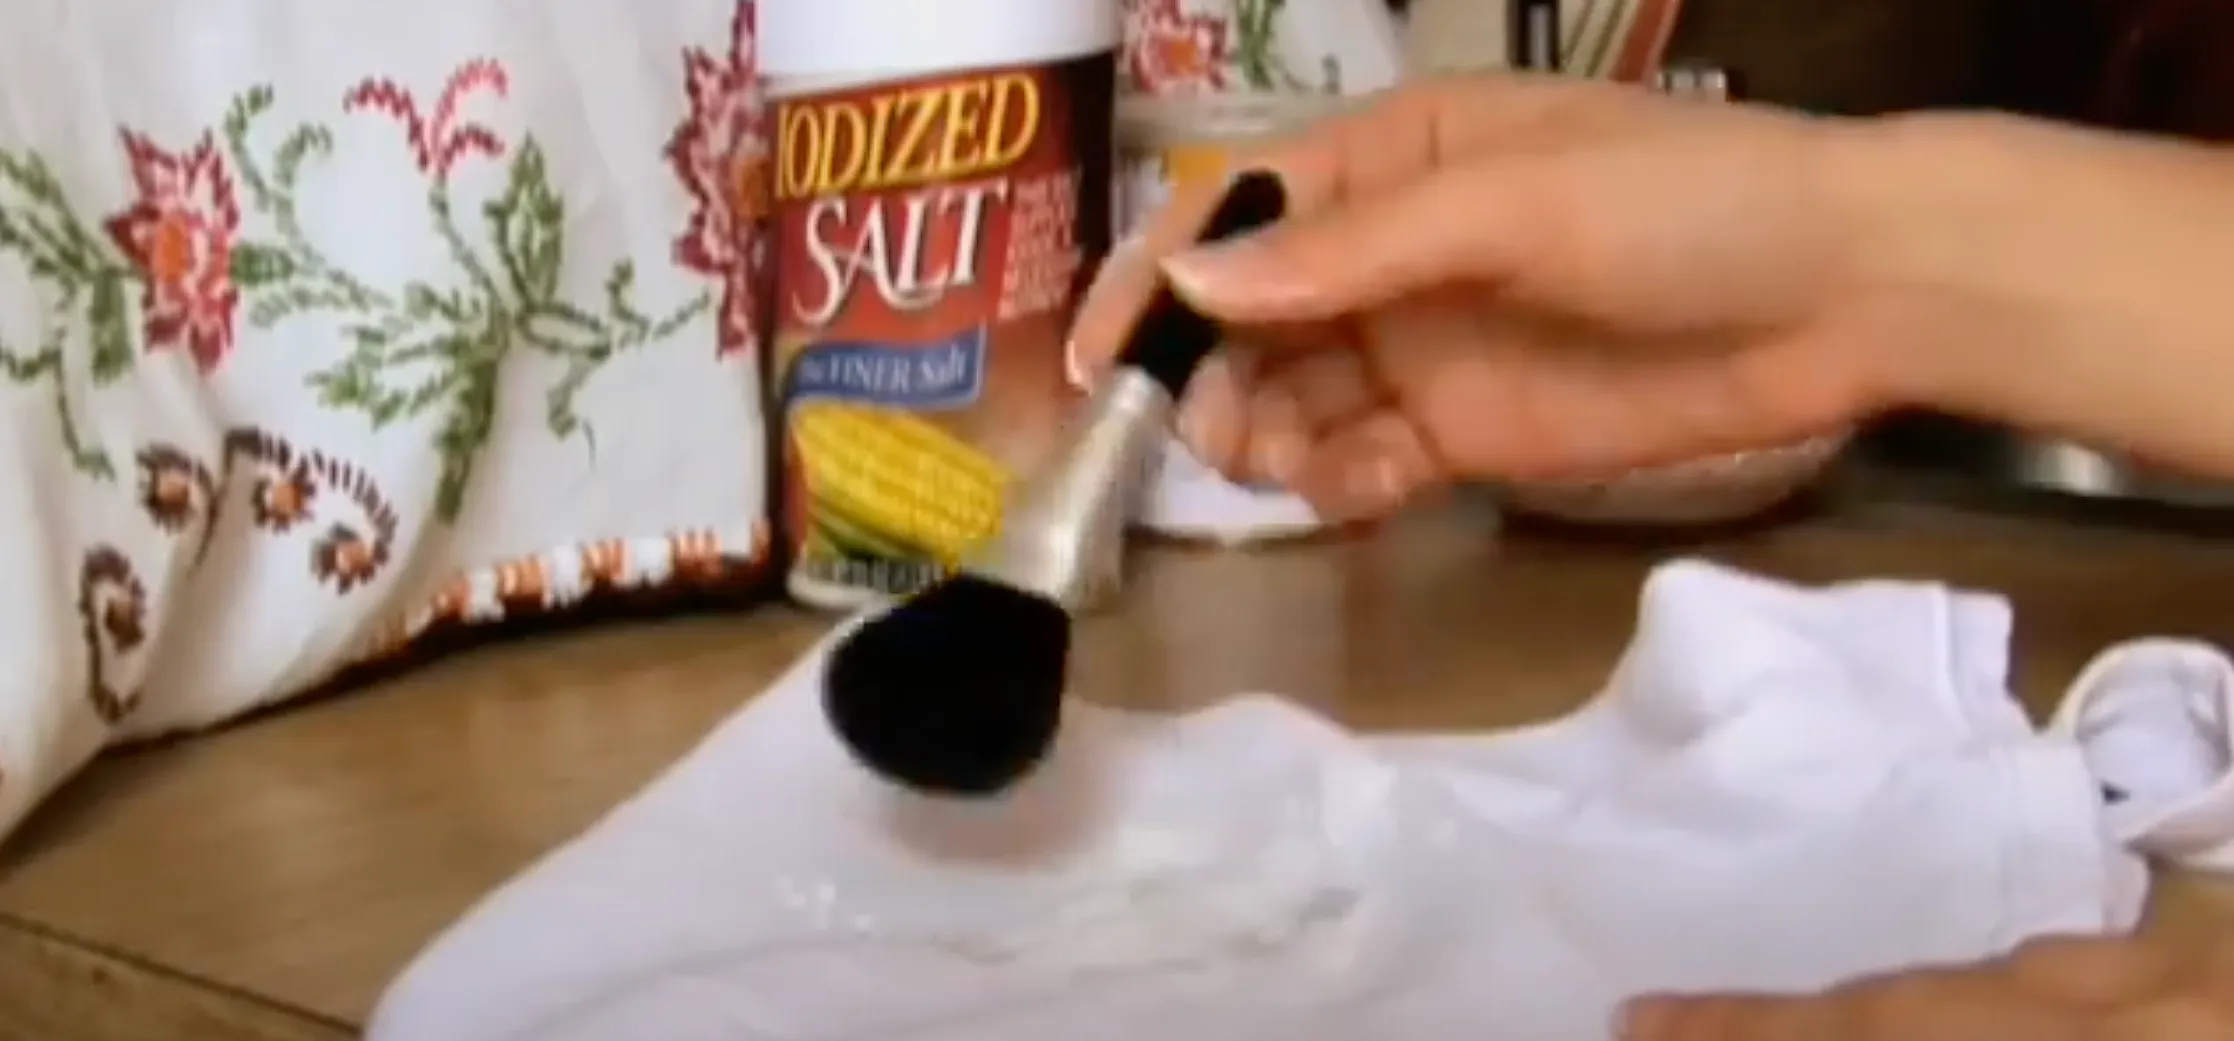
- Odor elimination: Sprinkle baking soda on fabric, let sit 15 minutes, vacuum before cleaning
- Prevention strategy: Consider manufacturer-approved car seat protectors for easier maintenance
Why This Matters More Than You Think
Here is what many parents do not realize: car seats are precision-engineered safety devices, not just another piece of gear you can scrub like a high chair. Every component, from flame-retardant fabrics to harness tensile strength, was designed to protect your child in very specific ways.
Regular maintenance is recommended weekly through vacuuming and wiping, with thorough deep cleaning every two weeks. It sounds demanding at first, but once you build the routine it becomes second nature, and it is a lot easier than chiseling off fossilized applesauce later.
The bottom line: a properly cleaned car seat protects your child from both germs and crashes. Just clean it the right way. Those harness fibers need to stay strong, and that buckle needs to click decisively every single time.


Comments
Be the first, drop a comment!