


Keep Your Dutch Oven Spotless: Pro Cleaning Techniques That Actually Work
Your Dutch oven is truly a kitchen workhorse, but proper cleaning is what transforms it from just another pot into your go-to cooking companion for decades to come. Most kitchen messes can be handled with basic dish soap and a regular sponge, as Good Housekeeping experts confirm, followed by thorough drying. The secret lies in understanding what type of Dutch oven you're working with and matching your cleaning approach accordingly. Professional testing shows that the right technique can make even the most stubborn messes disappear without damaging your precious cookware.
Difficulty: Novice
Time: 15-45 minutes
Cost: Under $5
What You'll Need
Materials
- Dish soap (any gentle formula)
- Baking soda (2-3 tablespoons)
- White vinegar (1-2 cups)
- Bar Keeper's Friend or similar powder cleanser (for tough stains)
- Household bleach (3 tablespoons per quart of water for enamel stains)
- Neutral cooking oil (for cast iron seasoning)
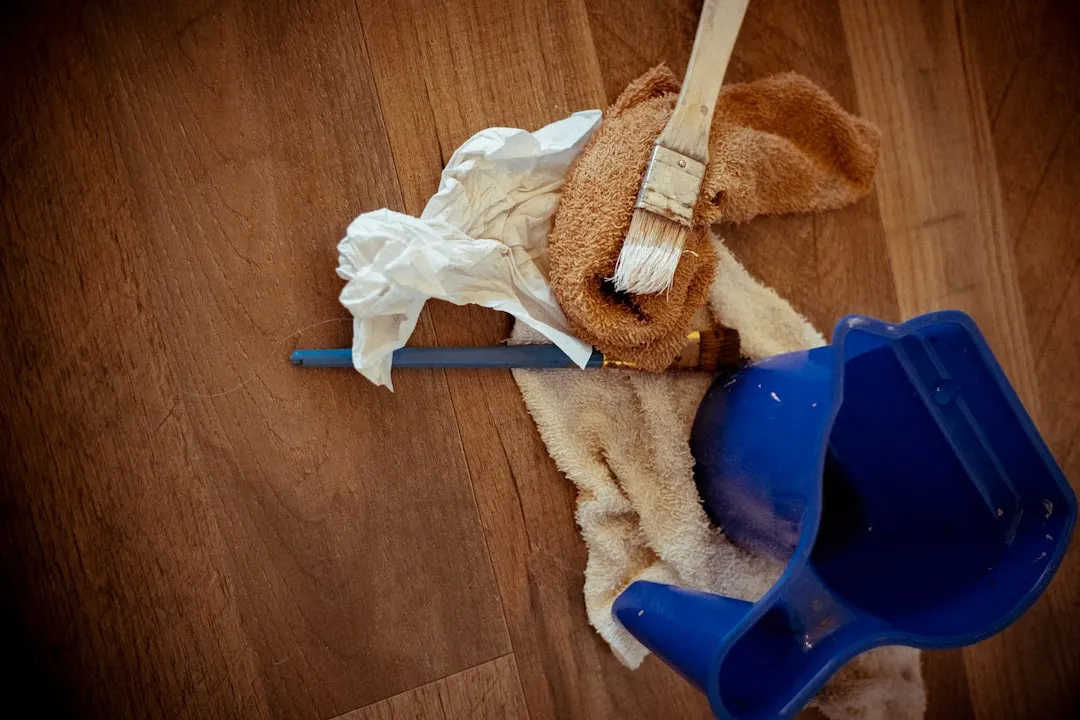
Tools
- Soft sponge or nylon scrubbing pad
- Wooden spatula or plastic scraper
- Dish towel (for thorough drying)
- Non-abrasive cloth or microfiber towel
Safety First
- Always let your Dutch oven cool completely before cleaning to prevent thermal shock
- Never use steel wool or abrasive cleaners on enameled surfaces - they cause permanent scratching
- When using bleach solutions, ensure good ventilation and avoid mixing with other cleaners
- For cast iron, dry immediately after washing to prevent rust formation
Know your Dutch oven type first
Before you dive into cleaning, take a moment to identify what you're working with. This isn't just kitchen trivia - it actually determines your entire cleaning approach.
Cast iron Dutch ovens are the tough guys of the cookware world. They can handle serious heat and last forever, but they do need extra care. Good Housekeeping notes that these are prone to rust, which means you'll want to dry them immediately after washing and maintain their seasoning layer - think of it as the natural non-stick coating that develops over time.
Enameled cast iron versions are more user-friendly. Le Creuset confirms that these don't need seasoning and won't rust, plus they resist staining better than raw iron. The trade-off? They're more delicate and need protection from thermal shock and scratching.
The key difference: raw cast iron is nearly indestructible but needs regular maintenance, while enameled versions are easier to clean daily but require gentler handling.
Steps
-
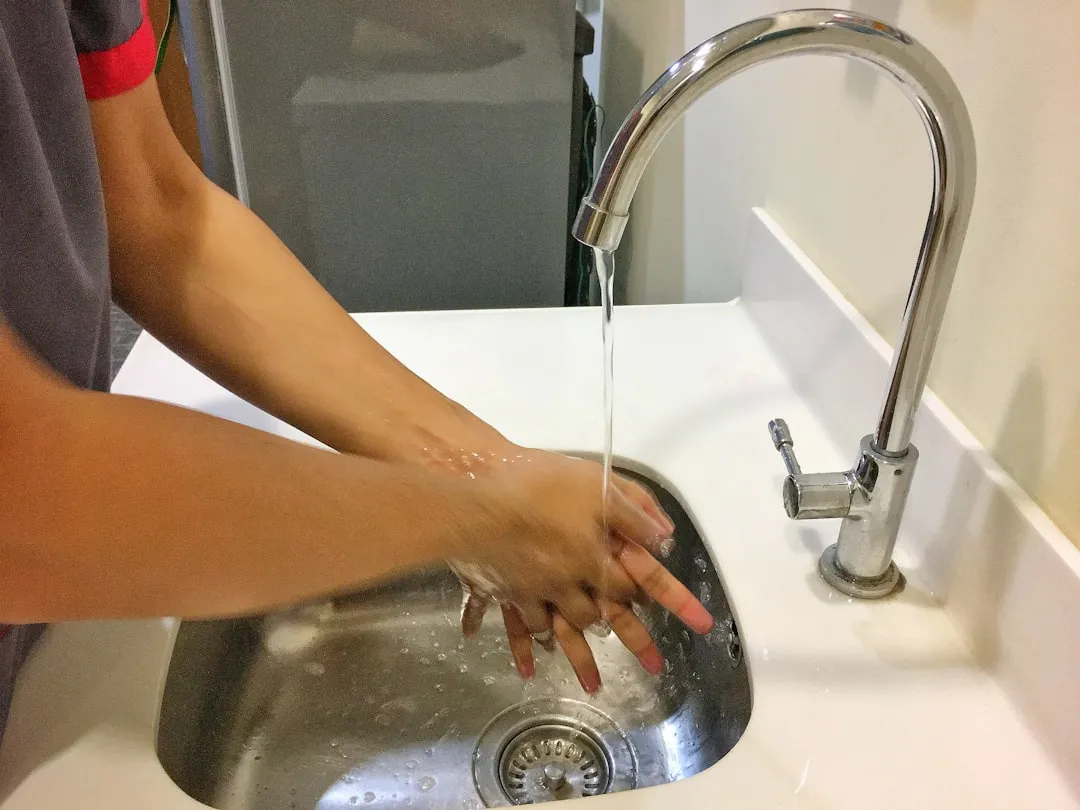
Start cleaning while still warm but safe to handle. Tasting Table recommends this timing because stuck-on food comes off much easier before it has time to set completely.
-
Remove food bits with a wooden spatula or plastic scraper. Work gently - no need to be aggressive at this stage.
-
Rinse with warm water. This removes loose particles and prepares the surface for washing.
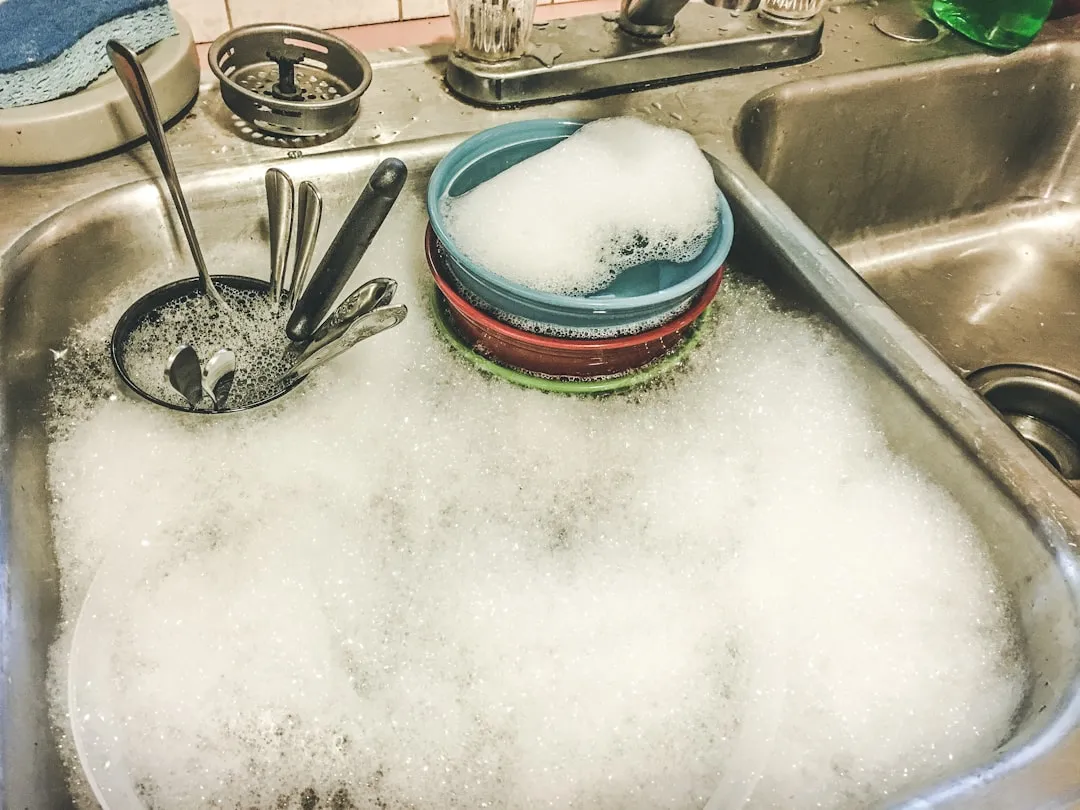
-
Apply dish soap and scrub with a nylon pad or sponge's scrubby side. Good Housekeeping experts suggest this combination works for most regular cleaning tasks without special products.
-
Rinse thoroughly with warm water. Make sure all soap residue is completely removed.
-
Dry immediately and completely with a dish towel. Made In Cookware emphasizes this prevents rust on exposed iron areas and water spots on enamel.
For cast iron only: Heat briefly on the stove and apply a thin layer of neutral oil while warm, as Martha Stewart experts advise.
Tackle stubborn food and stains effectively
For stuck-on food, the baking soda boil method is your most reliable solution. Good Housekeeping professionals recommend filling your Dutch oven halfway with water and adding about one tablespoon of baking soda per cup of water. Bring this mixture to a boil right in the pot, then let it simmer for several minutes. Testing by The Kitchn confirms this as the most effective method they tried.
Why it works: The baking soda creates an alkaline environment that breaks down proteins and fats, while the bubbling action physically lifts stuck-on bits from the surface.
For persistent stains, Tasting Table suggests making a paste with five parts baking soda to one part water. Spread this on problem areas, let it sit for five minutes, then scrub gently with a sponge.
Tip: Don't try to muscle through really tough messes in one go. Sometimes it takes multiple rounds of treatment, and that's completely normal.
Handle different materials properly
Cast Iron Care: Speed is crucial for drying. Good Housekeeping warns these can develop rust surprisingly quickly when damp. Never soak them in water or use steel wool, which strips the seasoning.
After cleaning, dry immediately with a towel, then Martha Stewart experts advise heating the empty pan briefly on the stove and applying thin oil layer while warm.
Enameled Cast Iron Care: The biggest concern is thermal shock. Le Creuset recommends letting the pot cool completely before adding water, and never running cold water over a hot pot. Use only soft sponges - once enamel scratches, those marks are permanent and can harbor bacteria.
Professional stain removal techniques
Bar Keeper's Friend Method: Made In Cookware suggests two approaches: sprinkle directly on the surface and scrub with a damp sponge for general cleaning, or make a paste for tough stains and let it sit up to 30 minutes before scrubbing.
White Vinegar Treatment: Tasting Table explains that vinegar's natural acidity tackles mineral deposits effectively. Fill your Dutch oven with equal parts vinegar and water, bring to a simmer for 10-15 minutes, then cool and scrub.
Bleach Solution (Enamel Only): For the most stubborn enamel stains, Good Housekeeping recommends soaking with three tablespoons of household bleach per quart of water for 2-3 hours.
Important: Always rinse thoroughly after using stronger cleaning methods to remove any residue that could affect food taste.
Cleanup & Disposal
- Store leftover baking soda in original container for future use
- Dispose of bleach solutions down the drain with plenty of water
- Wipe down work surfaces and wash cleaning tools thoroughly
- Oil-soaked rags (from cast iron seasoning) should be stored in sealed metal container to prevent spontaneous combustion
Troubleshooting
Problem: White residue after baking soda treatment → Fix: Rinse more thoroughly with hot water and scrub lightly
Problem: Stains won't budge after first attempt → Fix: Repeat the process 2-3 times; tough stains need patience
Problem: Enamel looks dull after cleaning → Fix: Stop using abrasive tools; switch to soft sponges only
Variations & Upgrades
- Budget option: Use only baking soda and dish soap for most cleaning needs
- Time-saver: Clean while pot is still warm to reduce scrubbing time
- Deep cleaning: Combine baking soda boil method with Bar Keeper's Friend paste for heavily stained pots
Keep your Dutch oven pristine for years
Proper maintenance prevents problems before they start. Always dry your Dutch oven completely with a dish towel rather than air-drying, as Made In Cookware emphasizes - standing water causes rust and mineral deposits. Store in a dry location away from humidity sources.
Here's something reassuring: Serious Eats testing confirms that most cooking stains are purely cosmetic and don't affect performance. A well-loved Dutch oven with character marks still functions perfectly.
Focus on thorough cleaning and proper drying rather than achieving magazine-perfect appearance. Professional cookware makers agree this simple routine keeps your Dutch oven ready for decades of reliable cooking. Take care of your Dutch oven, and it'll reward you with countless memorable meals for years to come.


Comments
Be the first, drop a comment!