



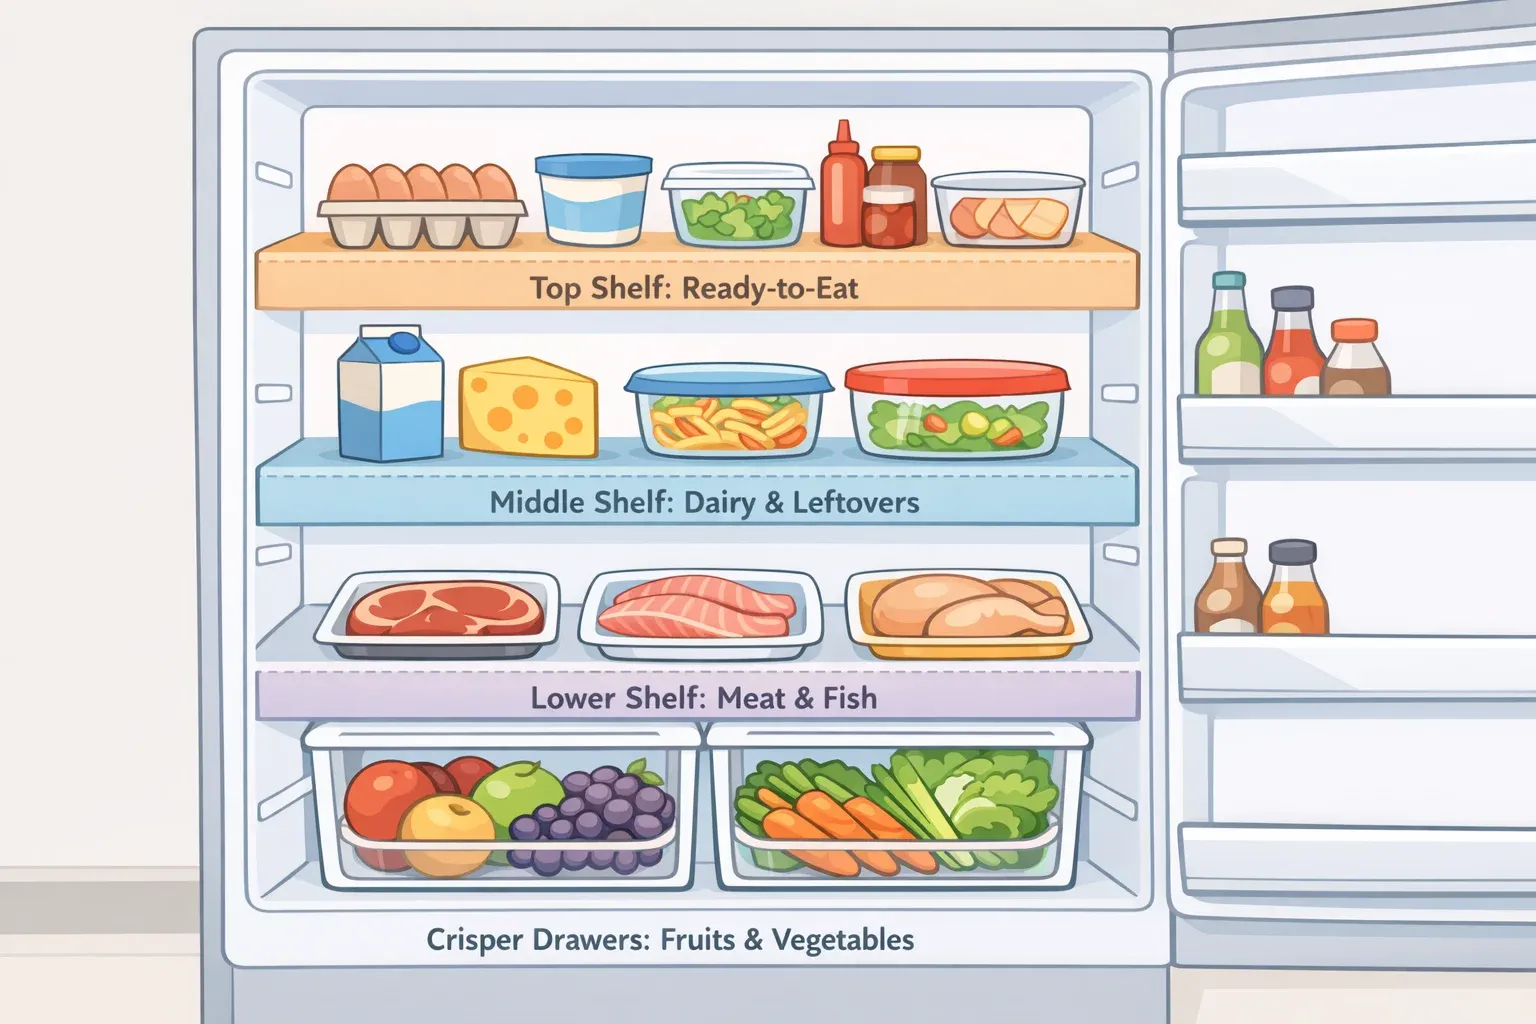
How to organize your fridge into 4 safe storage zones
Organize the fridge around temperature, spill risk, and how often you reach for something, and it stops fighting you every time you open the door. This guide covers how to organize your fridge into four practical zones: the lowest full shelf, the main shelf, the crisper drawers, and the door, based on the three factors that actually decide where food belongs: food-safety risk, how long something keeps, and how often you grab it, according to Serious Eats.
A fridge that looks tidy can still be storing food in the wrong spot. Refrigerator temperatures commonly swing between about 33°F and 38°F depending on the shelf and location, Serious Eats notes. The coldest point is typically either the back of the bottom shelf or the back of the top shelf near the vent, depending on the model, while the middle of the door runs warmest. For the longest storage life, the coldest spots should hold around 34°F, and no part of the fridge should climb above 39°F. This is a placement system, not a one-time cleanout. It takes a deliberate first pass to set up, then a short weekly reset to keep it working. It's beginner-friendly and doesn't require anything beyond a thermometer, some containers, and labels.
What you'll need
- Fridge thermometer, a basic dial model works fine (Serious Eats)
- Small airtight containers for decanting leftovers and bulk food
- Masking tape and a permanent marker
- A washable plate or tray for raw meat and poultry, plus a second tray if you'll be storing fish
- Breathable produce bags, or plastic bags left slightly open
Before you start
If your fridge has no clear temperature gradient, think mini fridge, dorm fridge, or a single-door model with drawers directly beneath the shelves, the same four zones still apply. Treat the whole interior as one temperature zone and rely on tray separation instead of shelf position to keep raw protein away from everything else.
Clean out the fridge before you organize it
Pull everything out before sorting anything. This is also the moment to toss whatever's leaking, moldy, or clearly past its point, so nothing questionable goes back onto a clean shelf.
While the shelves are bare, wipe down any spot with spills or residue, especially the lowest shelf and the crisper drawers, where drips and produce debris tend to collect. It's also the easiest time to spot a cracked shelf or torn crisper liner, since both are easy to miss once the fridge is packed again.
Find your fridge's coldest and warmest spots
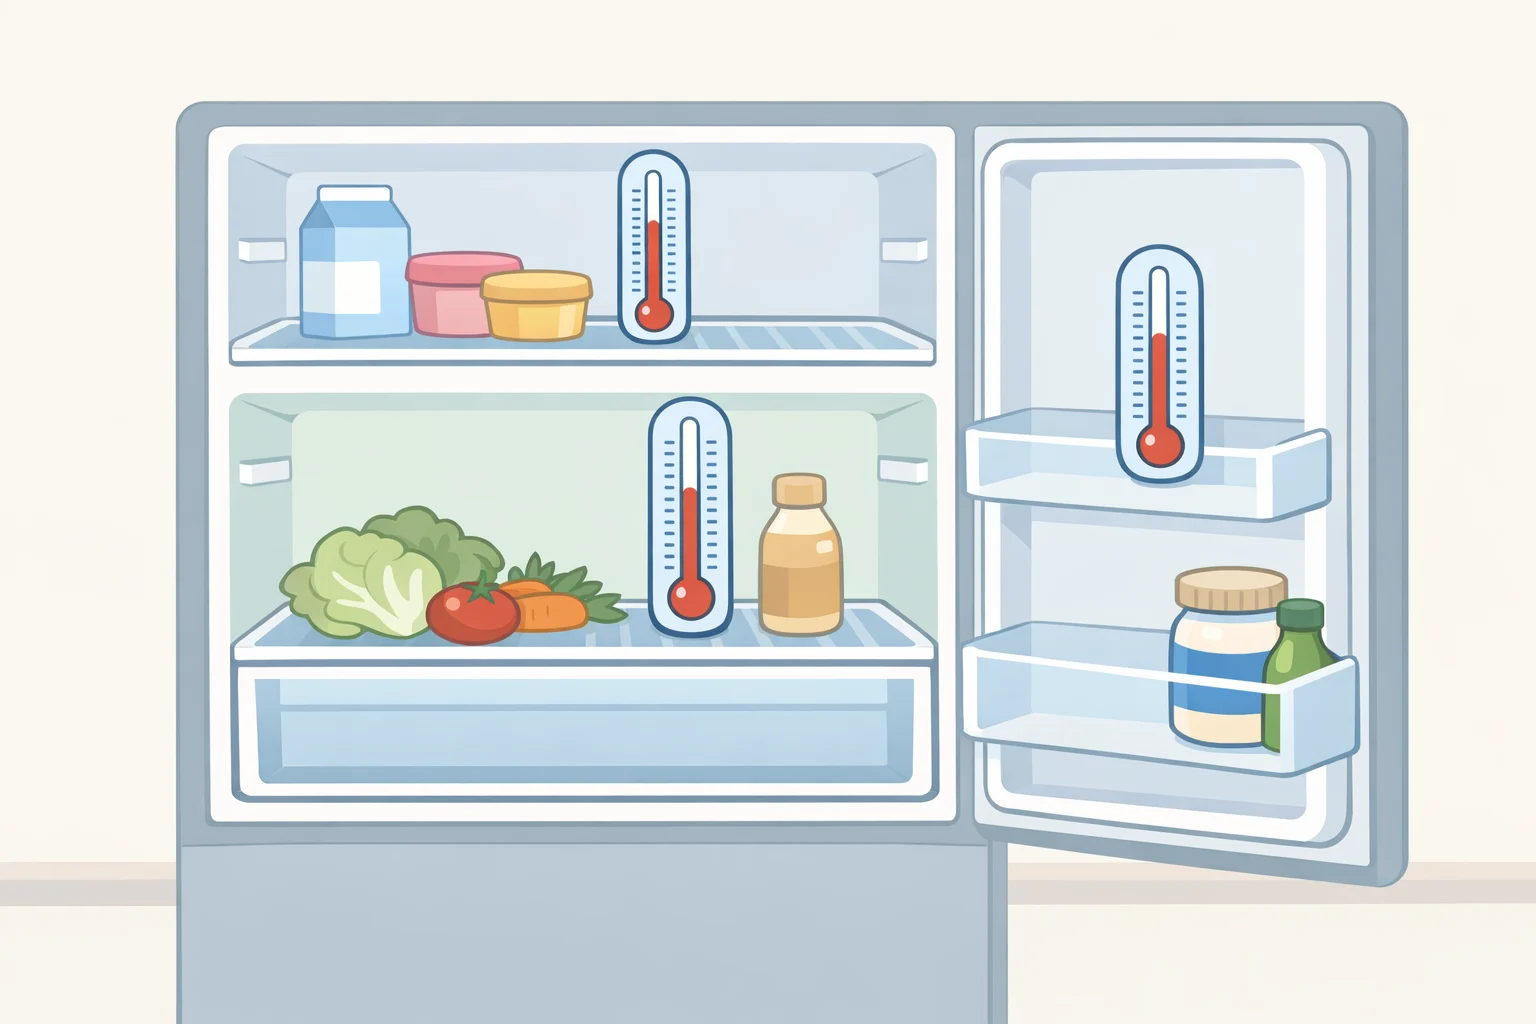
Before anything goes back in, find out where your fridge is actually coldest. Guessing wrong means storing risky food in the wrong place.
- Place one thermometer at the back of the top shelf and leave it long enough for the reading to stabilize before you check it.
- Move it to the back of the bottom shelf and repeat.
- Move it to the middle of a door shelf and repeat once more.
Small swings of a degree or two between checks aren't unusual, so don't overthink minor variation. Compare the three readings to find which area runs coldest in your fridge; this varies by model, so don't assume yours matches a general rule (Serious Eats). If all three readings come back nearly identical, your fridge doesn't have a strong gradient. Skip trying to rank shelves and treat the whole interior as one zone going forward.
Either way, success here means naming which area is actually coldest based on your own numbers, and confirming it lands close to that 34°F target with nothing reading above 39°F.
Set up the four zones
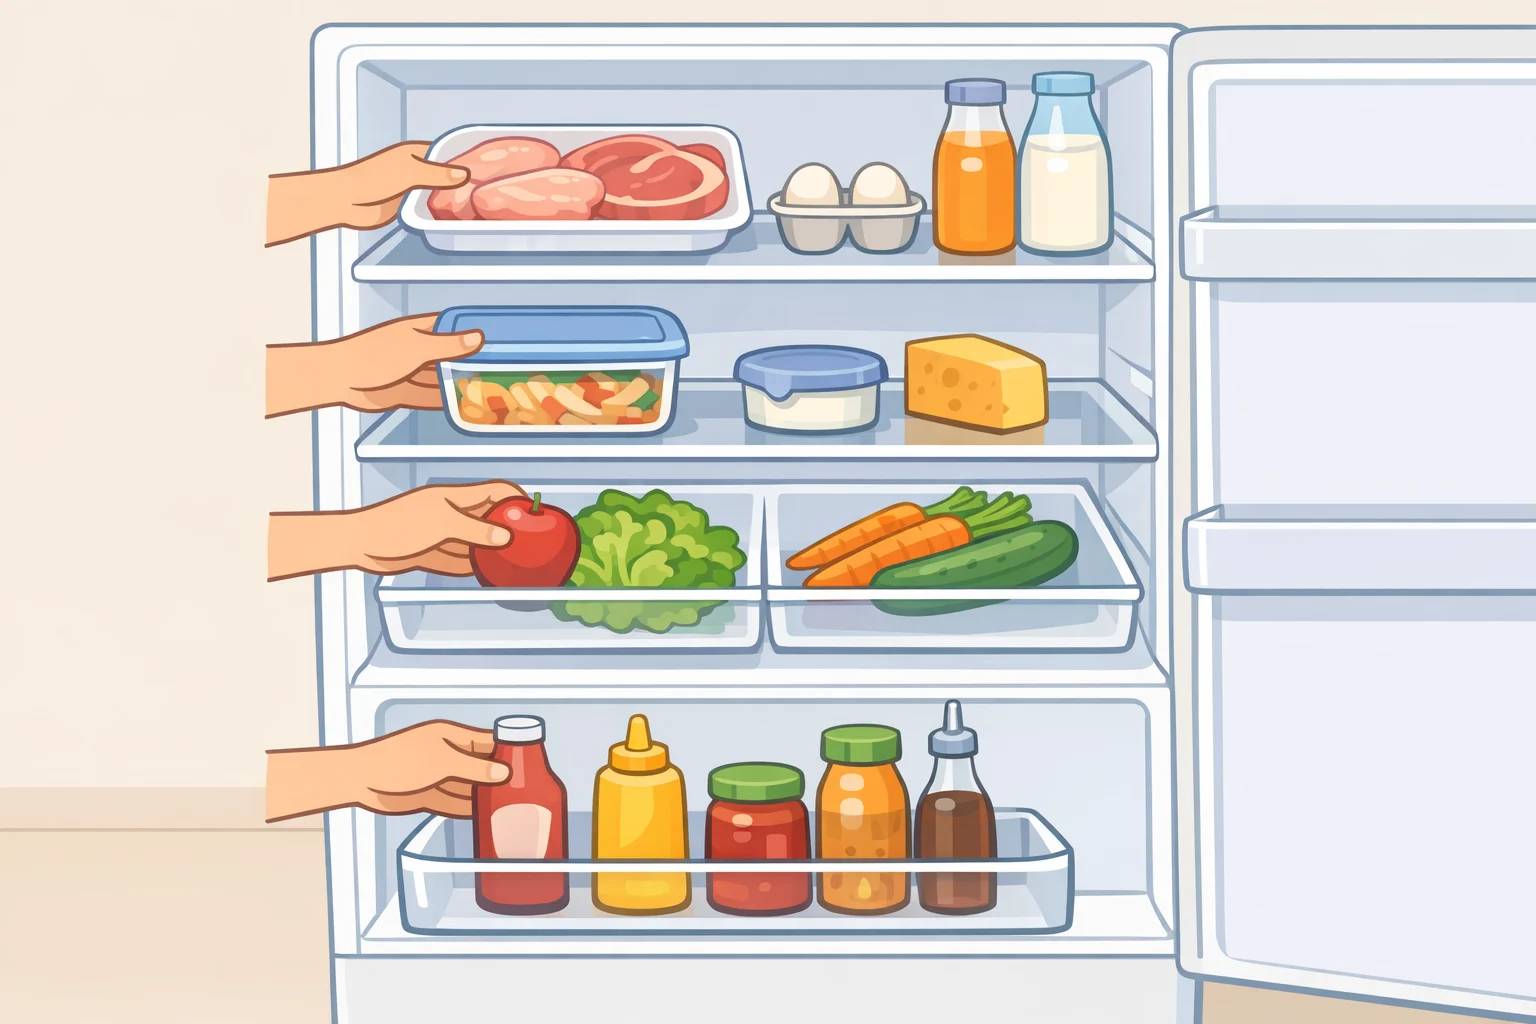
Zone 1: the lowest full shelf. The safety rule comes before the temperature reading. Raw meat, poultry, and fish must sit below any ready-to-eat food, always on a plate or tray so drips can't reach anything else (Serious Eats). In most kitchens that means the lowest full shelf, since it's the one shelf with nothing edible stored beneath it. If your temperature check turned up a colder spot elsewhere, like the back of the top shelf, that's useful for other food, but it doesn't override the containment rule for raw protein. Never store raw chicken above leftovers; juices can drip down unnoticed and contaminate what's underneath (Serious Eats). Fresh fish is best used the day you buy it. If you have to hold it, wrap it and sandwich it between two ice packs on a tray to keep it near 32°F, and treat that as an occasional exception rather than the everyday setup (Serious Eats).
Zone 2: the main shelf. This holds labeled leftovers, cold cuts, sandwich bread, milk, and other dairy, items that need steady cold without sitting in the drip-prone bottom spot (Serious Eats).
Zone 3: the crisper drawers. Crisper drawers are built to limit cold-air circulation, and most include a slider that controls humidity, which is why they work best for produce rather than general overflow storage (Serious Eats). Set the slider so humidity stays high enough to prevent shriveling, just short of visible moisture beading on the produce, and store vegetables and herbs in breathable bags or bags left slightly open rather than sealed ones (Serious Eats).
Zone 4: the door. This is the warmest zone in the fridge, so it holds condiments, butter, frequently used cheese, and drinks, not anything highly perishable (Serious Eats).
Once the shelves are empty and wiped down, load in this order: raw-protein tray first onto the lowest full shelf, then leftovers and dairy onto the main shelf, then produce into the drawers by type, then the door last. Don't copy someone else's fridge chart or a photo found online. The four zones are universal, but which literal shelf runs coldest is specific to your appliance (Serious Eats).
A few placement calls worth knowing
Most food falls cleanly into one of the four zones above, but a handful of items need a judgment call:
- Eggs: if a carton takes more than a couple of weeks to finish, store it at the back of the main shelf, where it's a little cooler. If you go through eggs faster than that, the door works fine (Serious Eats).
- Cheese: keep it on the main shelf in its original packaging or wrapped in parchment inside a sealed bag. If you're cutting into it daily, moving it to the door for easy access is a reasonable trade, since it won't sit long enough to matter (Serious Eats).
- Milk: the main shelf keeps it coldest, but if the door is genuinely your only workable space, that's fine, just glance at the date a little more often since the door runs warmer.
- "Use soon" items like opened deli meat or a half-used jar of sauce: these belong on the main shelf, not the door, because they don't have the shelf life to sit in the warmer zone.
When convenience and safety pull in different directions, temperature and shelf life win over easy access every time.
Keep it working: weekly reset and troubleshooting
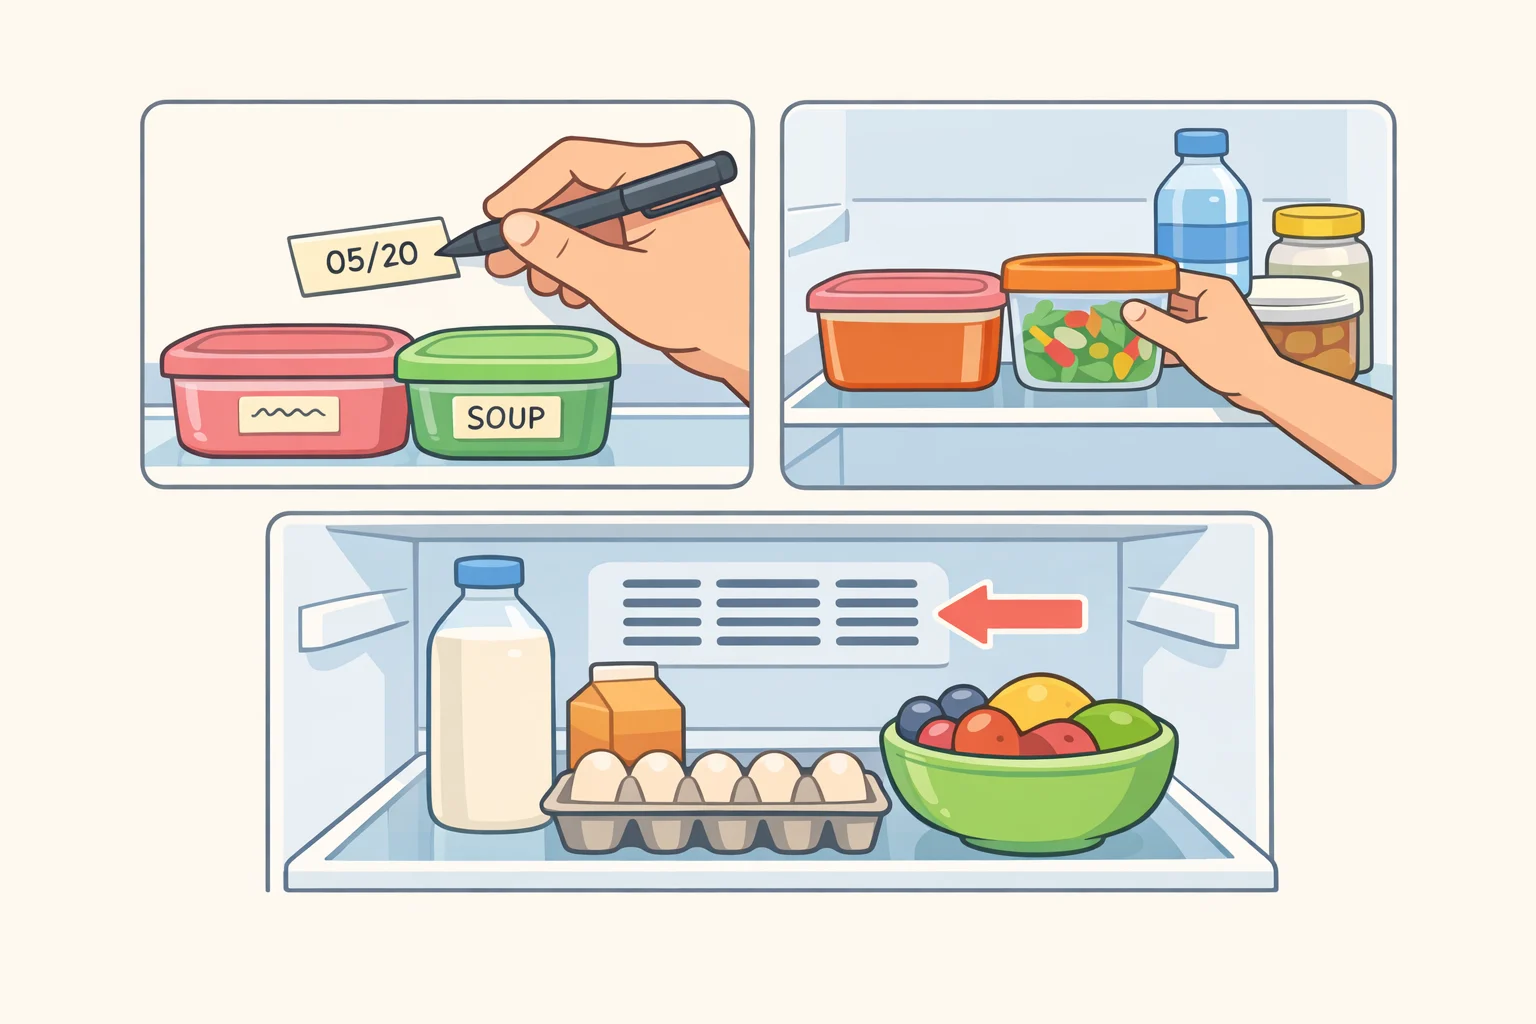
The zones only stay useful if you maintain them. A short weekly pass covers most of it:
- Decant bulky or opened food into smaller airtight containers to cut air exposure and keep shelves easy to scan (Serious Eats)
- Label each container with contents and date, using permanent marker on masking tape (Serious Eats)
- Place new leftovers behind older ones so the older food actually gets used first
- Check that nothing is blocking the rear vents; clogged ventilation is one of several things that can cause a fridge to lose cooling efficiency (Serious Eats)
A few situations come up often enough to flag separately:
- No usable lowest full shelf, or drawers sit right under it: the raw-protein tray still goes on whatever surface is lowest in the fridge. Make sure the tray's lip is actually catching drips, since bagged produce underneath is less forgiving of a leak than an open shelf would be.
- A packed fridge: leave room around the vents for air to circulate. A fridge stuffed to the brim can develop uneven cold spots even when nobody's touched the thermostat.
- Produce wilting despite the crisper: check the humidity slider setting before assuming the food was simply past its prime.
- No clear temperature gradient: treat the whole interior as one zone and lean on tray separation instead of shelf position.
- Side-by-side or drawer-heavy models without a standard shelf layout: apply the same three factors, safety, shelf life, access, to whatever compartment sits lowest, rather than forcing a shelf-based chart onto a different design.
- Reading stays above 39°F after you've cleared the vents and confirmed the door seals properly: stop rearranging food. Serious Eats lists clogged ventilation and electrical shorts or surges among the things that can knock out a fridge's cooling power, but a temperature reading alone won't tell you which one is at fault. Check the manual for troubleshooting steps you can safely try, and call a qualified technician for anything involving the fridge's electrical or sealed cooling components.
Where this leaves your fridge
Recheck the thermometer after a few days to confirm the coldest zone is still holding near 34°F and nothing has crept above 39°F (Serious Eats). Keep rotating labeled containers so older food gets used first, and don't let a good layout talk you out of tossing something that's actually gone bad. If the temperature won't settle below 39°F despite clear vents and a correct load, that's a mechanical problem, not an organizing one, and reorganizing the shelves again won't fix it.














Comments
Be the first, drop a comment!