



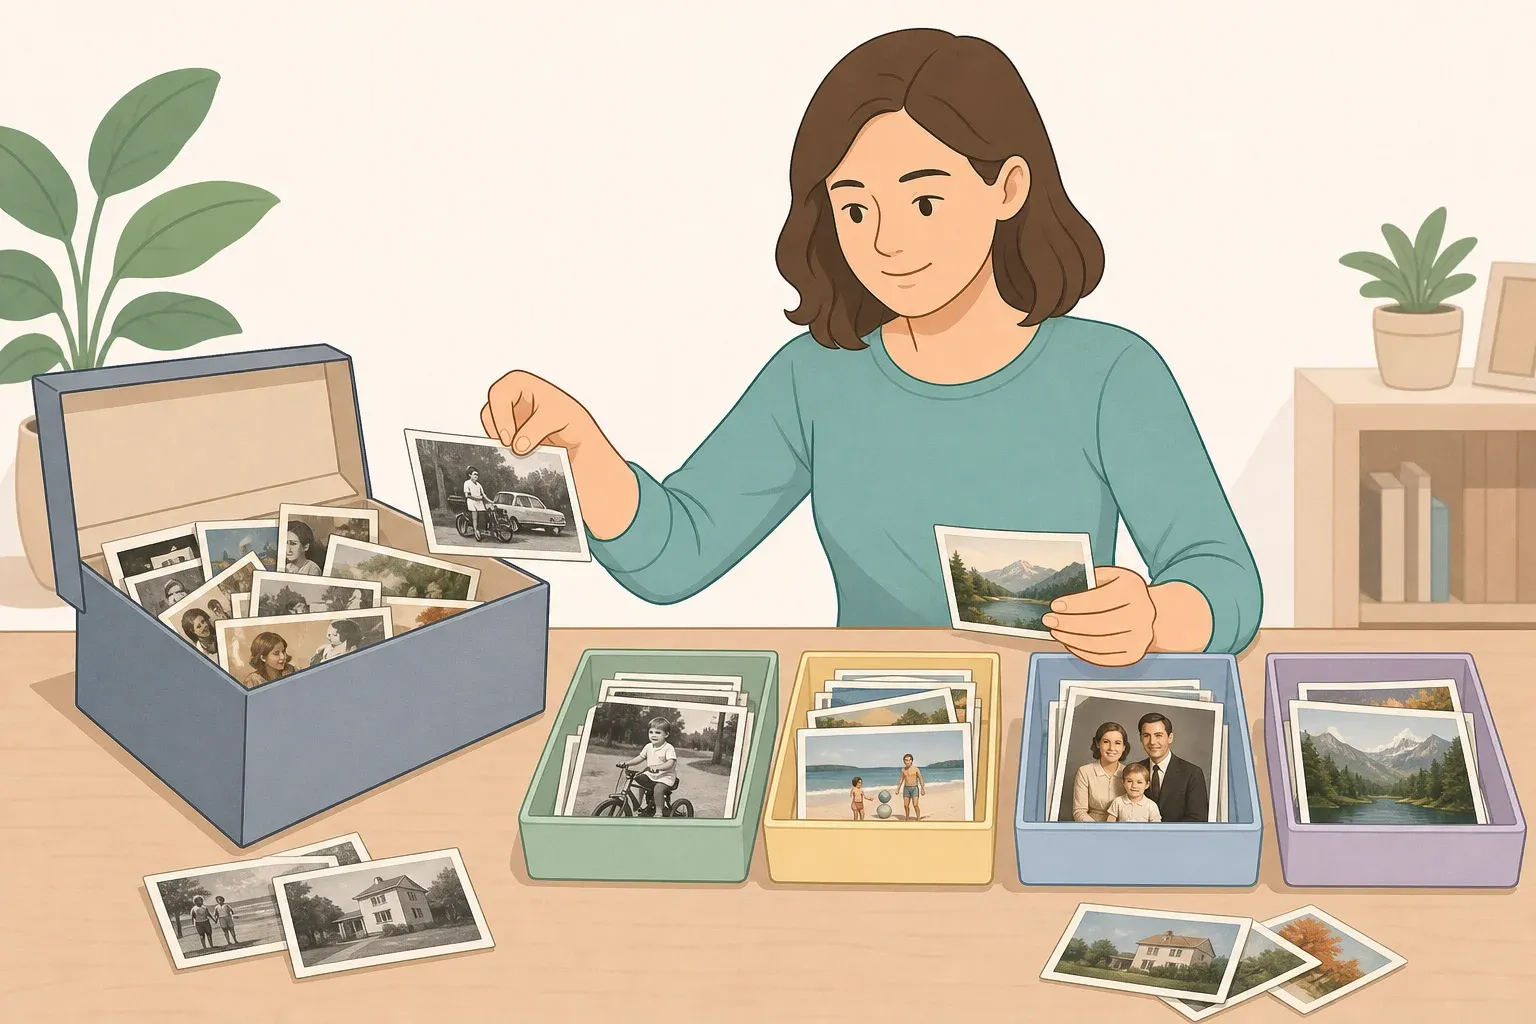
How to declutter old photos: a guilt-free sorting method
A box of loose prints doesn't have to sit untouched for another year just because every photo feels like a decision you're not ready to make. This guide walks through a decision method for sorting old photographs without agonizing over each print one at a time. The Photo Managers, a professional association for photo organizing specialists, works with clients who feel exactly this kind of hesitation, the sense that letting go of a photo means letting go of the person or moment in it.
You don't have to keep every print to keep the memory. That holds for duplicates, blurry snapshots, and prints with thin context. It doesn't hold the same way for captioned albums, negatives, slides, or a photo that happens to be the only known record of a person, place, or event, and those get handled separately later in this guide. The sorting method below needs only basic photo-safe supplies and splits easily across a few short sessions. The storage, digitizing, and fragile-material steps that come after sorting are a different kind of task, and some of them are better handed to a specialist, which gets flagged where it applies.
What you'll need
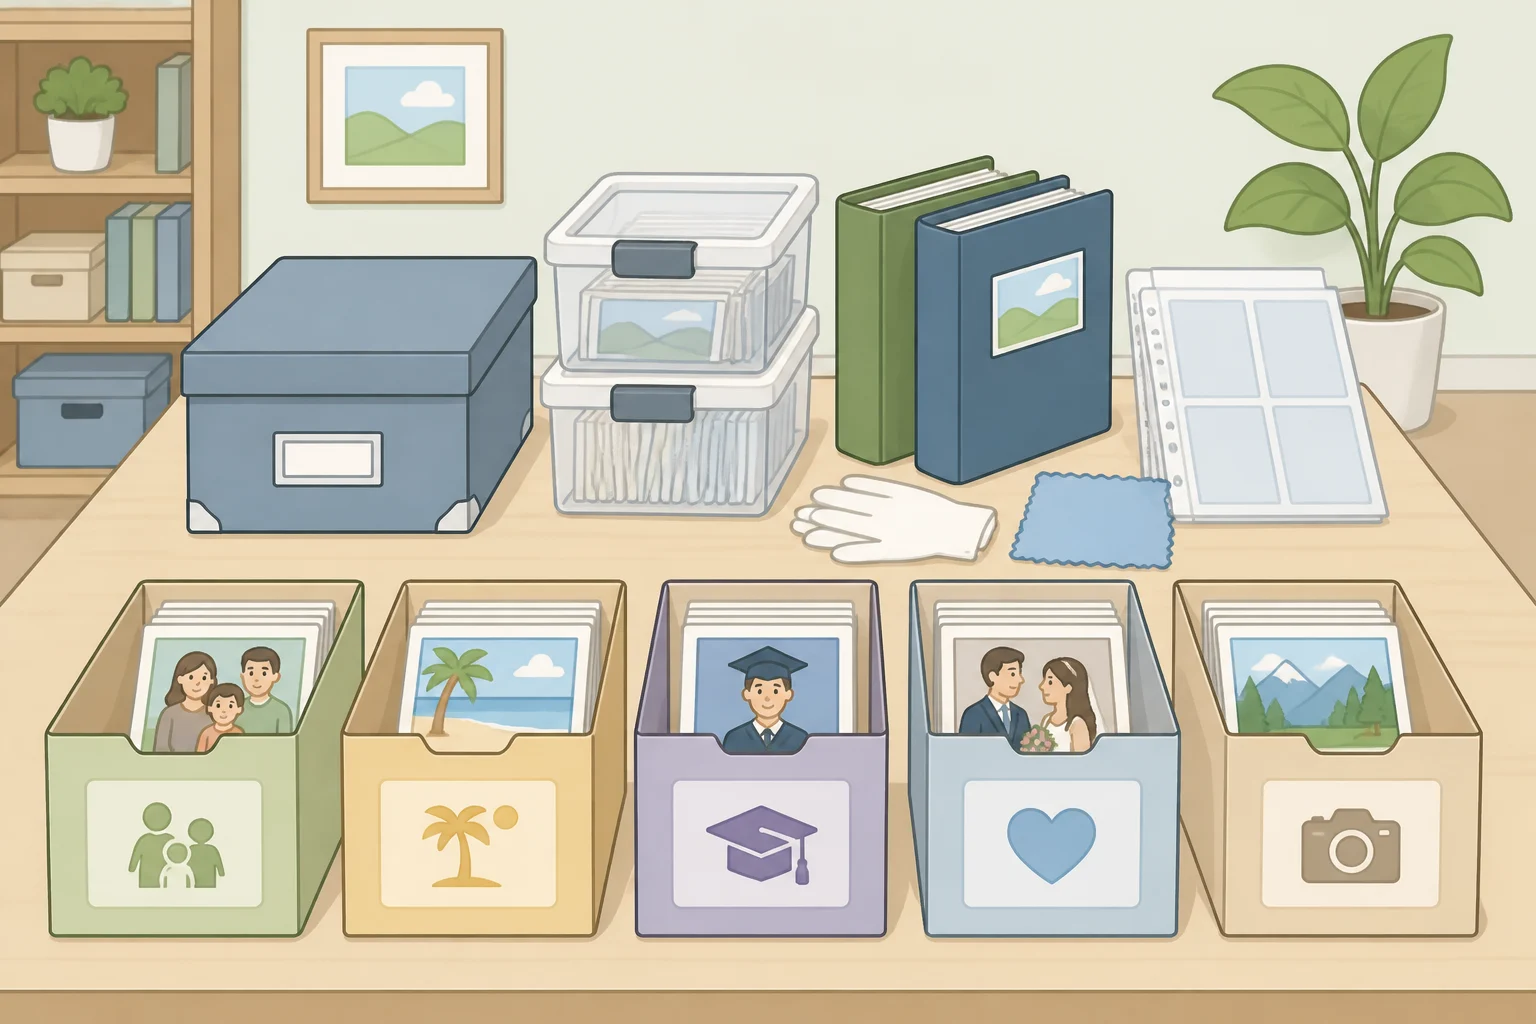
- Boxes, sleeves, or albums sold specifically for photo storage, rather than general-purpose containers
- A pencil, not a pen, for labeling
- Five labeled boxes, trays, or stacks, one each for keep, digitize and release, discard, identify, and review later
- A separate small box for damaged photos
- A stable indoor spot for everything once it's sorted, such as a closet shelf
Check that whatever you buy is actually labeled for photo or archival storage, not just a general-purpose bin from the closet aisle. Standard cardboard boxes and ordinary plastics aren't made with prints in mind, and that distinction matters more once the keepers are boxed for the long haul.
Before you start
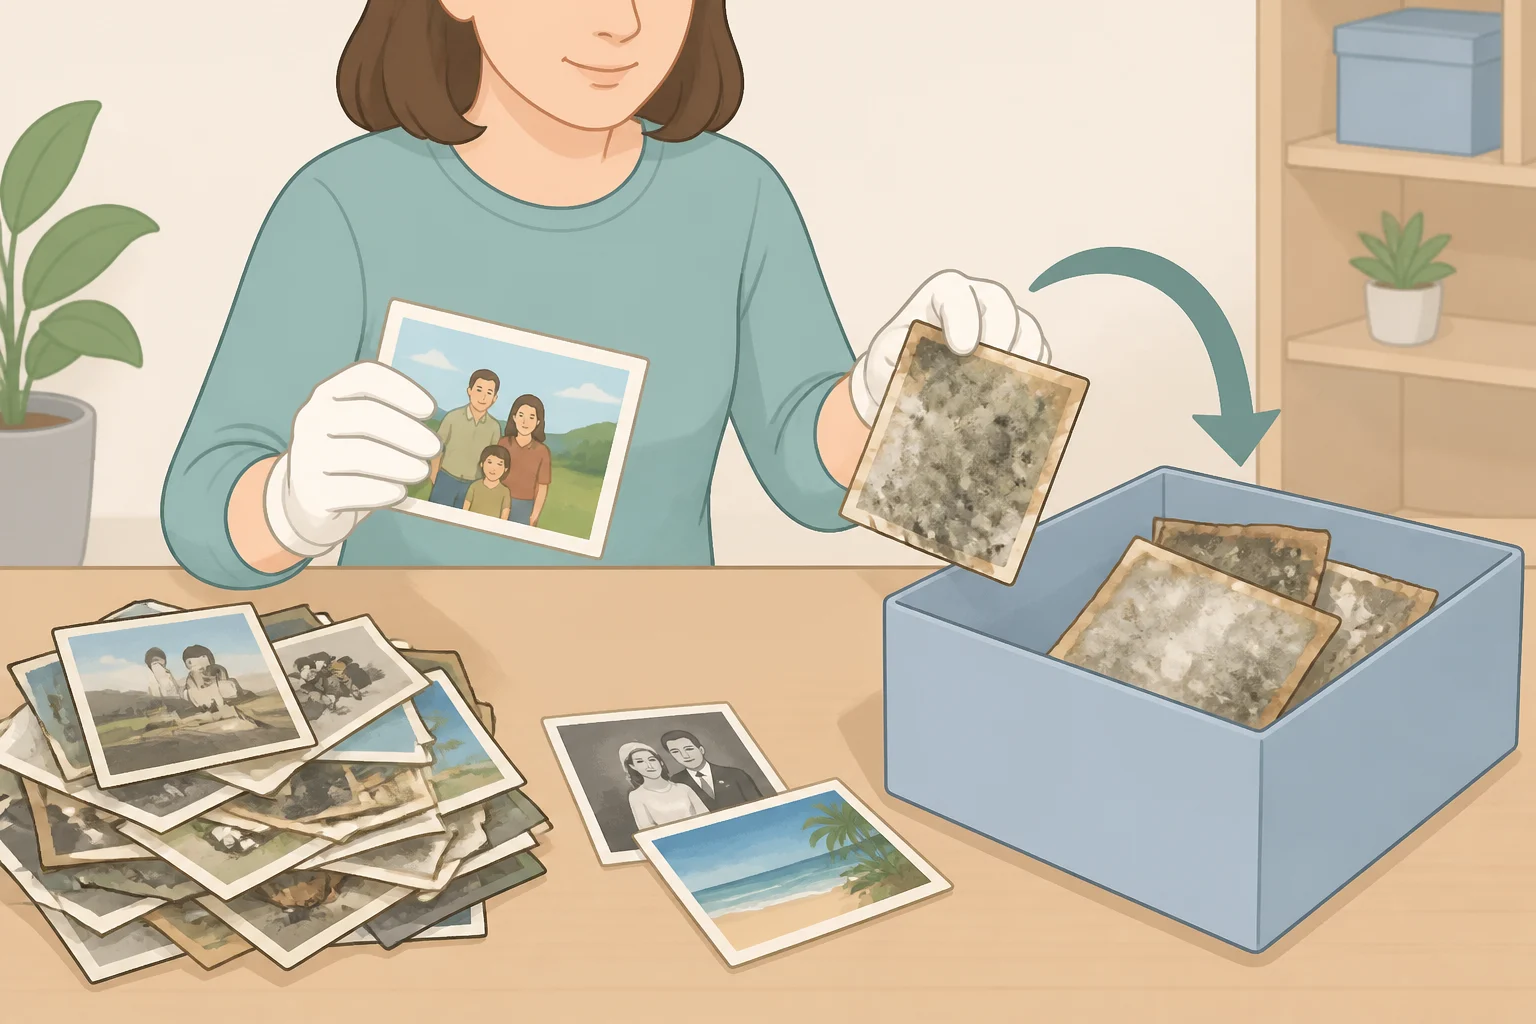
A few things to pull out of the pile before any photo gets a ruling:
- Isolate anything damaged. Mold, water staining, or stuck-together surfaces belong in their own box, set aside from today's sort. The Library of Congress treats this kind of deterioration as a conservation issue rather than something to clean or pull apart at home, so a photograph conservator is the right call if those originals matter enough to save.
- Pull captioned or sequenced albums entirely. They don't get taken apart and run through this sort; they're handled further down as their own project.
- Pull negatives and slides out too. They get their own sleeves and their own section below, not the main loose-print boxes.
- Don't rule a photo irreplaceable or disposable on the spot. A sibling's album, a cousin's phone, a negative in the same box, or a scan floating around a family group chat can mean a print isn't actually one of a kind. If you're not sure whether a copy exists, let the photo move forward as a possible keeper and sort that out during the passes below.
The five places a photo can go
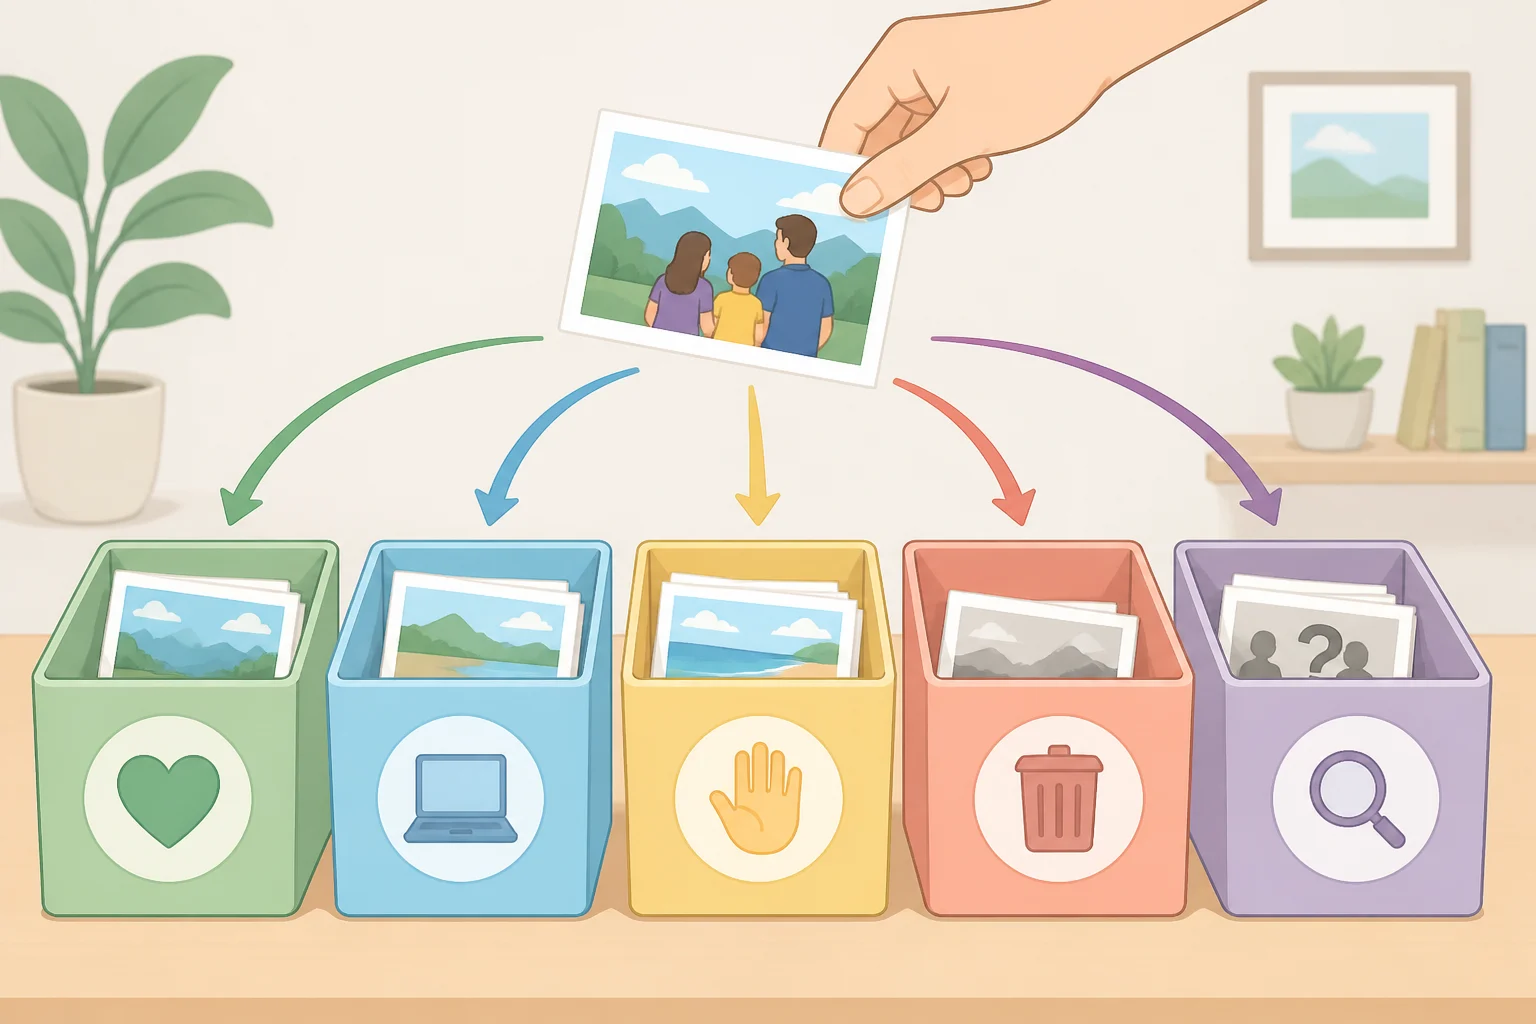
Once the damaged photos, albums, negatives, and slides are out of the pile, every remaining loose print ends up in one of five spots: keep, digitize and release, discard, identify, or review later.
- Keep is for a photo that may be the only known record of a person, place, or moment, even if it's blurry or poorly framed. Place it here while you verify whether another copy exists elsewhere; irreplaceability is a reason to hold onto a photo, not something you have to prove before it qualifies.
- Digitize and release is for exact duplicates and ordinary, identifiable prints you don't need to keep physically. When two prints show the same moment, keep whichever is sharper or in better shape and digitize the other instead of keeping both. Two different photos of the same event, like the cake cutting versus the guest table, aren't duplicates even if they feel similar, so this tie-breaker doesn't apply to them.
- Discard is for prints with no identifiable content and no sentimental pull, after everything above has been ruled out.
- Identify is for anything unidentified but possibly significant, such as an unfamiliar face or place from an inherited collection. Weak image quality isn't a reason to discard something you haven't actually identified.
- Review later is for photos you can identify but aren't ready to rule on. Give these a date, not an open-ended hold.
The split that trips people up most is between identify and discard. A photo you can't identify yet isn't the same as a photo already confirmed unremarkable. If you don't know what's in the frame, it goes to identify, no matter how ordinary it looks at first glance.
Work the pile in three passes
Sorting in rounds instead of deciding print by print gives the pile natural stopping points and keeps the same decision order running from the first photo to the last. Treat each pass as its own session if the pile is large.
- First pass, pull the exceptions. Flag anything damaged that got missed earlier, and pull out photos that look like they might be one-of-a-kind keepers, along with anything unidentified but possibly significant. Route those to keep or identify for now, even if you haven't confirmed they're truly one of a kind, and leave everything else in the pile.
- Second pass, resolve duplicates and obvious ordinary prints. Work through milestone photos and clearly identifiable shots, applying the duplicate tie-breaker where it fits, and sort the plainly ordinary prints into digitize-and-release or discard. What's left after this pass should be mostly genuine judgment calls.
- Third pass, work the uncertain remainder in small batches. Start with a small handful, maybe 10 to 20 photos, and shrink the batch the moment you notice yourself deciding on autopilot instead of actually weighing a print against the five destinations. The real stopping signal isn't a photo count, it's noticing you're keeping things just to be done rather than because you reasoned through them.
Handle prints by the edges through all three passes. The Library of Congress advises keeping direct contact with the image surface to a minimum, since handling can leave oils and wear on a print over time. When a session starts feeling automatic, stop there and pick it back up another day rather than pushing through the rest of the pile.
Verify identities and duplicates when you're stuck
A few photos will stall you even after three passes. Before moving one to discard or keep for good, try these:
- Check the back and the edges. Photo lab stamps, dates, or handwriting on the back can confirm a decade or location faster than guessing from the image alone.
- Compare against prints you've already sorted. A matching frame, outfit, or background in another photo you've identified can resolve an otherwise unidentifiable print.
- Send a photo of the photo to a relative who might know. A quick text asking "who is this" is often faster than holding the print for a future gathering.
- When relatives disagree on whether to keep something, move it to review later with a date instead of deciding on the spot. A labeled hold with a deadline keeps the disagreement from turning into an indefinite keep.
Handle albums, negatives, and slides as a separate track
Don't run captioned or sequenced albums through the loose-print sort. An album with handwritten dates, captions, or a deliberate page order carries context a loose print doesn't have, and that context is part of what makes it worth keeping intact. Sort around the album rather than disassembling it.
Keep negatives and slides in their own labeled sleeves, apart from the photo boxes. Whether a negative holds more detail than its matching print depends on the negative's format, its condition, and how the original print was processed, so don't assume every negative beats its print. When a negative is intact and in a standard, recognizable format, lean toward keeping it even if you let the print go, since a lab or scanning service might be able to pull a sharper reprint or enlargement from it later.
How an album should sit depends on its binding, size, and condition, so there's no single orientation that fits every album. A safe general approach is to keep it fully supported and free of pressure: not bent at the spine, and not stacked under anything heavy.
If the collection includes a large number of negatives or slides, or material that looks historically significant, treat that as its own, larger undertaking. A photo organizing specialist or an archival scanning service is a better call than guessing at handling on your own.
Store the keepers and close out the identify and review piles
Group keepers loosely by decade, person, or event; rough categories are enough for findability. Keep them in boxes, sleeves, or albums made for photo storage, in a stable indoor spot, like a closet shelf, rather than an attic, garage, or basement. The Library of Congress points to stable indoor temperature and humidity, along with acid-free or photo-safe materials, as key factors in how long a photograph lasts.
Label in pencil on the back margin, never across the image. Ink can bleed through over time, and pressing hard enough to leave an impression on the front defeats the point. One label format works for storage boxes and for the identify or review piles alike: whose photos, rough decade, and what needs to happen next, such as "Smith family, 1970s, identify with Aunt Rosa," or "Review on [date]."
Digitizing and releasing a print is a personal call for duplicates or lower-priority photos, not a requirement for every original. Keep unique or fragile originals physically when you can, rather than defaulting to a scan. For anything headed to digitize-and-release, scan or photograph it straight-on in good light so it's level and fully readable, save it with a descriptive filename, and confirm the file actually opens and looks right before the original goes anywhere. Back it up somewhere other than just the device you scanned it on.
A phone photo or basic flatbed scan works fine for a casual family record you mainly want for reference or sharing. A dedicated scanning service is worth considering instead when the original is irreplaceable, a large print, in need of restoration, or something you want enlarged, not as a default step for every photo. If you're comparing services for anything valuable, ask about their handling policy for physical originals, what resolution and file formats they deliver, and whether your photos are tracked or insured while out of your hands.
Give the identify and review-later piles different reviewers and timelines. Identify works best with someone who might actually recognize a face or place, like a parent, sibling, or other relative; for an inherited collection with a lot of unknowns, a local historical society or photo organizing specialist may be worth contacting too. Review later is usually a call you can make solo, so pick a date that fits your schedule.
Before anything heads to the trash, check for details you'd rather not leave out in the open, like a visible address, and shred or cut that part of the print first. Past that privacy check, plain duplicates or unreadable prints can go out with ordinary paper, following whatever recycling or trash rules apply where you live.
When a review date arrives, run what's left through the same five destinations rather than opening the box back up as a free-for-all.
Finish line check
Check three things before calling the project done:
- Keepers are in labeled, photo-specific storage in a stable spot, not back in a cardboard box in the attic or basement.
- Files from any digitized prints open correctly and are backed up somewhere other than the device you scanned them on.
- Both the identify and review-later boxes carry a reviewer, a label in the "whose, decade, next step" format, and an actual date, not just "next gathering" written on the side.
Put those dated boxes somewhere you'll actually see, like next to a calendar, and once you've picked the real date, write it on the label so the box has a deadline instead of a vague promise.





Comments
Be the first, drop a comment!