



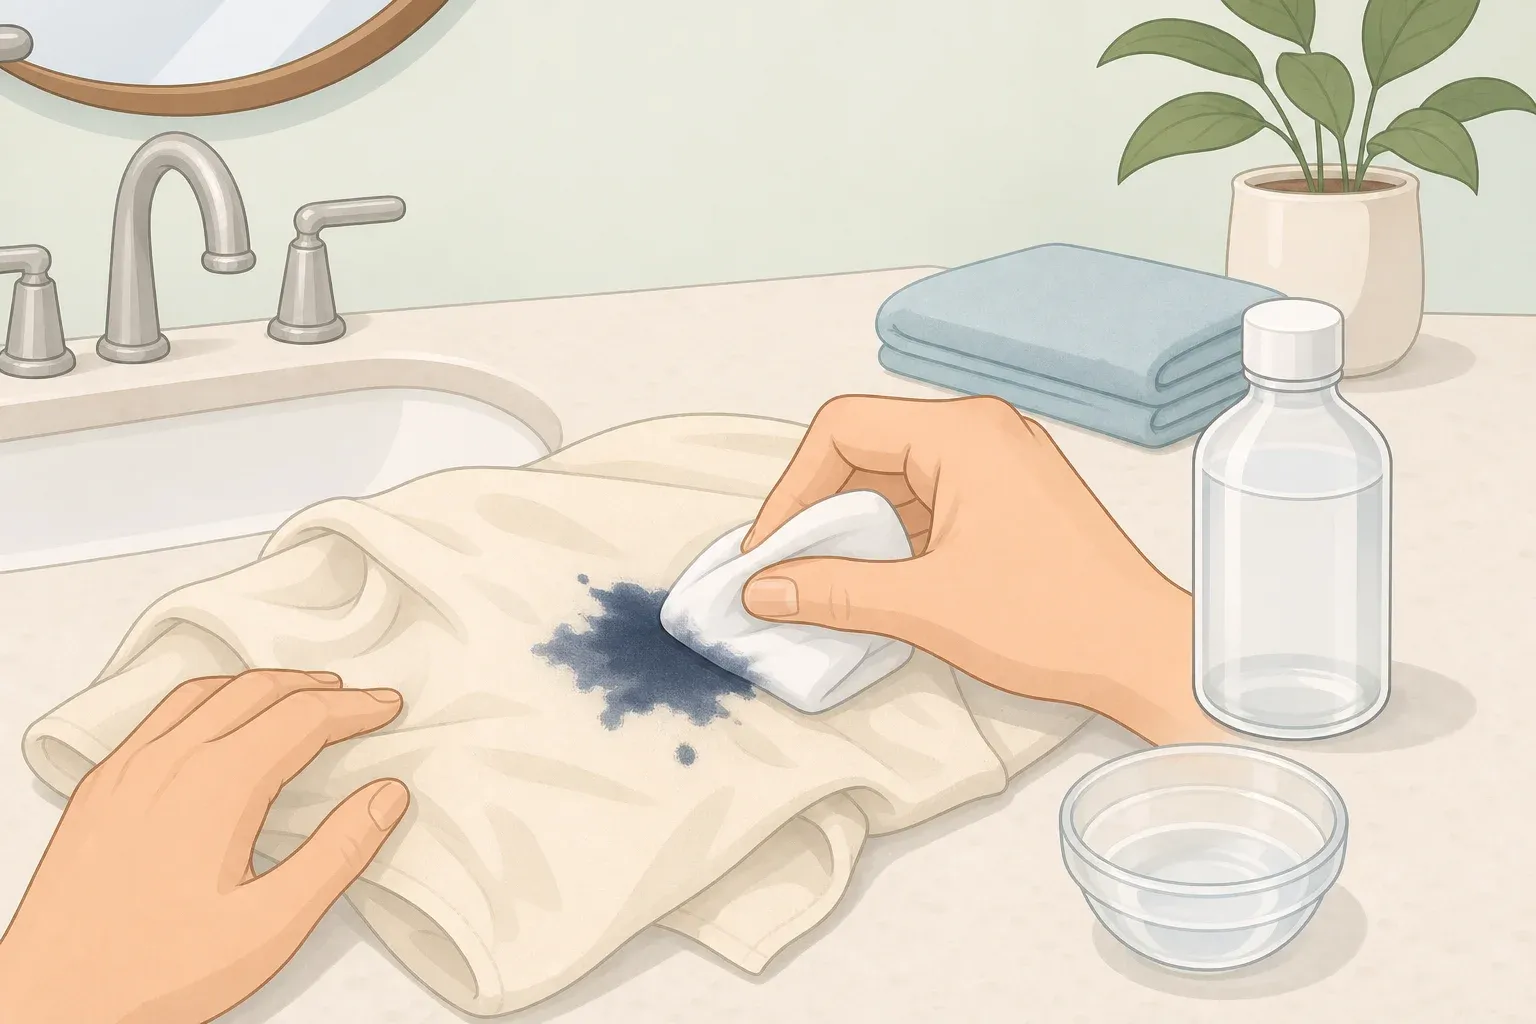
Most ink stains on washable clothes are not a lost cause. Most can be treated with supplies already sitting in a bathroom cabinet, which makes learning how to remove ink stains from clothes less intimidating than it looks, especially for a fresh ballpoint pen mark.
The first move: rubbing alcohol and blotting. Alcohol is the most effective all-round solution for both fresh and dried ballpoint pen ink. This guide covers that default method for fresh ballpoint or unknown ink on washable fabric, a separate sequence for ink that's already dried in, how to escalate carefully if alcohol alone doesn't finish the job, and when a stain or garment isn't a good fit for home treatment at all. Permanent marker and fountain pen ink behave differently, so they get their own notes rather than a one-size-fits-all promise.
Before you start: quick triage and setup
Three quick questions determine which method applies, so answer them before reaching for anything.
Is the garment washable? Cotton and linen tolerate the treatments in this guide, including alcohol and acetone. Polyester and other synthetics need a more careful hand, since some solvents can melt or discolor them (more on that in the fabric reference below). Dry-clean-only items and leather should only be blotted to remove excess ink, then taken straight to a professional rather than treated at home.
How old is the stain? Fresh ink responds far better than dried ink to every method here. Pretreating before a stain sets in increases the odds of getting it out entirely.
What kind of ink is it? Ballpoint ink is oil-based and is the best-supported case for alcohol treatment. Fountain pen ink is water-based and often lifts with just soap and water. Permanent marker is less predictable and calls for more caution.
Gather these before starting: rubbing alcohol, clean white paper towels or cloths, a basin, cool water, a pre-wash stain remover, and optionally ammonia, bleach-free liquid detergent, or acetone-based nail polish remover for the escalation steps.
One rule applies to every method in this guide and won't be repeated at each step: do not run the garment through the dryer until the stain is completely gone. Heat sets whatever ink remains permanently into the fibers.
Two safety notes before touching the fabric. Rubbing alcohol is flammable, so keep it away from open flames. Do not mix different cleaning products because of the risk of dangerous reactions, so treat that as a hard rule here too: never combine ammonia and bleach-based products in the same wash or basin, and keep each escalation step in its own separate round of water.
Last step before anything touches the visible stain: test the solvent on a hidden seam and wait a few minutes to check for color change or damage. Prewash stain removers can fade or run neon and fluorescent colors, so give those garments extra caution.
How to remove ballpoint pen ink from clothes: the default alcohol-and-blot method
Place the stain face-down on clean paper towels. This creates a barrier that lets ink transfer downward instead of spreading into the rest of the garment.
Apply rubbing alcohol to the back of the stain, working from the outer edge toward the center. Dampen the area enough to loosen the ink, but avoid soaking the fabric through, particularly on thinner materials.
Blot with a fresh towel, swapping it out as ink transfers. Expect ink to show up on the towel almost immediately; that's the sign it's working.
For a small stain, there's an alternative that doesn't require a flat surface or constant towel swapping. Stretch the stained area over the mouth of a jar or glass and drip alcohol through the fabric so the ink drops into the container below.
Whichever technique is used, blot, don't rub. Rubbing spreads the stain and can damage the fibers.
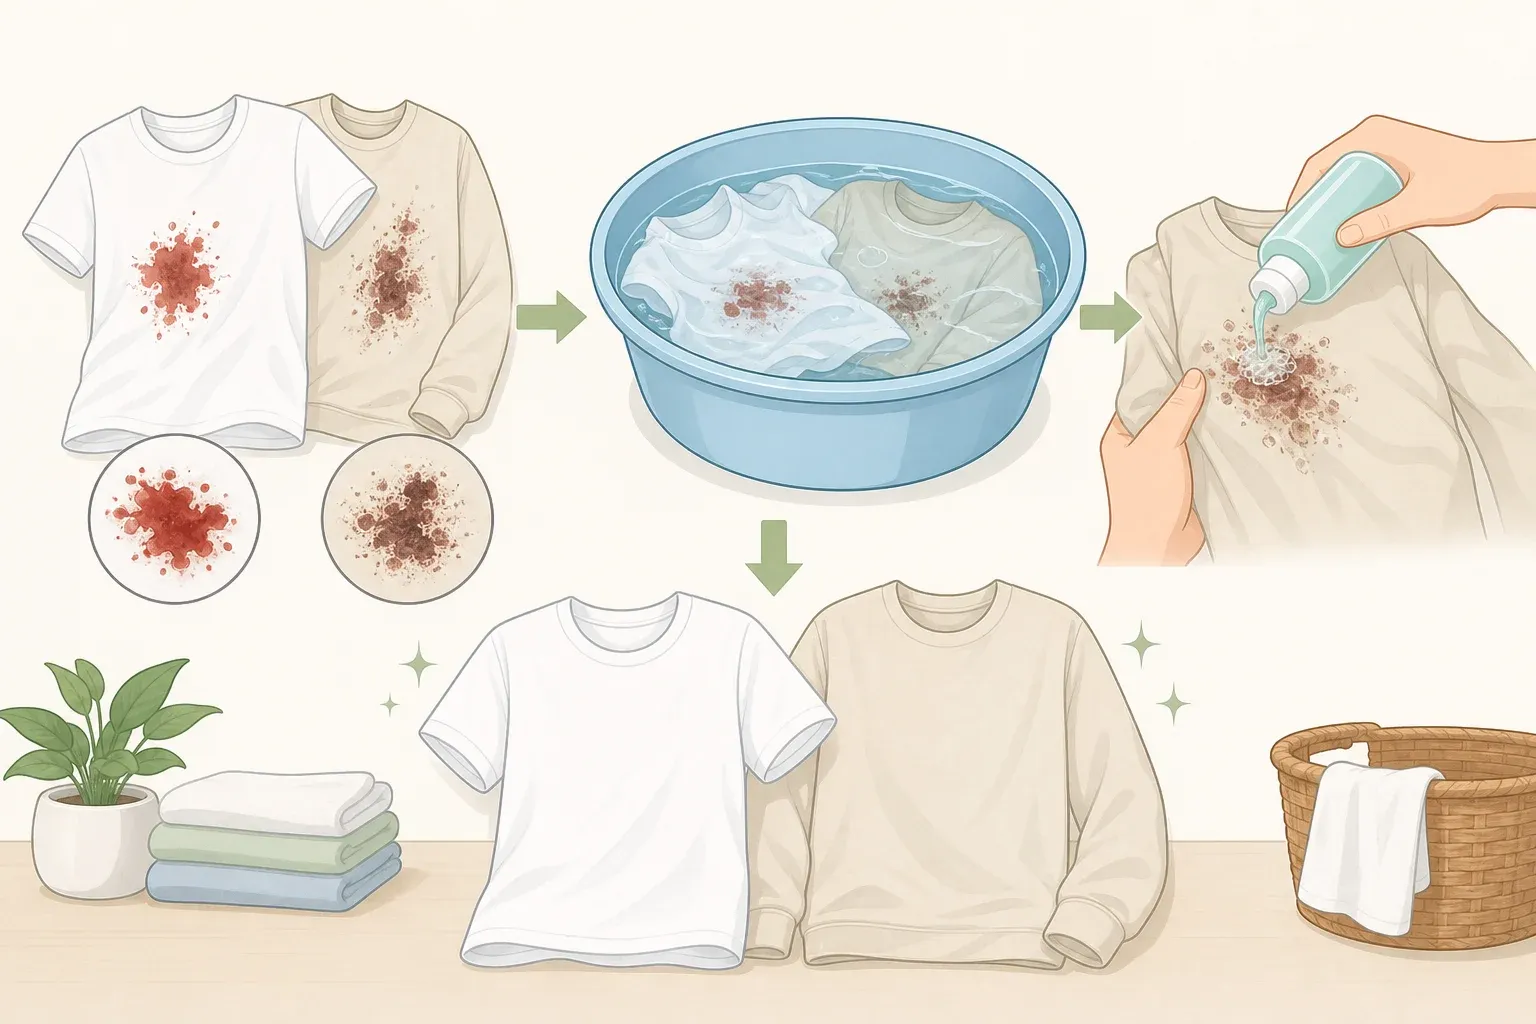
Once paper towels come away clean with no more ink transferring, rinse the area under cool water and apply a pre-wash stain remover. Then launder the entire garment on the hottest setting the fabric label allows, using a color-safe bleach for colored items. Washing the complete garment, not just the treated spot, clears away any leftover residue from the stain or the stain remover itself.
Check the stain while the garment is still damp, before it goes anywhere near a dryer. If a faint shadow of ink remains, let the fabric air-dry and inspect it again in good light once it's fully dry, since wet fabric can hide a stain that's actually still there. If the hidden-spot test passed earlier, small amounts of rubbing alcohol generally won't harm the fabric. But if that test area changed color, texture, or sheen at any point, stop and skip ahead to the professional-cleaning guidance below instead of continuing.
How to remove dried ink stains from clothing
Fresh ink is always the easier case, but a stain that's already dried in, or made it through a dryer cycle once, isn't automatically a lost cause. It's not impossible to remove dried or set-in ink, just harder. The same rubbing-alcohol method above is effective on dried ballpoint ink, not just fresh marks.
Confirm the mark is ink and not already set by heat from a previous dryer cycle. Either way, the steps below are the same; dried ink just needs more patience.
Run the full alcohol-and-blot method from above, working the solvent into the back of the dried stain. Let the alcohol sit for a few minutes before blotting instead of blotting right away, and expect to replace the paper towel more times than with a fresh stain.
Rinse under cool water once blotting stops producing ink on the towel. Skip hot water at this stage entirely. Hot water can set an ink stain permanently rather than lift it.
Apply a pre-wash stain remover directly to any ink still visible. If a shadow remains after that, move to a stronger, tested commercial stain remover rather than repeating the alcohol step on its own indefinitely.
Launder the full garment on the hottest setting the fabric label allows, with a color-safe bleach for colored items.
Air-dry the garment and inspect it in good light rather than running it through the dryer on a guess. A stain that looks gone on a damp, dim glance can reappear once the fabric is fully dry and better lit.
Repeat the sequence once more if a faint mark remains, or stop if color or fiber damage shows up instead. Some ballpoint, felt-tip, and liquid inks may simply be impossible to remove completely, so a stain that's lighter but not fully gone after two full attempts is a reasonable place to stop rather than a failure.
If alcohol isn't enough: a careful escalation ladder
Repeat the alcohol-and-blot method once more on the same stain, or keep going until the ink stops transferring to the towel entirely. If a shadow still remains after that, move to one of the options below instead of repeating the same technique over and over.
Option 1: acetone-based nail polish remover. It works as a quick treatment on fresh ink because it breaks down pigment in a way similar to alcohol. Apply a few drops to a cloth and blot gently. Never submerge the garment in acetone. This is a reasonable alternative to test when alcohol alone isn't lifting the mark, not a method reserved only for stains that have already dried.
Option 2: an ammonia soak for ballpoint or felt-tip ink. Rinse the area under cold water, then soak the garment in hot water mixed with a bleach-free liquid detergent and a few splashes of ammonia. Rub the stain periodically for 30 minutes to an hour, or let stubborn marks soak overnight with occasional rubbing. Rinse thoroughly after soaking, and keep this step completely separate from any bleach-based product or wash; ammonia and bleach should never share a basin or a load.
How to remove permanent marker ink from clothes
Permanent marker is the one case where sources disagree on the strongest fix. Alcohol may work, but acetone is the usual match for this ink type. Start with alcohol: Acetone is a powerful solvent that shouldn't be used to submerge clothing, so there's less margin for error with it. Test acetone only after a hidden-spot check has passed, and treat either result as a maybe rather than a guarantee.
If alcohol, acetone, and ammonia all fail to fully remove a stain, switch to a tested commercial stain remover rather than repeating the same steps again. Stop entirely if color loss or fiber damage shows up at any point in this process. A lighter stain that didn't fully disappear is a better outcome than a damaged garment.
Ink-type and fabric quick reference
Different inks and fabrics call for different handling, and mismatching the two is one of the more common ways people make a stain worse rather than better.
Ballpoint (oil-based): responds best to alcohol first.
Fountain pen (water-based): often lifts with soap and water alone before reaching for any solvent.
Cotton and linen: tolerate stronger treatments, including alcohol and acetone; wash in hot water afterward if the care label allows it.
Washable silk and wool: skip acetone and heavy rubbing. If attempting removal at all, use diluted alcohol sparingly and blot gently. Seek professional cleaning for valuable or delicate items, which is worth considering for a silk or wool piece worth protecting.
Synthetic fabrics: test carefully, since some solvents can melt or discolor synthetics.
When not to DIY: stop points and professional cleaning
Some situations call for putting the solvents down and calling someone instead of pushing through the steps above.
Leather is one of them. Home solvents risk permanent damage, so a specialist leather cleaner or professional service is the safer route.
Dry-clean-only garments should only be blotted to remove excess ink, never treated with alcohol or acetone at home. Take the item to a professional cleaner immediately and mention the ink type if it's known.
Valuable upholstery calls for minimal liquid to avoid soaking the padding underneath. Since a sofa cushion can't be thrown in the wash afterward the way a shirt can, professional cleaning is worth considering before risking a solvent on it.
Printer ink is especially difficult to remove at home and may call for professional cleaning after immediate blotting.
Worth clearing up before trying any of them: hairspray's reputation for removing ink comes from the alcohol in its formula, but many modern formulas contain too little alcohol to work reliably and leave a sticky residue to clean up afterward regardless. Vinegar and toothpaste haven't tested as effective either. Hand sanitizer's alcohol content may budge a stain slightly, but none of these should be reached for as a primary method when straight rubbing alcohol is available and better supported.
Before you dry the garment
Check the stain once more before anything goes into the dryer. Paper towels or cloths should come away completely clean during the final blotting pass, and after laundering on the hottest setting the fabric label allows, there shouldn't be any visible shadow where the ink used to be.
If a faint mark is still there, don't run the dryer on a hunch that another cycle will finish the job. Air-dry the garment instead, inspect it again in better light, and repeat the alcohol-and-blot or escalation steps above if something is still there to treat.
Skip hairspray, vinegar, or toothpaste as a first choice; none of them tested as reliably effective, as covered above. If two full rounds of treatment still leave color behind, or if the fabric itself has changed color, texture, or sheen from the solvents, stop treating it at home. A stain that's lighter but not invisible is a fine outcome for a favorite shirt. A leather jacket, a dry-clean-only blazer, or a valuable piece of upholstery is better off at a professional cleaner than pushed through one more round of home treatment.

Comments
Be the first, drop a comment!