



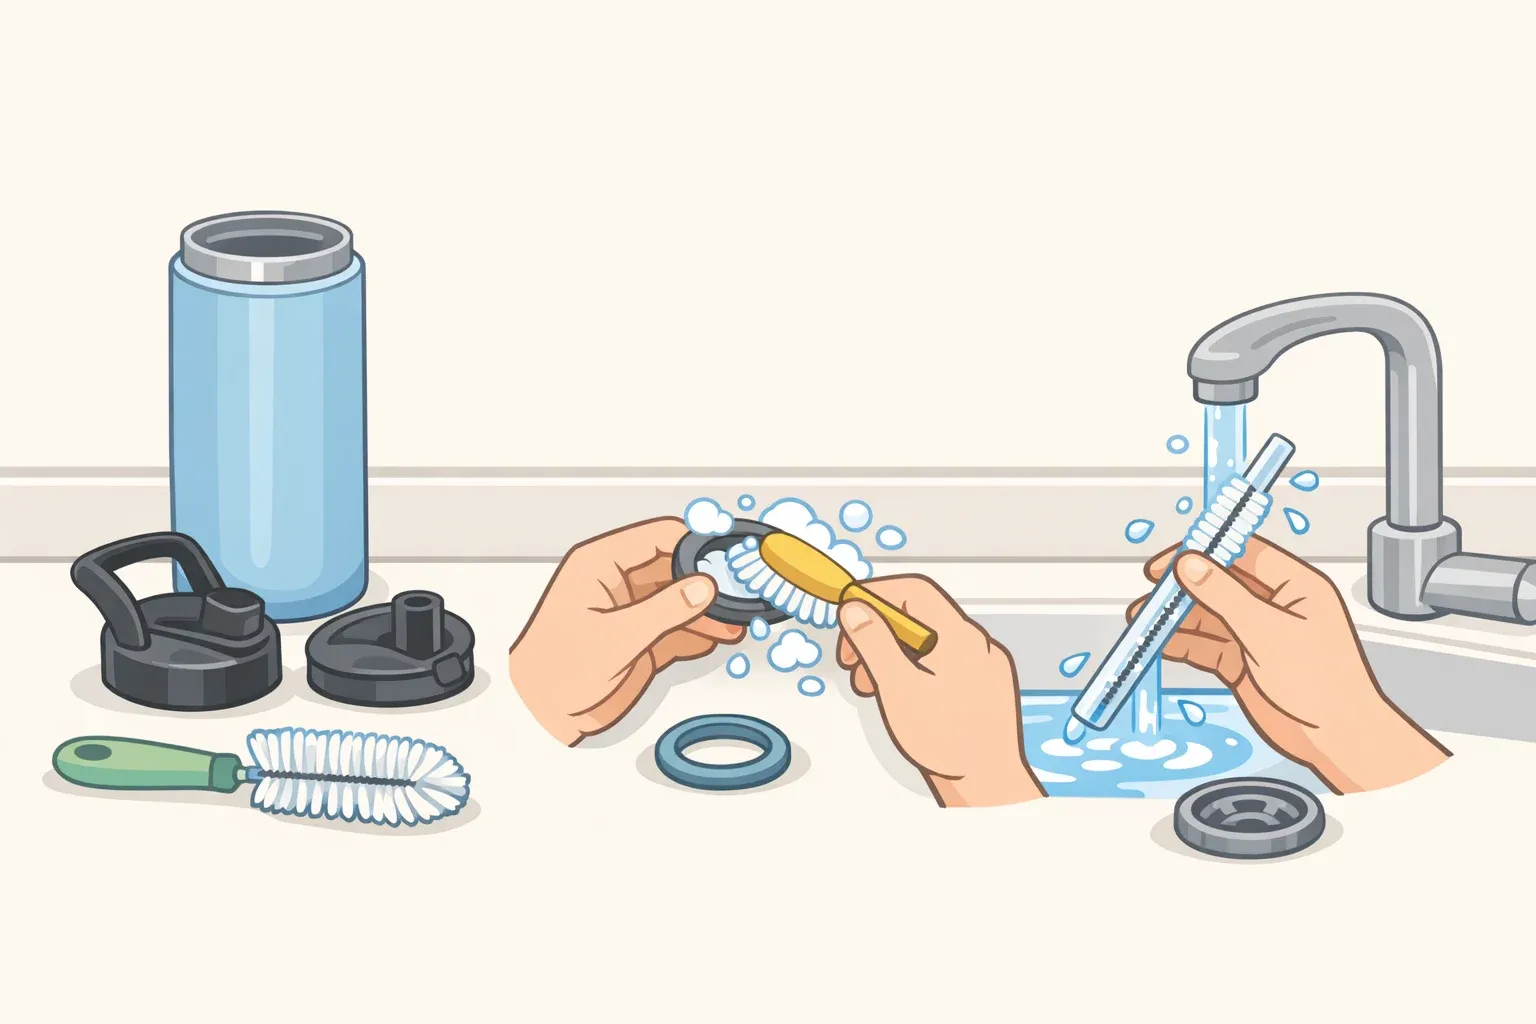
How to Clean a Water Bottle: Lid, Straw, and Gasket Guide
If a reusable bottle still smells off no matter how many times it gets rinsed, the metal isn't the problem. "The stainless steel itself usually isn't the problem," cleaning expert Fletcher told Simply Recipes six days ago. Most odor traces back to parts almost nobody removes: the lid, the silicone gasket, the straw, the bite valve, and the mouthpiece.
The practical fix is to disassemble the bottle instead of scrubbing harder at the outside. That's the core of how to clean a water bottle correctly: washing with soap, hot water, and a scrub brush has to happen before any sanitizing step actually does anything, since sanitizing only cuts germs effectively on surfaces that are already clean, per CDC guidance from last year. Bottles are especially prone to buildup because they sit dark, warm, and moist most of the day and rarely get a chance to fully dry between refills, according to the Cleveland Clinic.
This guide covers what to gather, how to check which parts of your bottle actually come apart, the full disassembly method, a realistic daily and weekly rhythm, and the signs that mean a part needs replacing instead of another scrub. It's a beginner-friendly task built around a couple of brushes and some patience while things dry.
What you'll need before you start
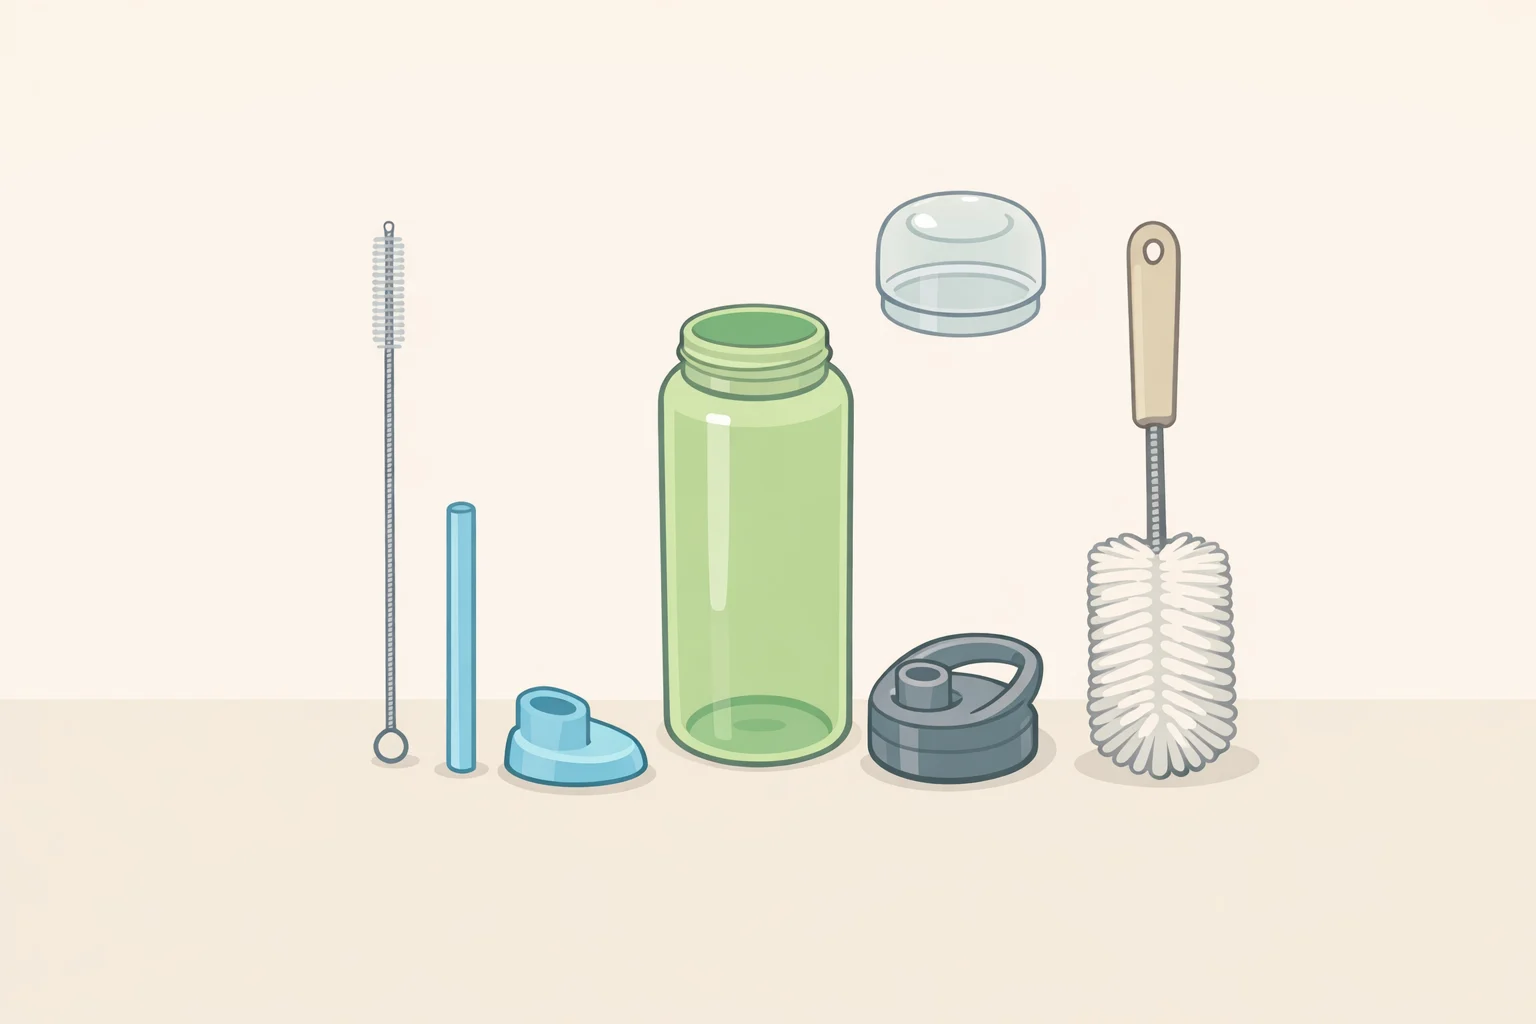
Gather dish soap, hot water, a bottle brush sized to the main chamber, and a narrow straw brush if the bottle has a straw or bite valve. Use a brush designed for straws specifically; a standard bottle brush may not reach one, per Simply Recipes.
Before touching any part, track down the manufacturer's care instructions for that specific bottle. Whether a piece is removable, whether the whole thing is dishwasher-safe, and whether the material can handle bleach vary by product, so check those details before you start rather than assuming they match some other bottle you've owned.
How to clean a stainless steel water bottle versus other materials
Check first whether the lid, gasket, straw, and mouthpiece actually separate from the body. Plenty of people never realize these pieces come out at all, which is exactly why they never get cleaned, according to Simply Recipes. If a piece doesn't obviously twist or pop loose, check the product page or the care card that shipped with the bottle rather than forcing it.
If a gasket looks stuck, skip the knife. Forcing it loose could tear the silicone or warp the seal, and a torn gasket may not seal properly again even after a thorough clean. Follow the manufacturer's instructions for removing it, and if tool-assisted removal is allowed, use something blunt, like a flat plastic edge, rather than metal.
Treat a single-wall stainless bottle, an insulated double-wall model, and a basic plastic bottle as potentially different cases rather than assuming one method fits all of them. Bleach is the clearest example: Fletcher recommends a diluted bleach soak only when the bottle's manufacturer confirms it's safe for that material, per Simply Recipes. Skip bleach entirely if there's no confirmation, and don't guess at your own dilution.
Daily and weekly cleaning workflow
Daily, rinse thoroughly with warm water after every use at minimum, or wash with hot, soapy water when there's time. That's the baseline both Simply Recipes and the Cleveland Clinic point to.
Weekly, take the bottle apart for a full clean. If the manufacturer lists the parts as dishwasher-safe, separate the lid, gasket, straw, and mouthpiece, load them the way the care instructions describe, then run a cycle with a heated-dry or sanitizing setting if the components are rated for it. That gets hot water into gaps and corners a hand wash can miss, according to the Cleveland Clinic. Hand washing works fine as the alternative if a dishwasher isn't an option, or if the parts aren't rated for one.
How to deep clean a water bottle: disassemble, scrub, and dry
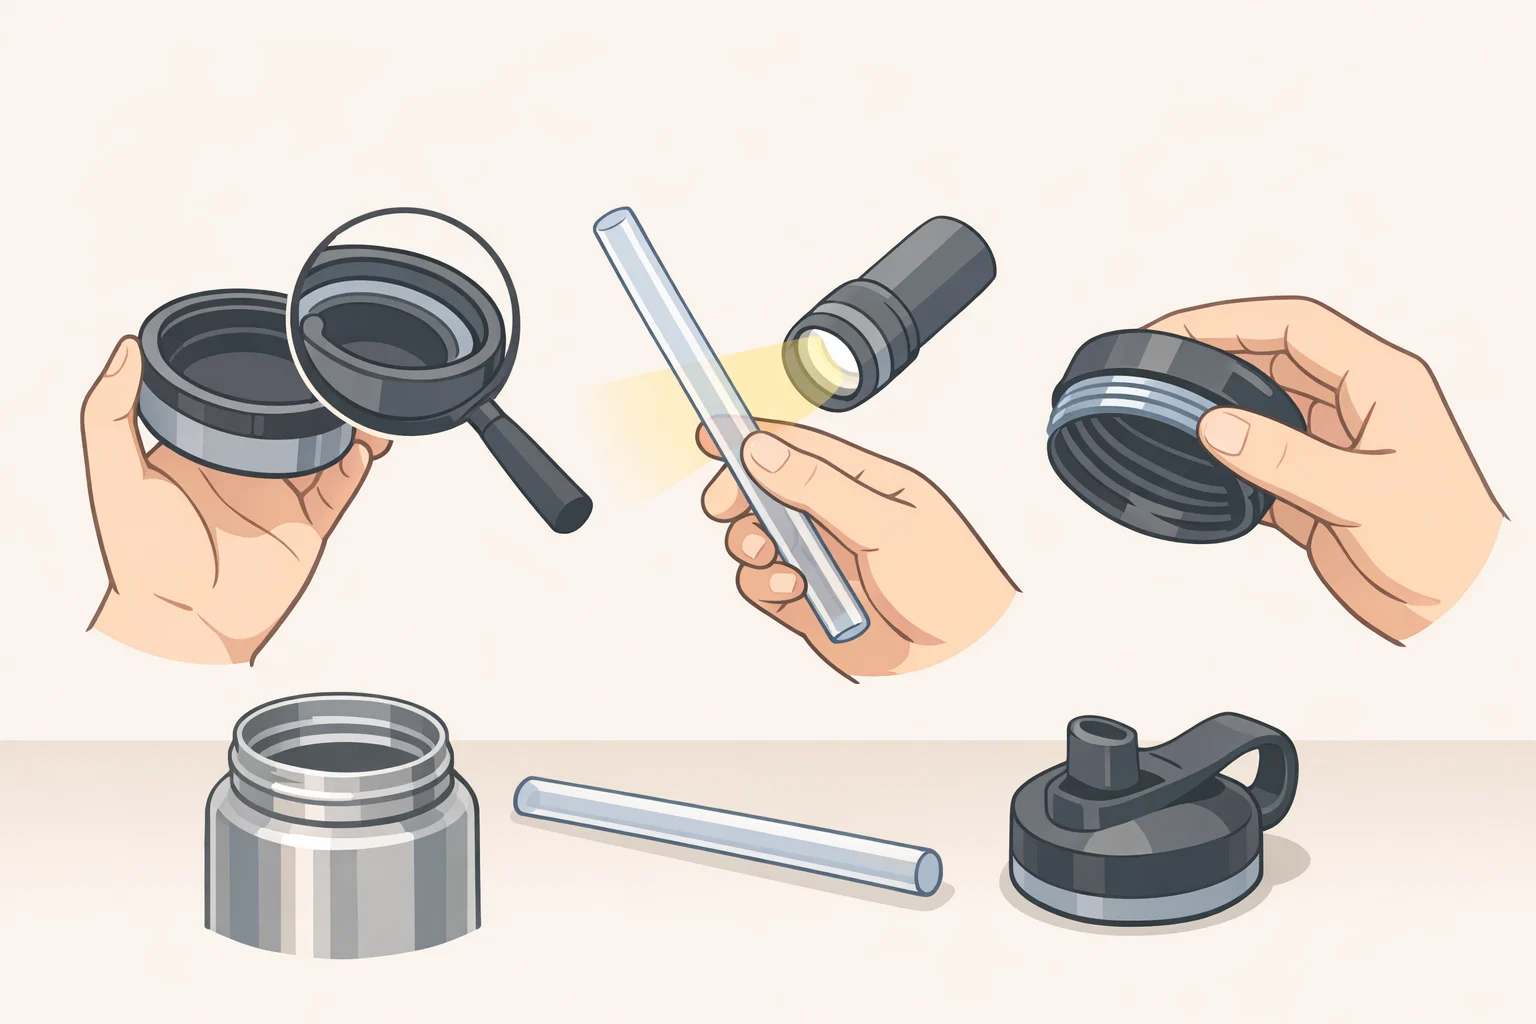
This is also the basic method for how to wash a water bottle lid and straw by hand, whether it's your weekly deep clean or you're catching up after skipping a few days.
- Empty the bottle completely. Pour out whatever's left before touching a single part.
- Take it fully apart. Remove the lid, gasket, straw, mouthpiece, and any other removable piece. These are the components most people skip, per Simply Recipes.
- Inspect each piece before washing. Look under the gasket for grime along the channel it sits in, hold the straw up to the light to check for buildup inside, and check the threaded channel inside the lid where it screws onto the body. These spots trap the buildup a quick rinse never reaches.
- Wash each part in hot, soapy water. Use the narrow brush inside the straw and around the gasket channel specifically. A rinse alone won't remove buildup that's already there, according to Simply Recipes.
- Rinse thoroughly, then set every piece out to air-dry completely. Leave the lid off, or resting loosely on top, rather than sealing it shut while parts are still damp.
The mistake most people make here is reaching for baking soda or vinegar as the first move instead of a follow-up step. "I wouldn't rely on baking soda or vinegar to solve a smelly bottle," Fletcher told Simply Recipes, noting both get recommended constantly online but "won't do much" if the buildup hasn't already been scrubbed away. Scrubbing has to come first; skip it and whatever soak comes next is working against grime it was never designed to cut through on its own.
Check the result before reassembling: no visible film on the interior walls, no trapped debris when the straw is held up to light, no lingering soap smell after the final rinse, and every part dry to the touch. Those checks confirm you've removed visible residue and can move on to drying, not that every trace of germs is gone.
Odor in the bottle body, the gasket, or the straw
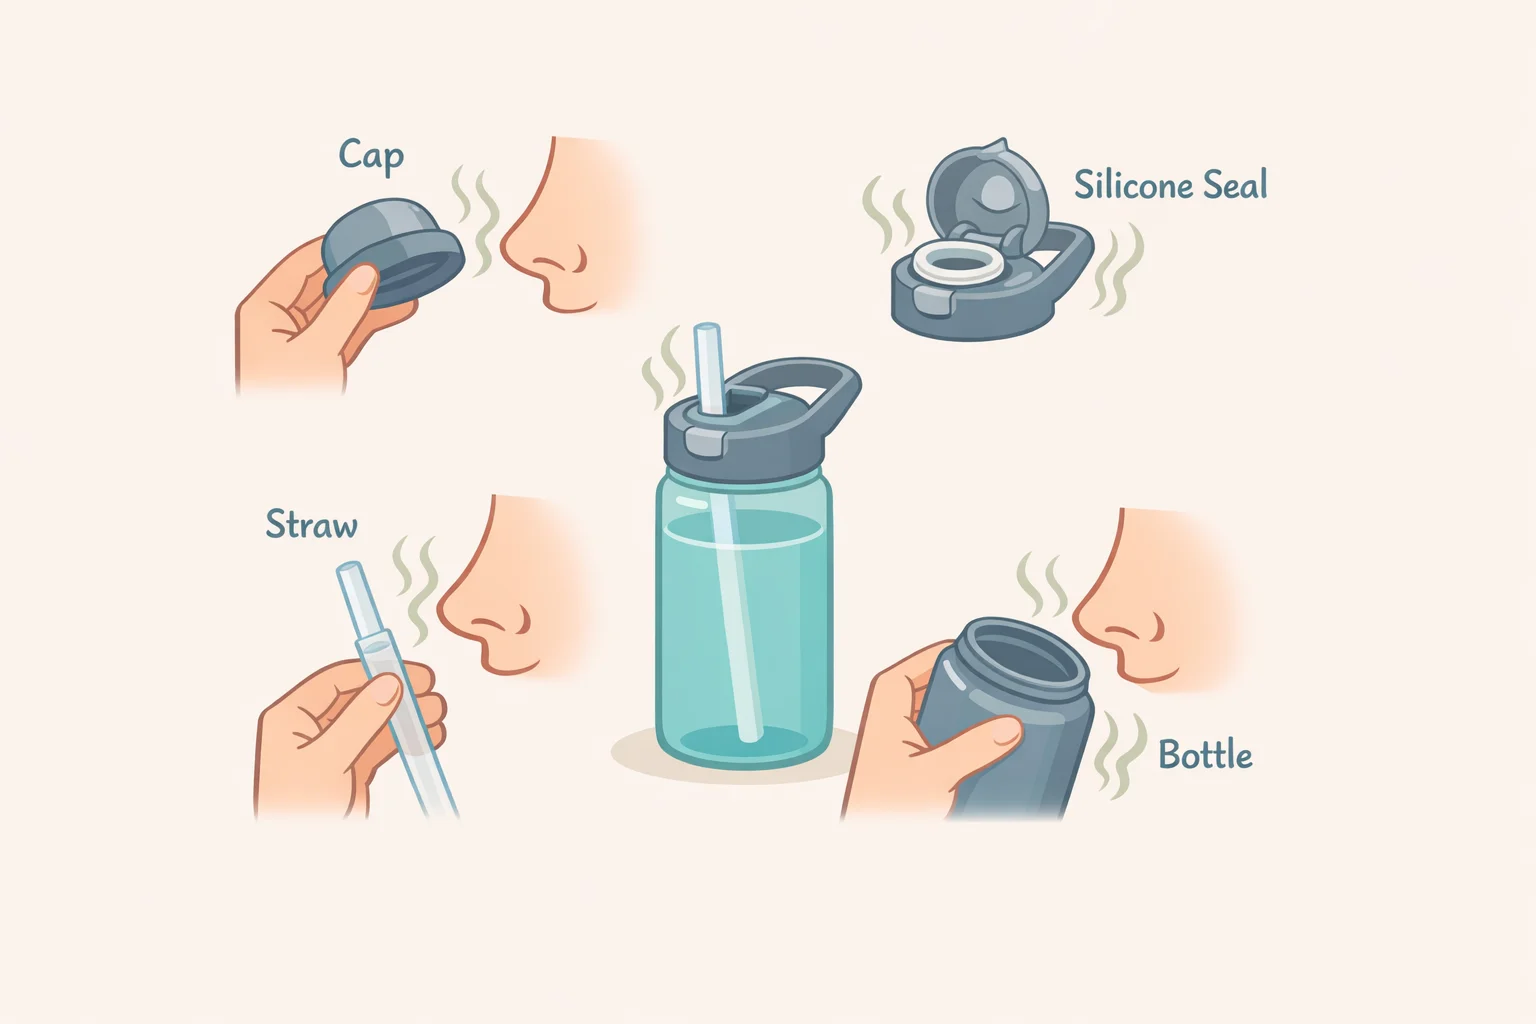
If odor survives a proper weekly disassembly and scrub, where it's coming from changes what to try next.
Odor centered in the main chamber usually means the scrub missed a spot. Re-scrub with the bottle brush and work around seams and corners where the brush tends to skip over. Most bottles come back with a genuinely thorough physical clean, per Simply Recipes.
The gasket is a likely place to inspect first. When a clean bottle still smells, Fletcher says it's the first place she suspects, since the silicone ring sits in a channel that's easy to under-clean, per Simply Recipes. Pull it fully out, scrub both sides plus the channel it sits in, and rinse well before deciding it needs a chemical treatment.
If the odor is strongest in the straw or bite valve, inspect those parts closely and brush through them from every accessible opening, working from both ends if both are accessible and the manufacturer's instructions permit it. A bent straw can trap buildup a brush only reaches from one direction.
If a re-scrub doesn't clear the smell, pick one follow-up treatment rather than layering several:
- A vinegar soak. Equal parts vinegar and water, left in the bottle for a few minutes and rinsed out, according to the Cleveland Clinic.
- A manufacturer-approved bleach soak. Only if the bottle's manufacturer confirms bleach is safe for that material, per Simply Recipes.
These aren't interchangeable steps in one escalating routine. Choose only a treatment the manufacturer allows for that bottle, and never improvise a bleach dilution on your own. After whichever treatment you use, follow the product instructions for rinsing, washing, and letting everything dry before deciding whether the smell is actually gone.
Bacteria show up again even with careful use, because handling the cap, mouth contact, and setting the bottle down all introduce fresh bacteria every time it's used, according to the Cleveland Clinic. That's why the daily and weekly rhythm matters more than any single deep clean.
For most healthy households, regular washing with soap and water covers it. CDC guidance on infant feeding items follows the same practical logic: daily sanitizing isn't necessary once items are already being cleaned carefully after each use, and that extra step gets reserved for higher-risk situations, like a weakened immune system, per CDC.
Signs of mold, and when to stop drinking from the bottle
A smell that persists after washing, cloudy or murky water, and a slimy film on the interior walls known as biofilm are all signs the Cleveland Clinic ties to mold or bacterial buildup. None of these confirm mold on their own, but they're reasons to look closer and re-clean rather than shrug them off.
If you actually see mold, or you've inspected closely and are reasonably confident it's there, stop drinking from the bottle right away. Wash it with hot water and soap, then follow up with a vinegar soak if odor remains, per the Cleveland Clinic, or a manufacturer-approved bleach soak if that's what the care instructions allow, per Simply Recipes. For odor or cloudiness alone with no visible mold, pause use just long enough to inspect the bottle and run the deep clean again. If the smell or cloudiness returns after that full clean, stop using the bottle while you inspect the parts and contact the manufacturer about replacement components.
A 2024 study on military-style hydration reservoirs found chlorine-releasing treatments, meaning bleach and proprietary cleaning tablets, cut bacterial contamination more than baking soda did, according to the Journal of Special Operations Medicine. Even so, no method tested eliminated bacteria completely. The study measured chemical treatments, not mechanical scrubbing, and used military hydration reservoirs rather than household bottles, so it doesn't stand in for the scrub-first routine most households actually need.
When to replace a part instead of cleaning it again
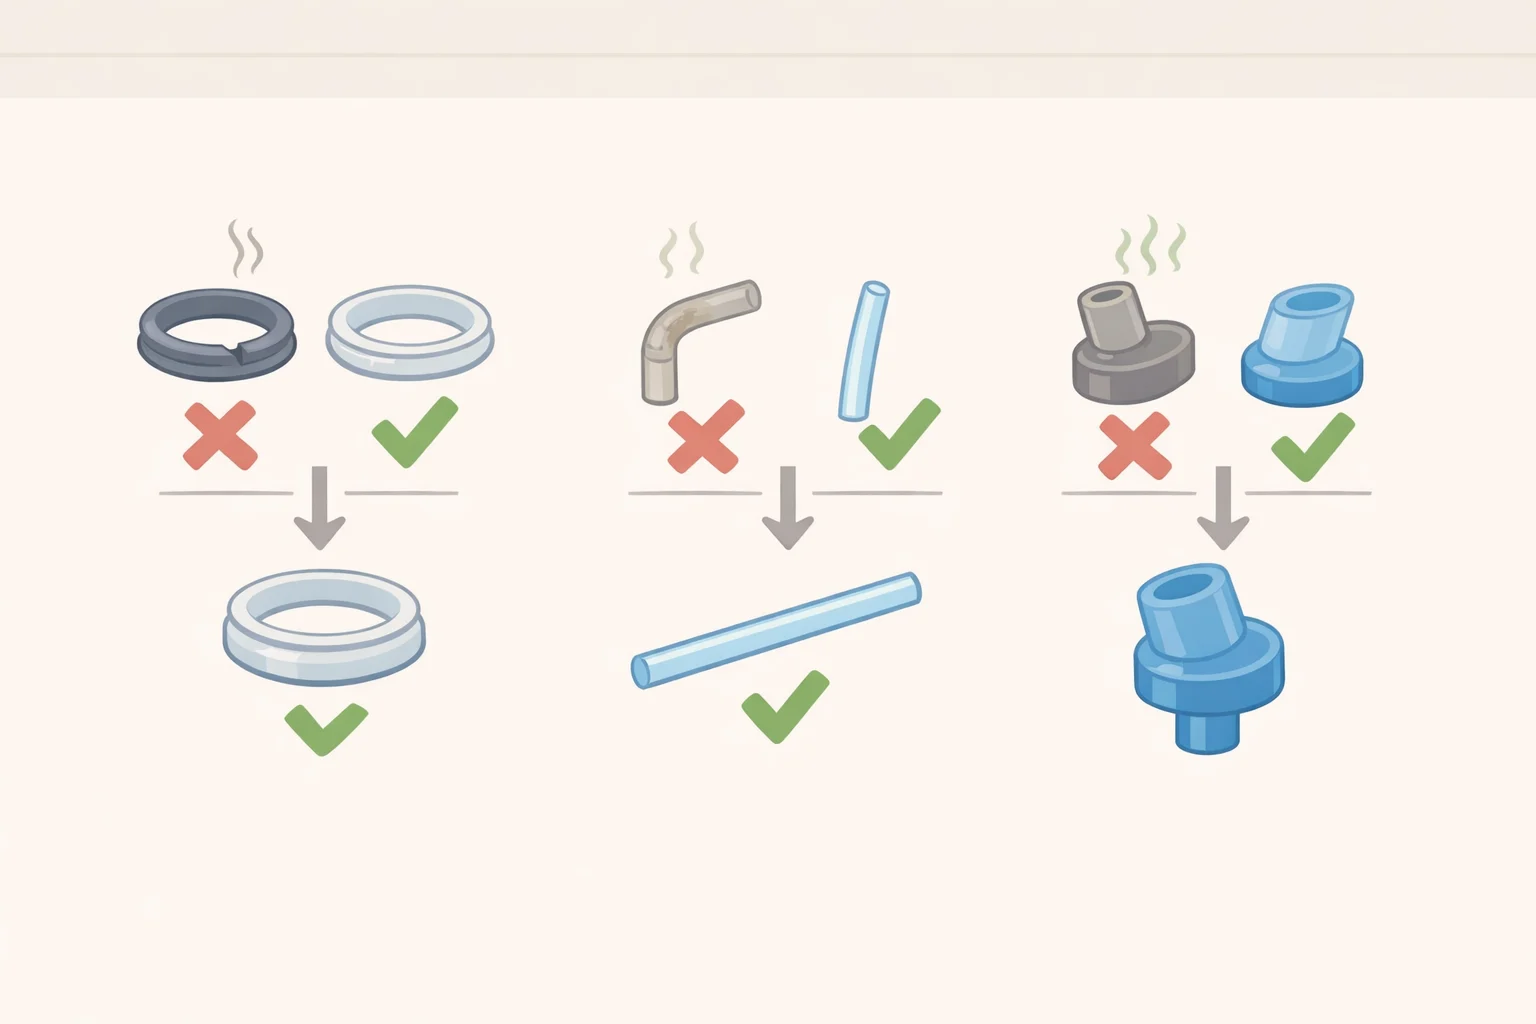
Some odors are a sign to swap a part rather than clean it one more time. Replace the gasket if it stays smelly after a manufacturer-approved bleach soak, starts cracking, or mold keeps returning to the same spot no brush can reach, per Simply Recipes. Ask the manufacturer about replacement straws, bite valves, or mouthpieces if those parts remain smelly, cracked, warped, or impossible to clean; a cracked or warped part should be replaced rather than reused.
If a lid, gasket, or straw is molded as one fixed piece and doesn't separate the way the care instructions describe, don't force it open looking for a seam that isn't there. Wipe and brush what's accessible, run it through whatever cleaning cycle the manufacturer permits, and treat persistent odor in a fixed component as a sign the whole piece needs replacing rather than a deeper disassembly.
Before ordering a replacement gasket, straw, or lid, confirm it's listed as compatible with your exact model on the manufacturer's site or packaging. Bottle brands often change gasket sizing or straw diameter between generations, and a part that looks similar may not seal or fit correctly.
Getting back to a clean bottle
A quick checklist for keeping this from becoming a recurring problem:
- Rinse or wash after every use.
- Disassemble for a full clean once a week.
- Dry the bottle and every removable part separately before reassembling.
- Replace a component once it's cracked, warped, or still smelly after an approved treatment.
- Stop using the bottle if visible mold shows up again right after a full clean.
If the routine above gets the bottle back to smelling and looking clean, that's the finish line, no further soaking or scrubbing needed. If a part keeps failing that checklist despite proper care, it's not a cleaning problem anymore. Order the replacement piece and move on.
















Comments
Be the first, drop a comment!