



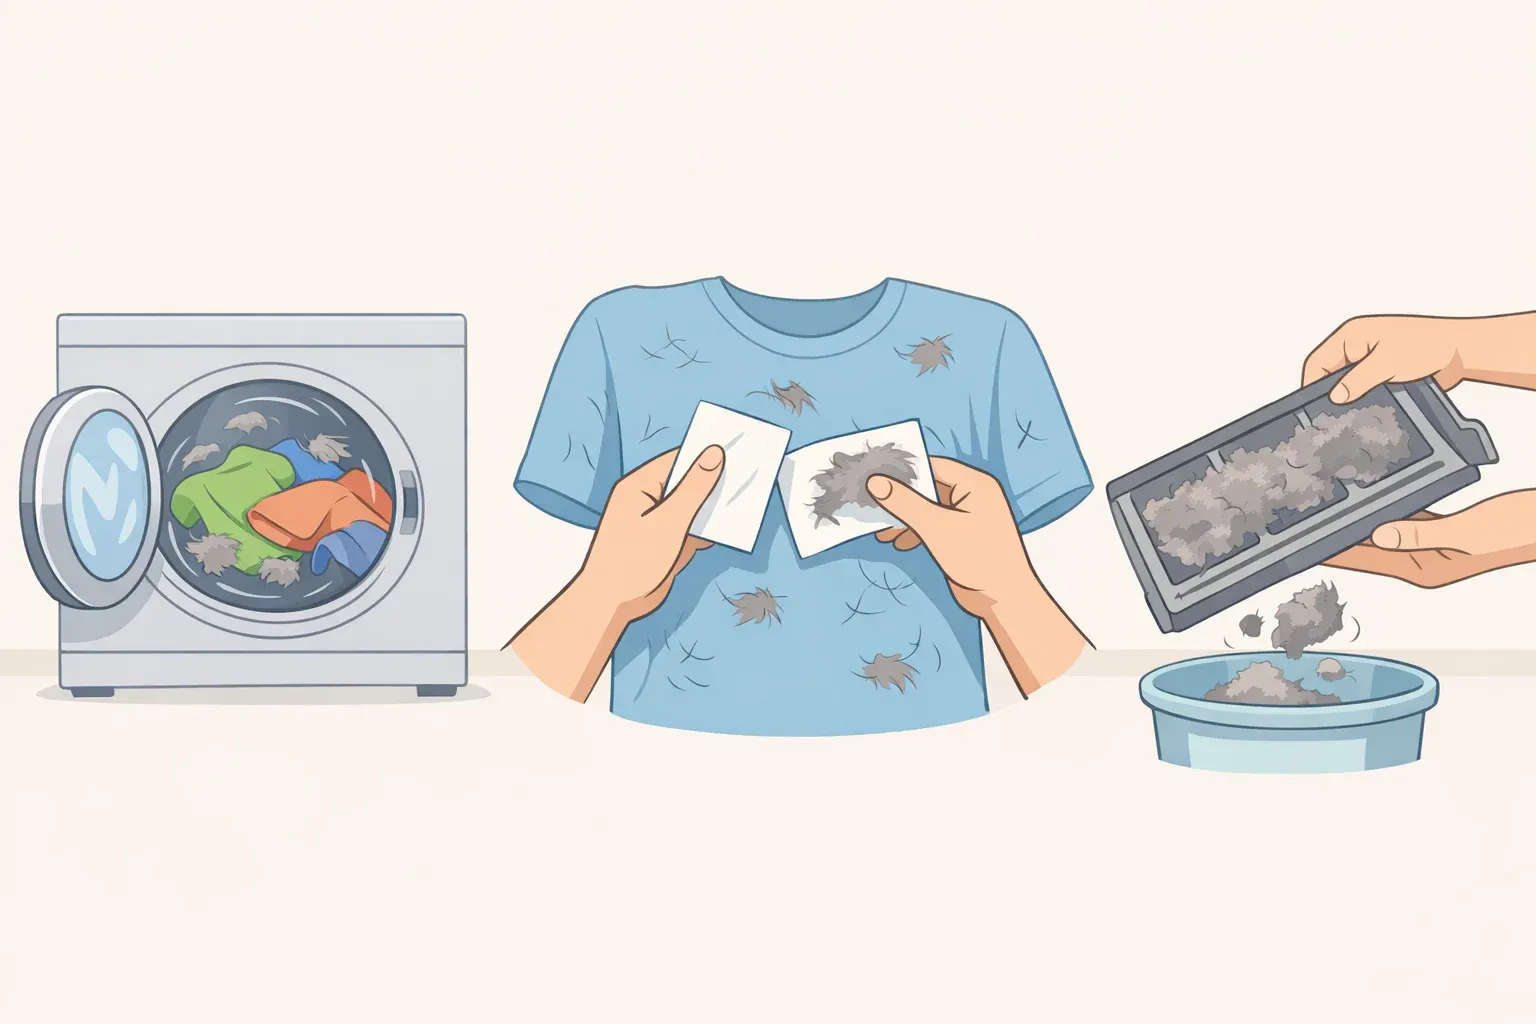
How to Remove Pet Hair From Clothes in the Laundry: Pre-Wash Dryer Trick
Most people dealing with a fur-covered load go straight to the washing machine. That's the wrong move. Knowing how to remove pet hair from clothes in the laundry starts before the wash cycle and getting that sequence right makes everything else easier.
By the end of this guide, you'll know the single pre-wash step that removes most of the hair before water ever touches your laundry, plus the wash settings that finish the job. This guide covers standard dryer-safe clothes and household fabrics. Delicates, wool, and structured garments get their own note at the end of Step 1.
Before you start, confirm:
- The items are dryer-safe and washer-safe (check care labels)
- One dryer sheet is on hand, or a previously used one if you're not washing immediately
- The lint trap is clear
Why the order of operations matters
Pet hair gets dramatically harder to remove once water enters the picture. A Speed Queen spokesperson told Consumer Reports that adding water makes the problem "that much more difficult" wet hair clumps together, sticks to the drum, and can clog drain pumps. Water is also what turns a manageable surface problem into something embedded in the weave.
The fix is one step earlier: a 10-minute no-heat tumble in the dryer, with a dryer sheet, dislodges loose hair and routes it to the lint trap before the wash begins. Good Housekeeping's Home Care & Cleaning Lab tested this directly and confirmed it removes most pet fur from clothing not every last strand, but enough to change what the washing machine is dealing with.
Step 1: How to remove pet hair from clothes in the laundry before washing
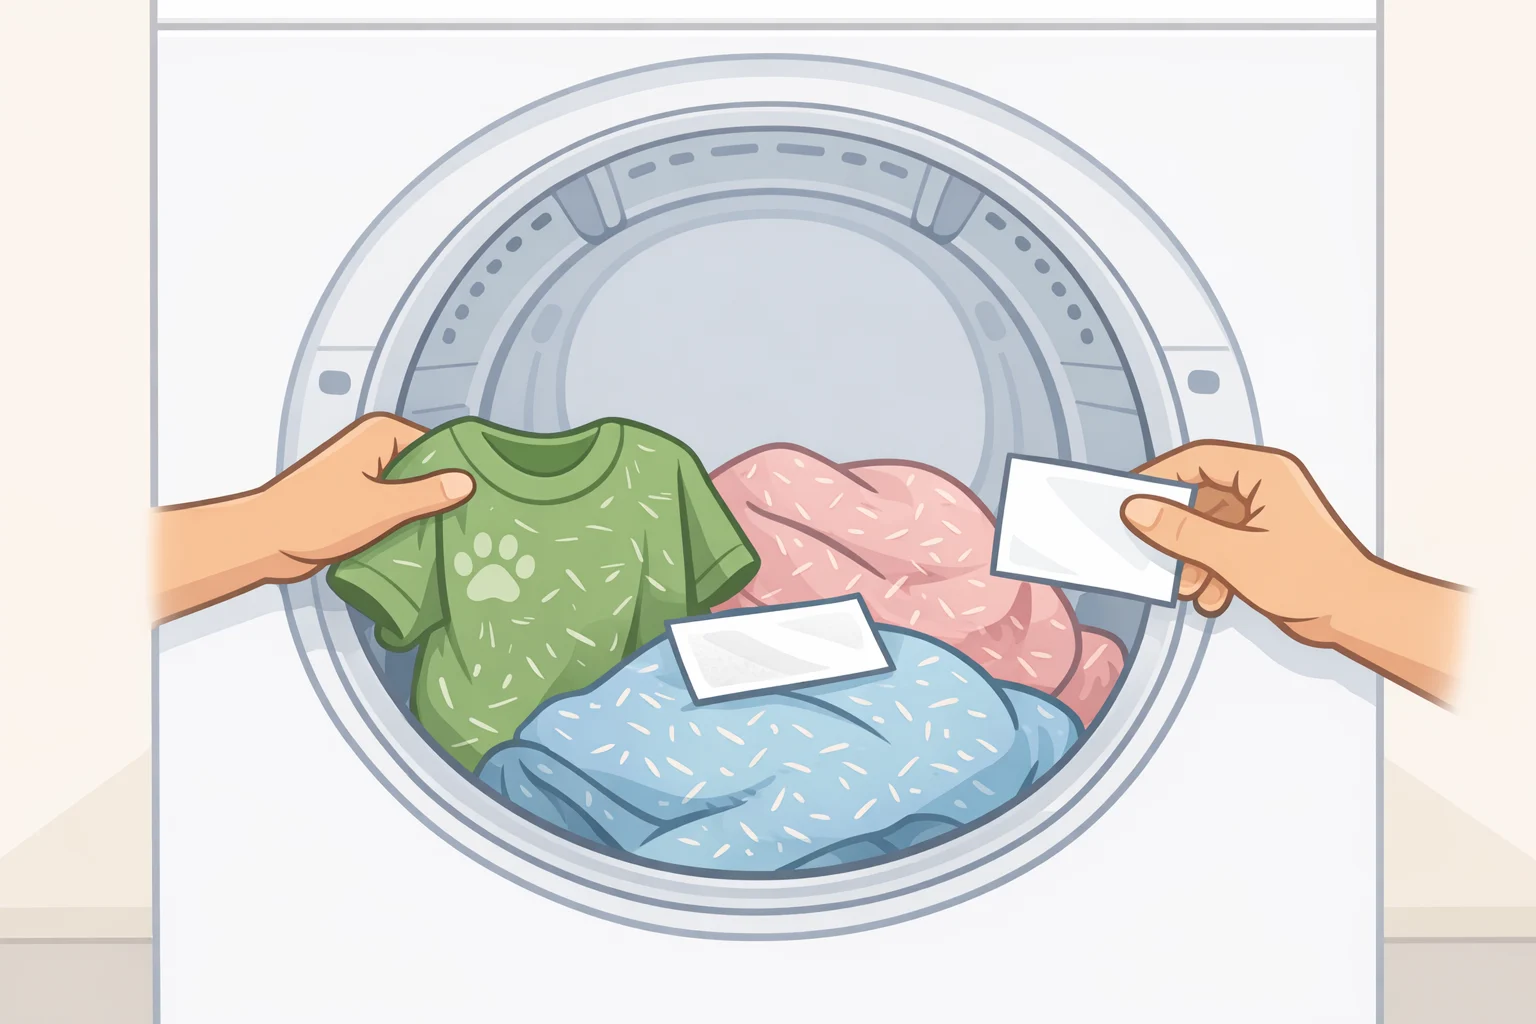
This step happens before the washing machine is involved.
-
Load the dryer loosely. Add the pet-hair-covered items clothes, blankets, couch covers, or other dryer-safe textiles. Toss in one dryer sheet. Don't overpack; the items need room to tumble freely.
-
Set the dryer to air-fluff or no-heat tumble. This is not a standard heated drying cycle. Look for "air fluff," "air dry," or "no heat" on your dryer's dial or settings. Run it for 10 minutes.
-
Transfer directly to the washer when the cycle ends. The pre-wash tumble works by agitating fabric and sending loose hair to the lint trap, where it stays rather than circulating through a water-filled drum and re-attaching. The dryer sheet helps by reducing the static charge that keeps hair bonded to fabric, which Consumer Reports cites as a key reason hair clings to clothing.
-
Clean the lint trap before you walk away. Do this immediately. Pet hair fills lint traps faster than regular lint, and a clogged vent reduces drying efficiency and creates a genuine fire hazard Good Housekeeping flags this explicitly.
Dryer sheet caveat: Dryer sheets are designed for wet fabrics, not dry ones. On dry items, they can leave a faint soft or slightly coated feel. If you're washing right after which is the normal sequence it washes out completely. If you're not washing right away, use a previously used dryer sheet to minimize residue, or lightly dampen the clothing before tumbling (Good Housekeeping).
Prefer to skip dryer sheets: Wool dryer balls are a reusable alternative, though the evidence on their pet-hair-specific performance is thinner than for dryer sheets (HandWiki). Worth trying if residue or cost is a concern.
For items that can't go in the dryer: Delicates, wool, silk, or structured garments need a different approach. Put on a damp rubber glove not soaking wet, just damp and sweep it firmly across the fabric surface before hand-washing. Hair clings to the rubber and can be gathered and discarded. Consumer Reports recommends this method specifically for items that can't tumble. For ordinary clothes without access to a dryer, a lint roller or masking tape is the fastest manual fallback Consumer Reports calls it the most direct pre-wash option for standard garments.
Step 2: Wash settings that finish the job
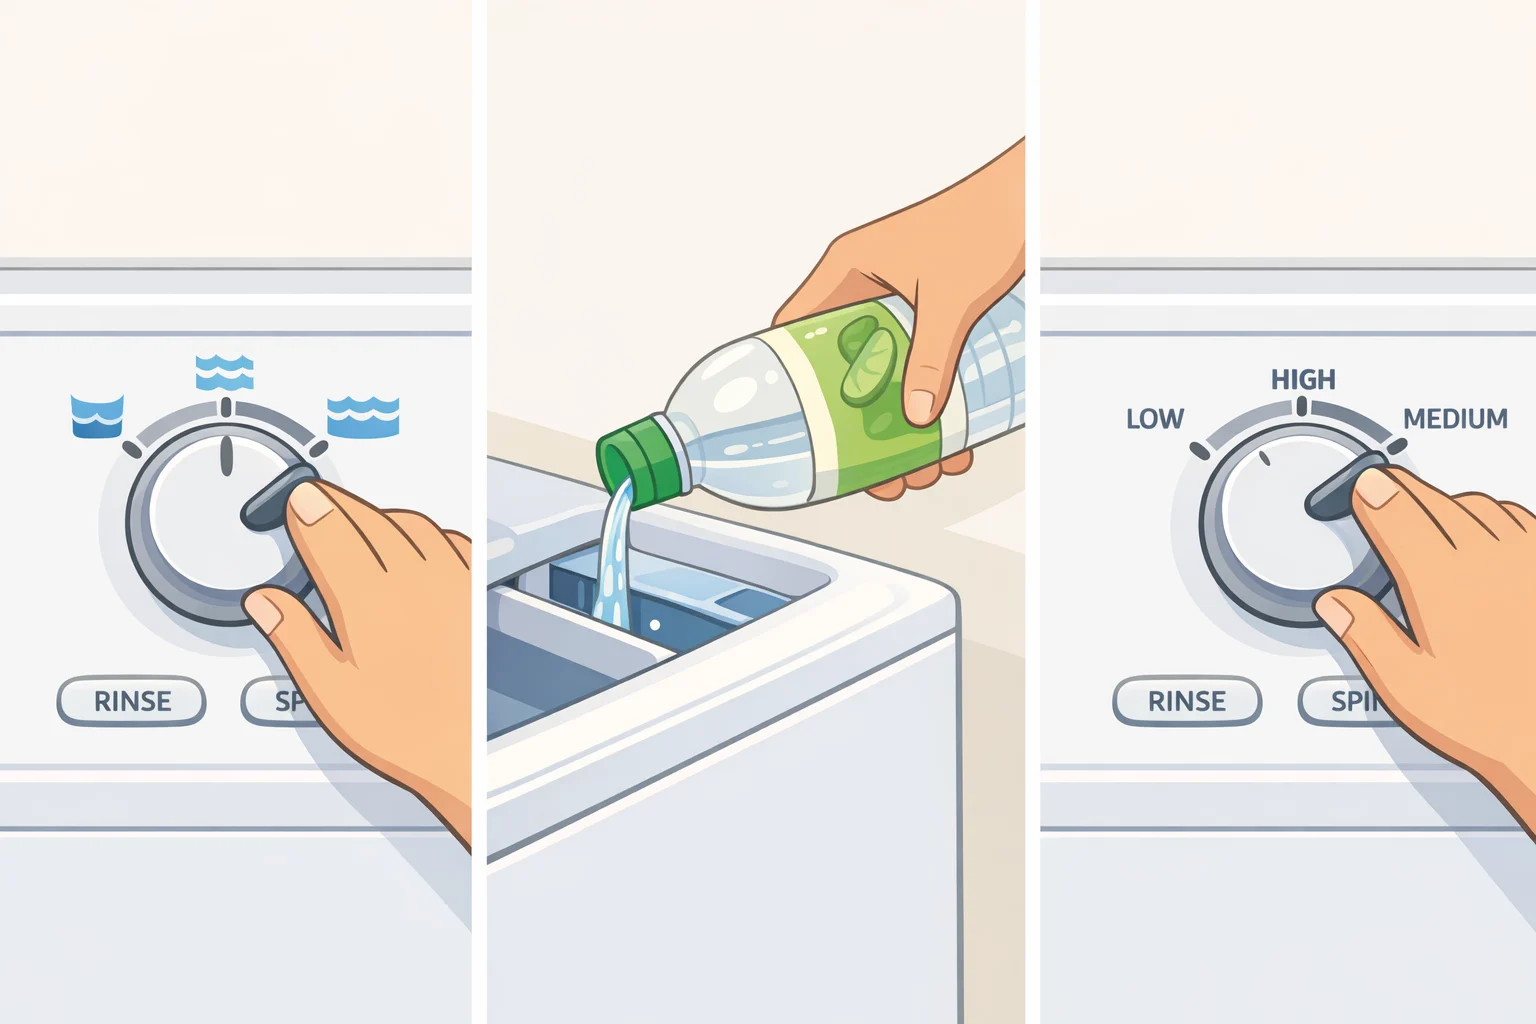
The pre-wash tumble removes most of the hair. These wash settings handle what's left.
-
Load the machine no more than halfway. Items need room to move. A packed drum traps hair against fabric rather than releasing it the agitation that should help becomes counterproductive. One commercial laundry guide, Beckham Laundry World, recommends filling machines no more than halfway for pet-heavy loads.
-
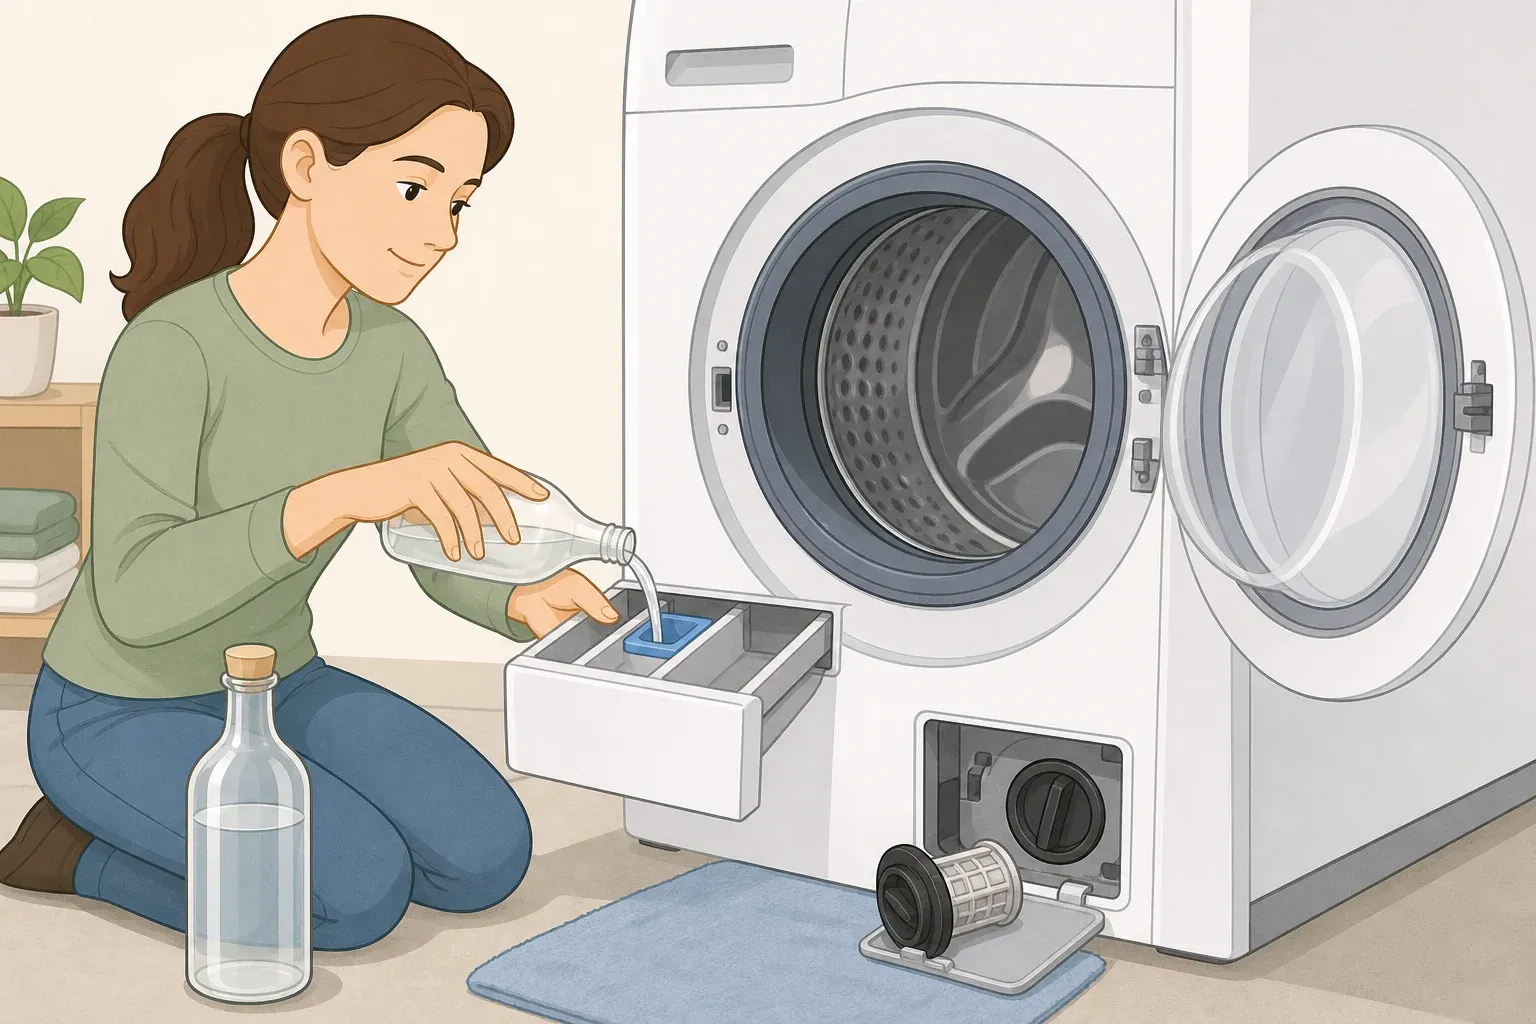
Add half a cup of distilled white vinegar to the rinse cycle. Pour it into the fabric softener dispenser or directly into the rinse not onto the clothes. Vinegar acts as a natural fabric softener, helping loosen remaining hair and reducing static re-attachment. Consumer Reports recommends it specifically for pet-heavy loads. The vinegar smell disappears completely during drying.
⚠ Check your owner's manual before using vinegar regularly. Consumer Reports notes that some manufacturers, including Whirlpool, caution against repeated vinegar use it can damage certain internal components over time. If your manual warns against it, skip this step.
-
Select the highest spin speed the fabric allows. A high-spin setting uses centrifugal force to pull loose fibers away from fabric and toward the drain. Beckham Laundry World recommends it as part of an effective pet-hair removal routine. Check care labels; delicates need a lower setting.
-
Run an extra rinse cycle for stubborn loads. For heavily furred bedding or loads that didn't get fully pre-treated, an additional rinse pass is one of the more reliable finishing moves. Consumer Reports specifically calls this out for persistent hair.
On specialty pet-hair cycles: Some machines advertise dedicated settings for this. Consumer Reports tested Maytag's Pet Pro cycle and found it didn't outperform a standard older front-load washer on hair removal, while using more water and time. The techniques above will serve better than chasing a specialty cycle.
When you still see hair after the wash
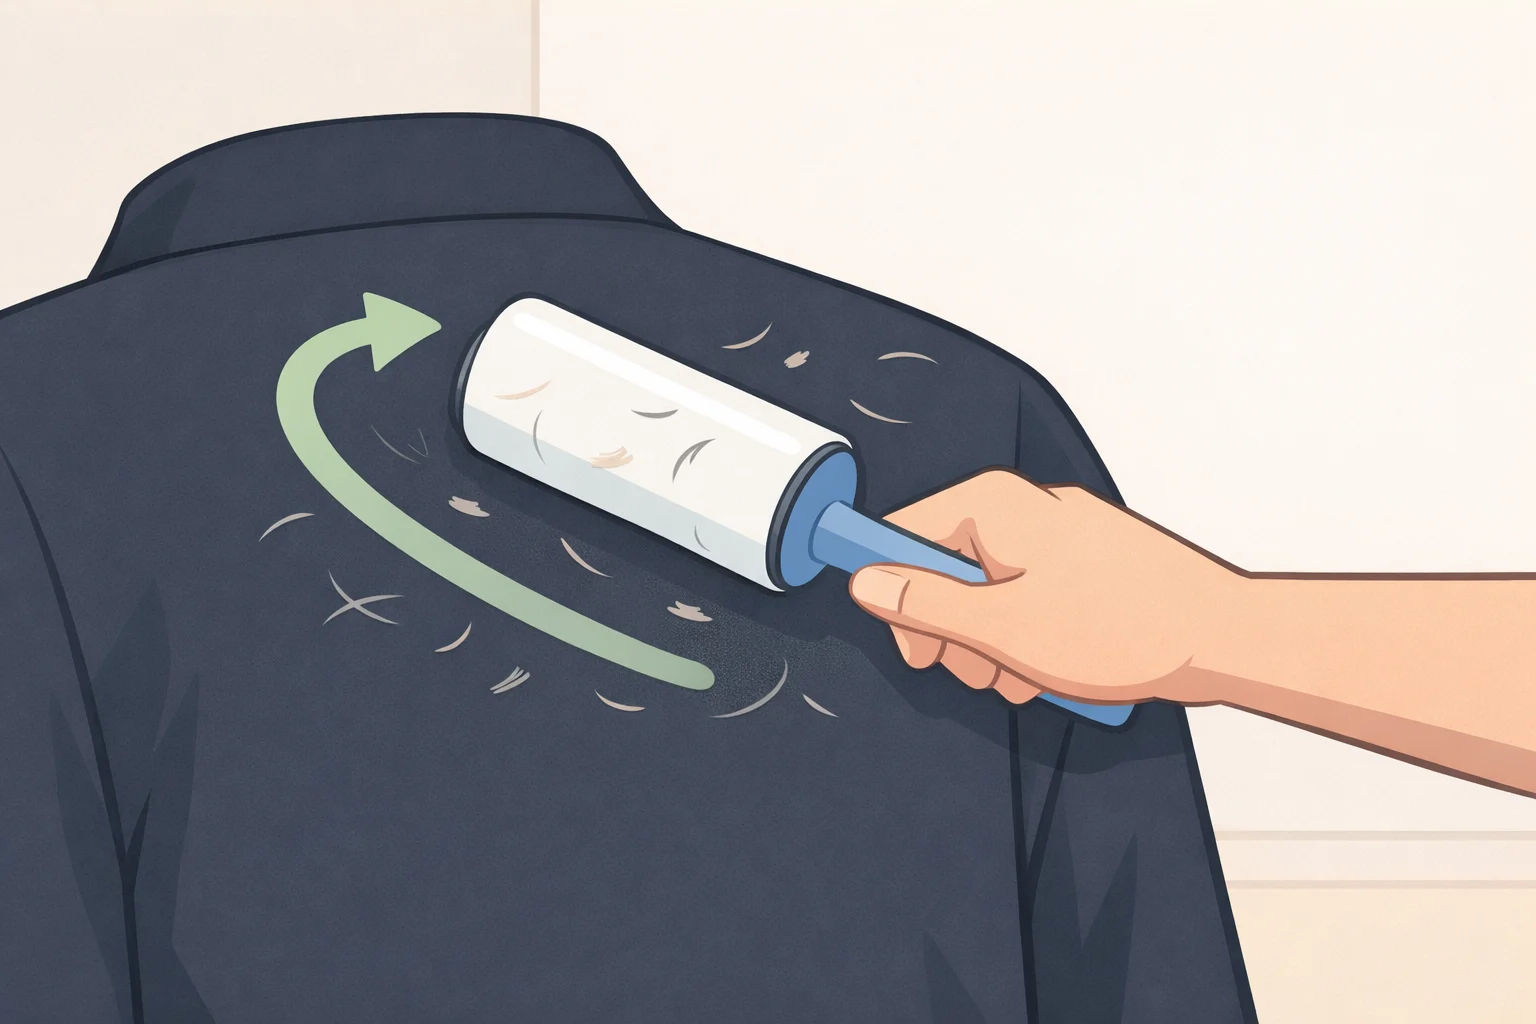
Some situations need adjusted expectations, or a different approach entirely.
For pet bedding, heavy blankets, and couch covers: Run the pre-wash dryer tumble first. Before loading the washer, sweep a damp rubber glove across the surface especially along seams, folds, and corners where hair concentrates. Consumer Reports recommends this combination for large flat items like bedding. Two minutes of glove work meaningfully reduces what the washer has to handle.
For hair that's already embedded in the weave: Pet hair pressed deep into fabric during long wear behaves differently from surface hair. Tumbling and washing will reduce it, but a single cycle probably won't eliminate it. Multiple wash passes are the realistic answer.
For dark clothing: Black or navy items reveal every remaining strand. The pre-wash dryer step still applies, but a lint roller pass on fully dried clothes is the most effective finishing move for dark fabrics it catches fine hairs the wash cycle left behind.
The honest ceiling of this method: Good Housekeeping's Home Care & Cleaning Lab is direct about it the pre-wash trick cleared most fur in testing, not every strand. A lint roller on finished, dried items handles whatever made it through. That's the right tool for the stragglers, not the starting point.
After the wash: two steps that protect the machine
The pre-wash no-heat tumble is the single most practical change for pet owners who skip straight to the washing machine. It's the right sequence for a real mechanical problem, confirmed by lab testing and backed by appliance guidance.
Two quick aftercare steps keep the machine performing well over time:
After pet-heavy wash cycles, wipe down the drum, door, and door gasket with a damp cloth. Consumer Reports laundry expert Rich Handel recommends this to prevent residual hair from transferring to the next load. It takes ten seconds.
For households that regularly wash pet bedding, check dryer exhaust vents quarterly. Hair accumulation in dryer vents reduces drying efficiency and creates fire risk, according to Good Housekeeping. Occasional loads won't cause problems; weekly pet bedding cycles, over time, will.
The method works. It won't deliver a perfectly fur-free result on every load, but it reliably shifts most of the work out of the washing machine and that's exactly where it's easiest to remove.















Comments
Be the first, drop a comment!