



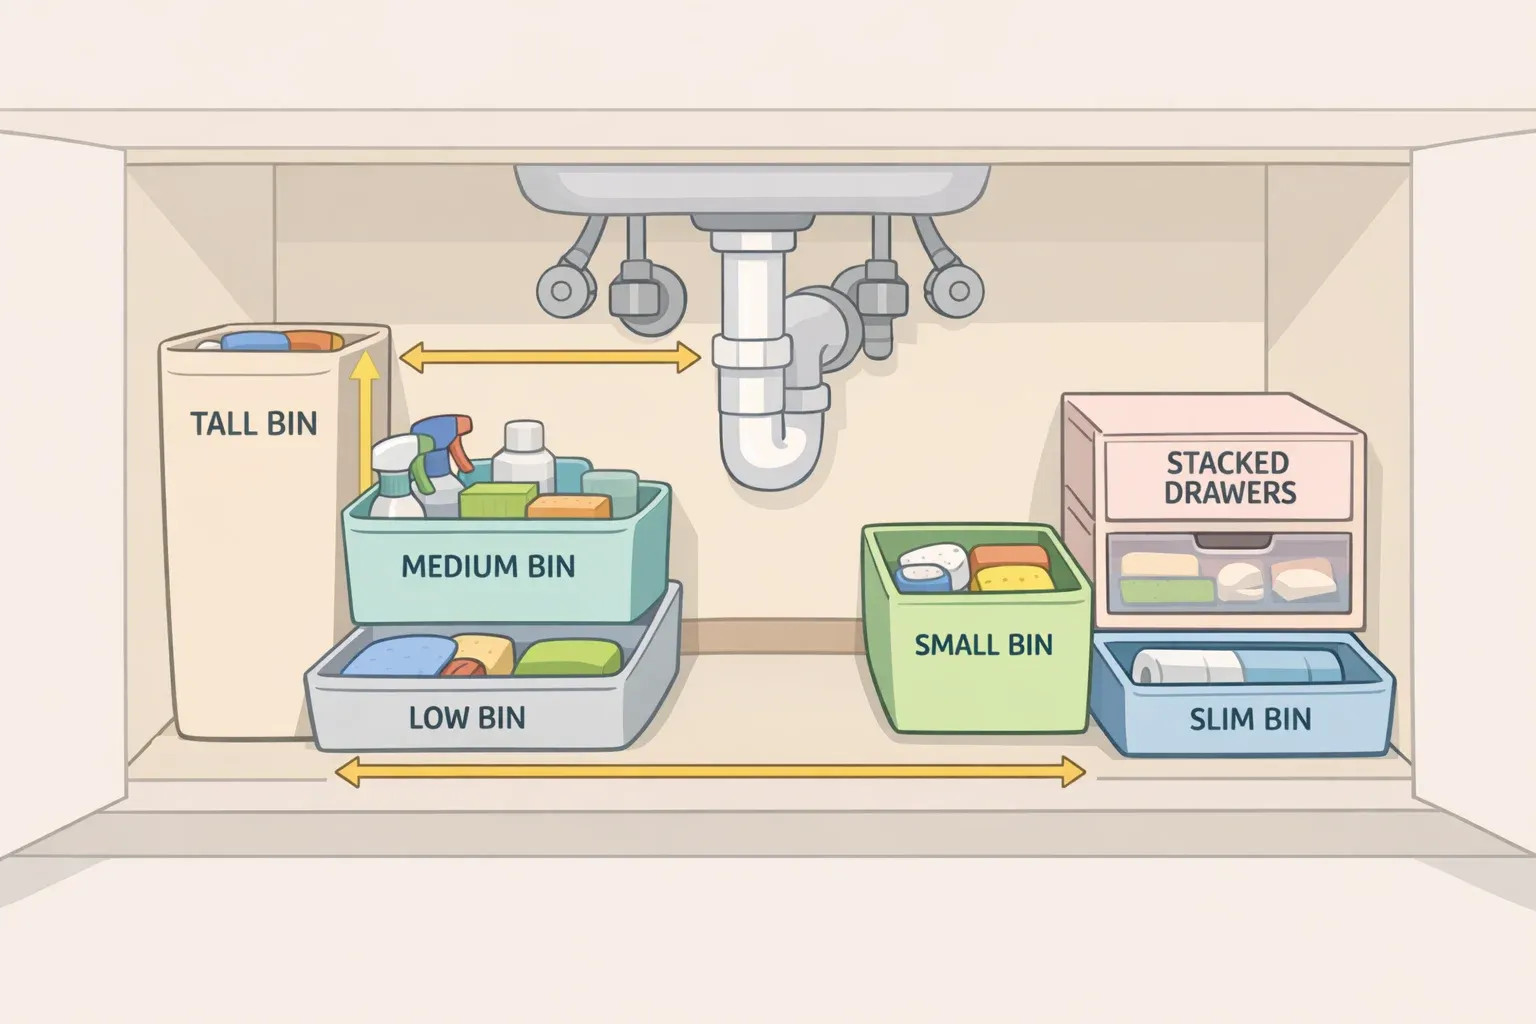
Under Sink Storage Ideas That Match Your Cabinet Space
Under-sink cabinets are where good intentions go to die. Part of that is plumbing. But there's a more insidious problem: as Wirecutter noted earlier this year, a space can feel dirty not because it's actually unclean, but because it's disorganized, and that feeling tends to cascade outward. Under-sink cabinets, cramped and pipe-interrupted, are precisely where this plays out most often.
The fix most people reach for is a set of organizers. Buying before diagnosing is exactly what produces the familiar cycle: the pull-out won't clear the drain pipe, back it goes, something smaller arrives, and you end up with a half-functional arrangement that looks worse than the starting point.
Under sink storage ideas only work when matched to the specific constraints of your cabinet. The plumbing column, the depth front-to-back, the clearance above the basin floor these physical facts determine which organizer types fit and which create new problems. This guide walks through the correct order: check the cabinet's condition, take four key measurements, identify the governing constraint, choose accordingly, then build a maintenance habit simple enough to survive daily life. Two model setups, a standard kitchen sink cabinet and a shallow bathroom vanity, put the logic into concrete form.
Before starting, grab a tape measure and clear enough time to empty the cabinet completely. A willingness to discard rather than relocate matters more than it sounds.
Step 1: Before anything else, check the cabinet itself
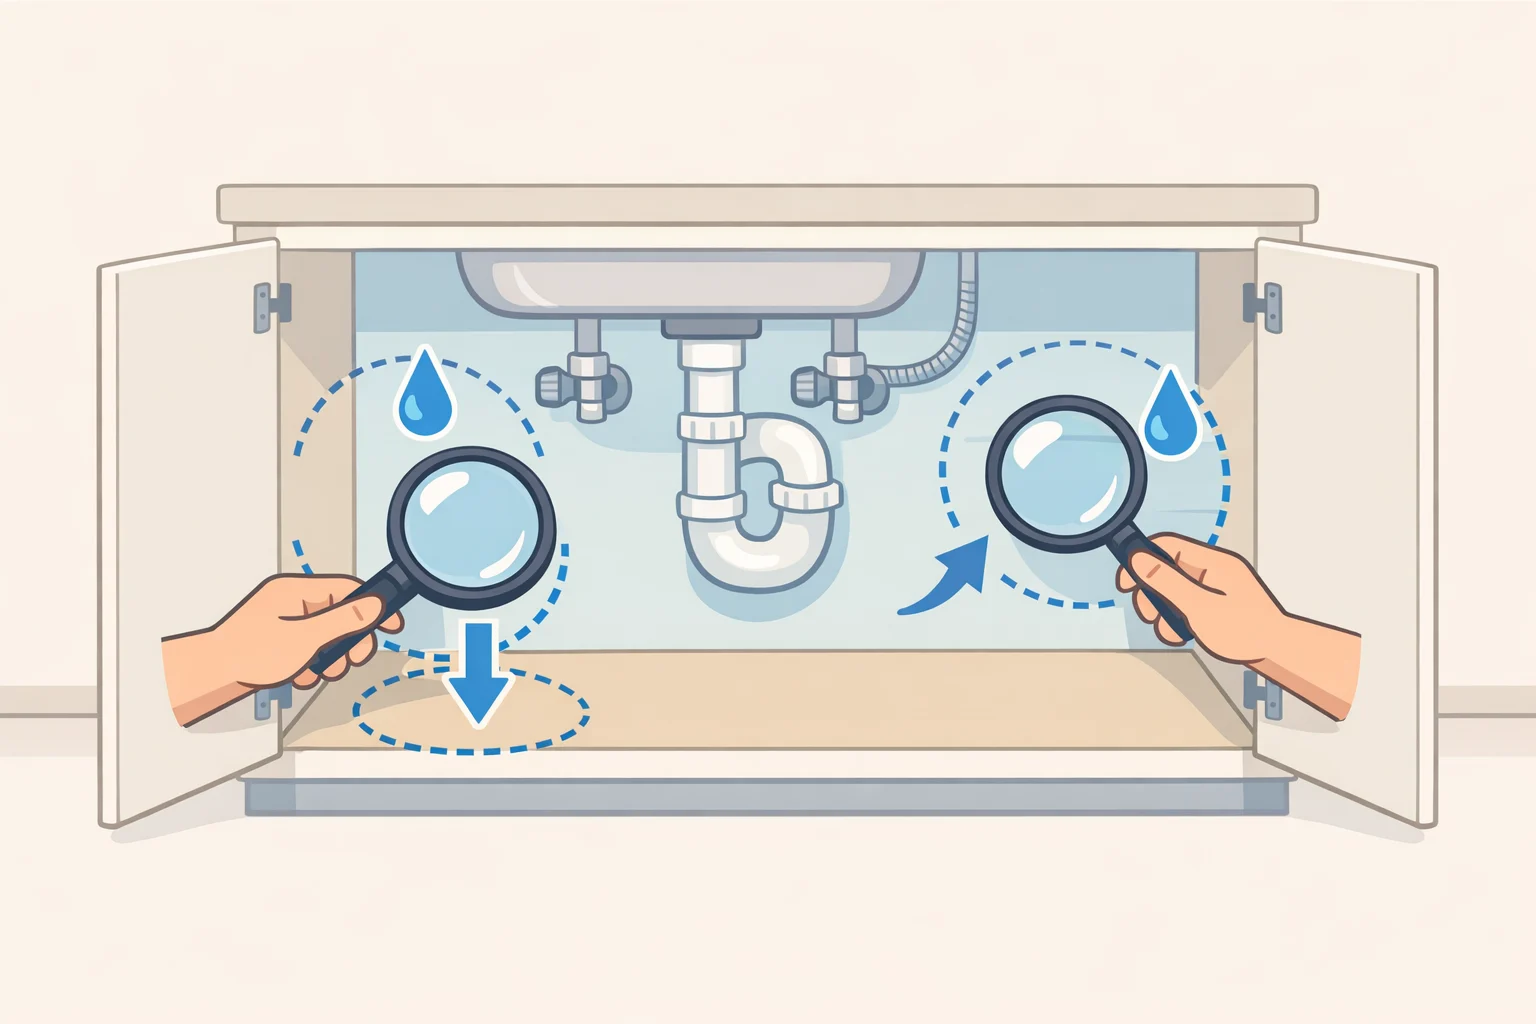
Organization built on a damaged cabinet is time and money wasted. Two quick checks could save you from constructing a system that deteriorates before it earns its keep.
Check for moisture damage first. Open the cabinet and examine the floor and back wall. Soft spots, staining, or warped panels indicate an active or past leak. Organic materials (wood risers, wicker baskets, particleboard pull-out shelves) will break down in a damp environment and can harbor mold. If there's damage, fix the leak before organizing anything. A wipe-clean liner on the cabinet floor is worth adding regardless; it protects against future drips and takes seconds to clean.
Then measure the actual usable space. Not just the cabinet width. You need four numbers: interior width, depth front-to-back, height from the cabinet floor to the underside of the basin, and the clearance on each side of the plumbing column. Most cabinets have a drain and supply lines running through the center or offset toward the back, which splits the floor into two distinct zones. Those zones, not the total cabinet width, are what you're fitting organizers into.
Empty the cabinet and edit before you sort. Pull everything out and discard first: expired products, duplicates beyond one backup unit, anything that doesn't belong under a sink. Paint cans, old batteries, hardware. If it's been sitting untouched for weeks, it has no business being here. What remains is what you're organizing. Keeping too much is how most systems collapse before they start.
A clear boundary helps. Under-sink cabinets function best as daily-use and near-term backup storage. Flammable or solvent-based materials belong elsewhere. Temperature-sensitive items and bulky seasonal goods all have better homes. The simpler the rule, the more reliably it gets applied.
Step 2: Under sink cabinet organization: match the system to the space
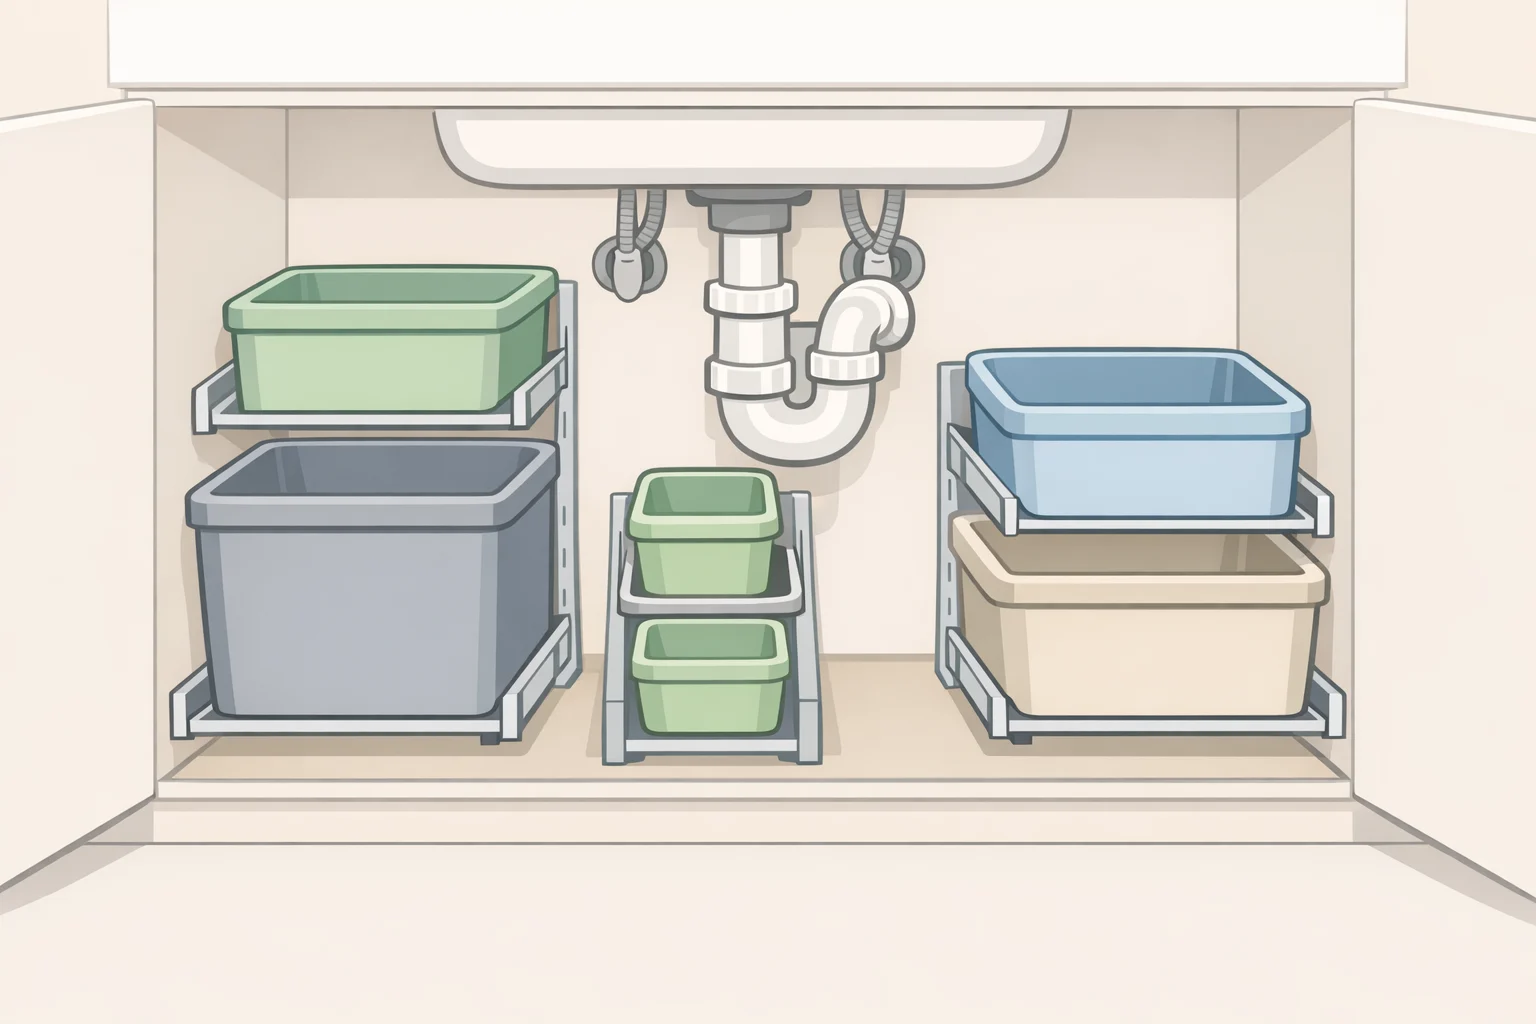
Most guides skip straight to product lists. That's shopping advice dressed up as help. Identify what your cabinet actually presents first, then choose accordingly.
Deep cabinet: pull-out drawers or sliding bins. Deep cabinets lose their back rows the moment the door closes. A two-tier pull-out bin set placed on either side of the plumbing column solves this directly; the drawer slides forward and the back row comes to you. Look for models with adjustable dividers and a weight rating that handles full cleaning bottles. For standard kitchen sink cabinets, this is the organizer type worth prioritizing first.
Tall cabinet with vertical dead space: risers and stackable bins. If the basin sits high and you have meaningful clearance above short items, a riser shelf recovers that vertical space. Stackable clear bins below the riser keep categories visible in low-light conditions. Clear plastic outperforms solid colors under a sink for a simple reason: you can see what's there without opening anything.
Shallow or short cabinet: door-mounted caddies and slim organizers. Shallow bathroom vanities don't accommodate deep pull-outs. Work the door instead. A mounted caddy holds sponges, gloves, trash bags, and refill soap off the floor entirely, freeing the interior for taller items. Before buying, measure door clearance to confirm the caddy won't collide with interior shelves when the door closes.
Any cabinet with spray bottles: a tension rod. A tension rod installed horizontally near the top of the cabinet interior lets spray bottles hang by their triggers, clearing a full row off the floor and keeping them immediately accessible. It works alongside any other organizer type and costs almost nothing. Among small under sink storage solutions, this one punches well above its price.
Wide cabinet with limited back access: a lazy Susan. A turntable handles bottle-height variety and rotates items from the back to the front without requiring you to reach. Less effective in shallow cabinets, where the rotation radius runs out of room quickly.
No cabinet (pedestal sink): freestanding or concealed storage. Pedestal sinks need a different approach entirely. Options include a slim rolling cart beside the sink, open baskets on a small etagere, or a fabric sink skirt that conceals open shelving beneath while maintaining a finished look. The skirt is the lowest-cost option and tends to read as intentional rather than improvised.
One broader point worth making here: choosing the right system is necessary, but not sufficient. As Wirecutter observed earlier this year, lasting organization requires both the right physical setup and the habit of actually using it, meaning putting things back where they belong, consistently. The steps here cover the first half. Step 4 covers the second.
Common buying mistakes that derail good plans
Even with the right organizer type in mind, a few specific mismatches trip up most first attempts.
The door caddy that blocks the shelf. Measure the interior clearance before installing anything on the cabinet door. Many caddies add enough depth that they catch on interior shelves or bins when the door swings shut, which means either returning the caddy or rearranging the interior anyway. Check the measurement; then buy.
The pull-out that catches on plumbing. Bin sets are sized against nominal cabinet widths, not actual clearance around drain assemblies. Measure the width of each floor zone separately, not the total cabinet interior. Those are often meaningfully different numbers.
Stacked bins that bury the backup stock. Stacking bins vertically sounds efficient. In practice, whatever's on the bottom becomes effectively invisible, gets forgotten, expires, or gets replaced unnecessarily. If stacking is the only option, use clear containers and keep like items together vertically so the contents are at least partially visible.
Wood organizers in a cabinet with any moisture history. Bamboo and wood risers photograph well. In a cabinet near plumbing, even occasional drips cause warping and swelling. Coated wire, plastic, or sealed metal hold up far better over time.
Step 3: Two model setups to make this concrete
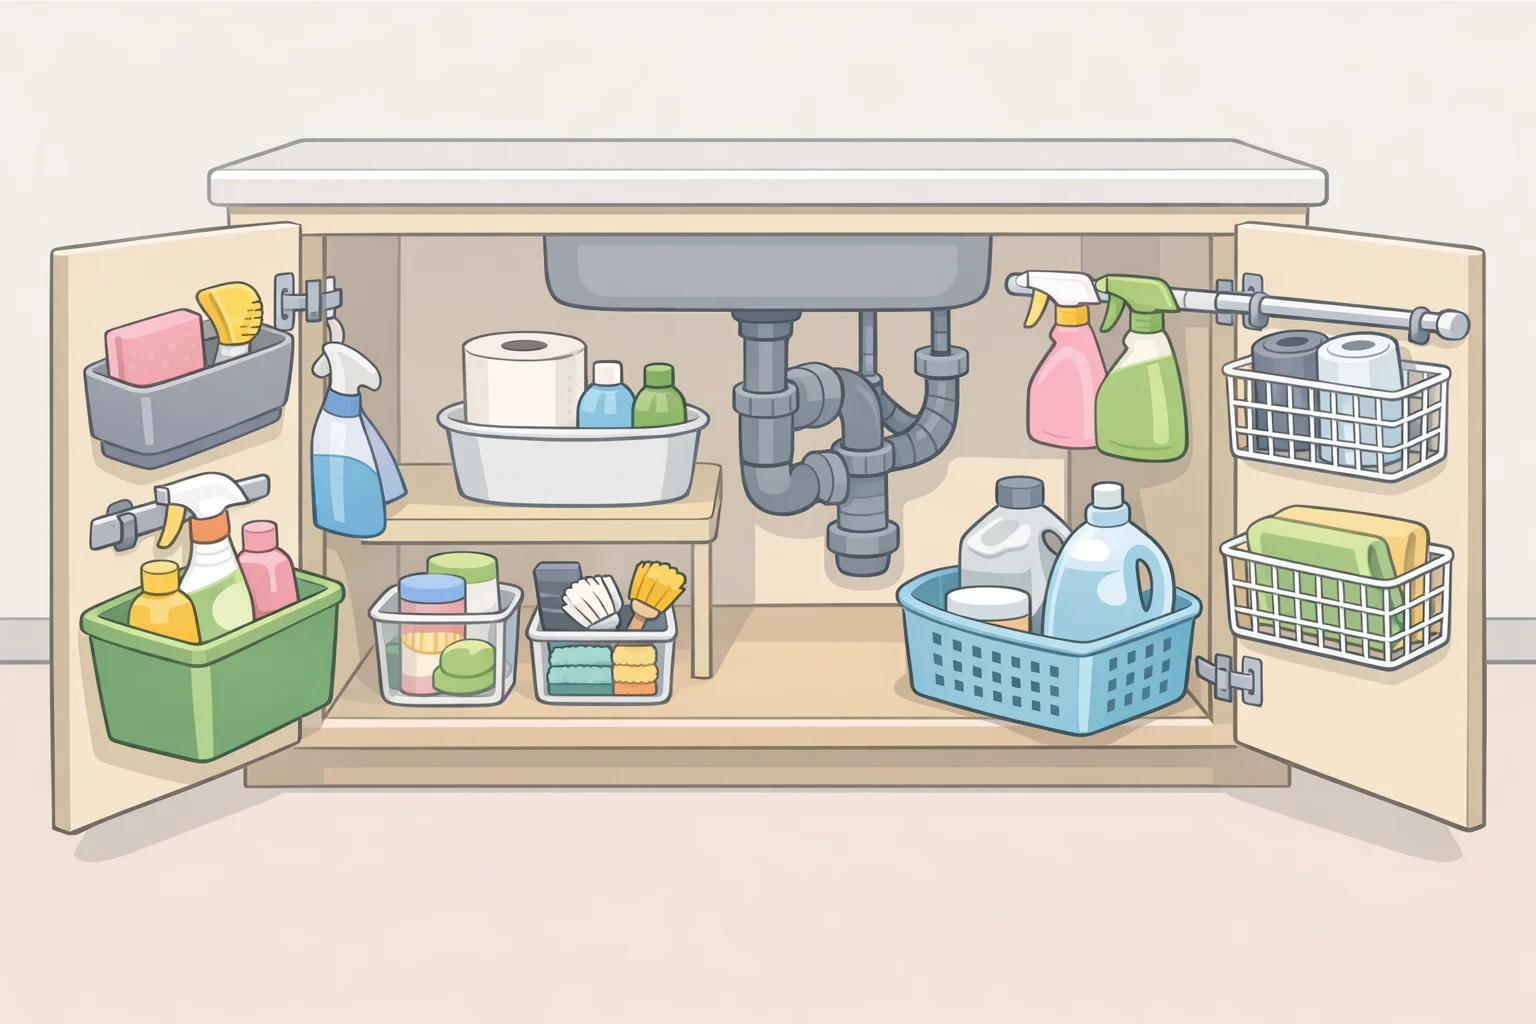
The decision logic above lands differently when applied to an actual cabinet. Here are two common configurations.
Standard kitchen sink cabinet
A typical kitchen sink cabinet presents substantial depth front-to-back, a large drain assembly centered on the cabinet floor, and supply lines offset toward the back corners. The depth is both the opportunity and the problem.
- Left zone (beside plumbing): two-tier pull-out bin set for daily cleaning supplies, dish soap, spray bottles, scrubbers, garbage bags
- Right zone (beside plumbing): second pull-out or open bin for backup stock, limited to one spare of each consumable
- Behind the drain (flat, low-clearance space): drip-catch liner plus a flat tray for sponges or a spare dish brush
- Door interior: caddy for gloves and small items used daily
- Tension rod near top: spray bottles hanging by trigger, freeing both floor zones
Three distinct zones, each holding one category, all accessible without moving anything else.
Shallow bathroom vanity
A shallow vanity presents the opposite problem: not too much depth, but too little. The drain is usually centered, the interior height is often constrained by a low basin, and the door is frequently the most usable real estate in the space.
- Interior: two-shelf riser on one side for toiletries and cleaning products; one lidded bin on the other for backup stock, one unit deep
- Door interior: caddy for daily items, cotton swabs, hair ties, extra soap
- Floor: wipe-clean plastic liner, not wood
Leave visible empty space in both setups. A cabinet packed wall-to-wall stops working the first week someone's in a hurry. A little margin is what allows items to be returned without fuss.
The installation sequence matters, too. Liner first, then tall items at the back, then risers or rods, then the door-mounted caddy last, installed only after everything else is in place and the door closes cleanly. Install the caddy first and you'll likely be pulling everything back out to confirm clearance.
Step 4: Build a maintenance habit simple enough to actually use
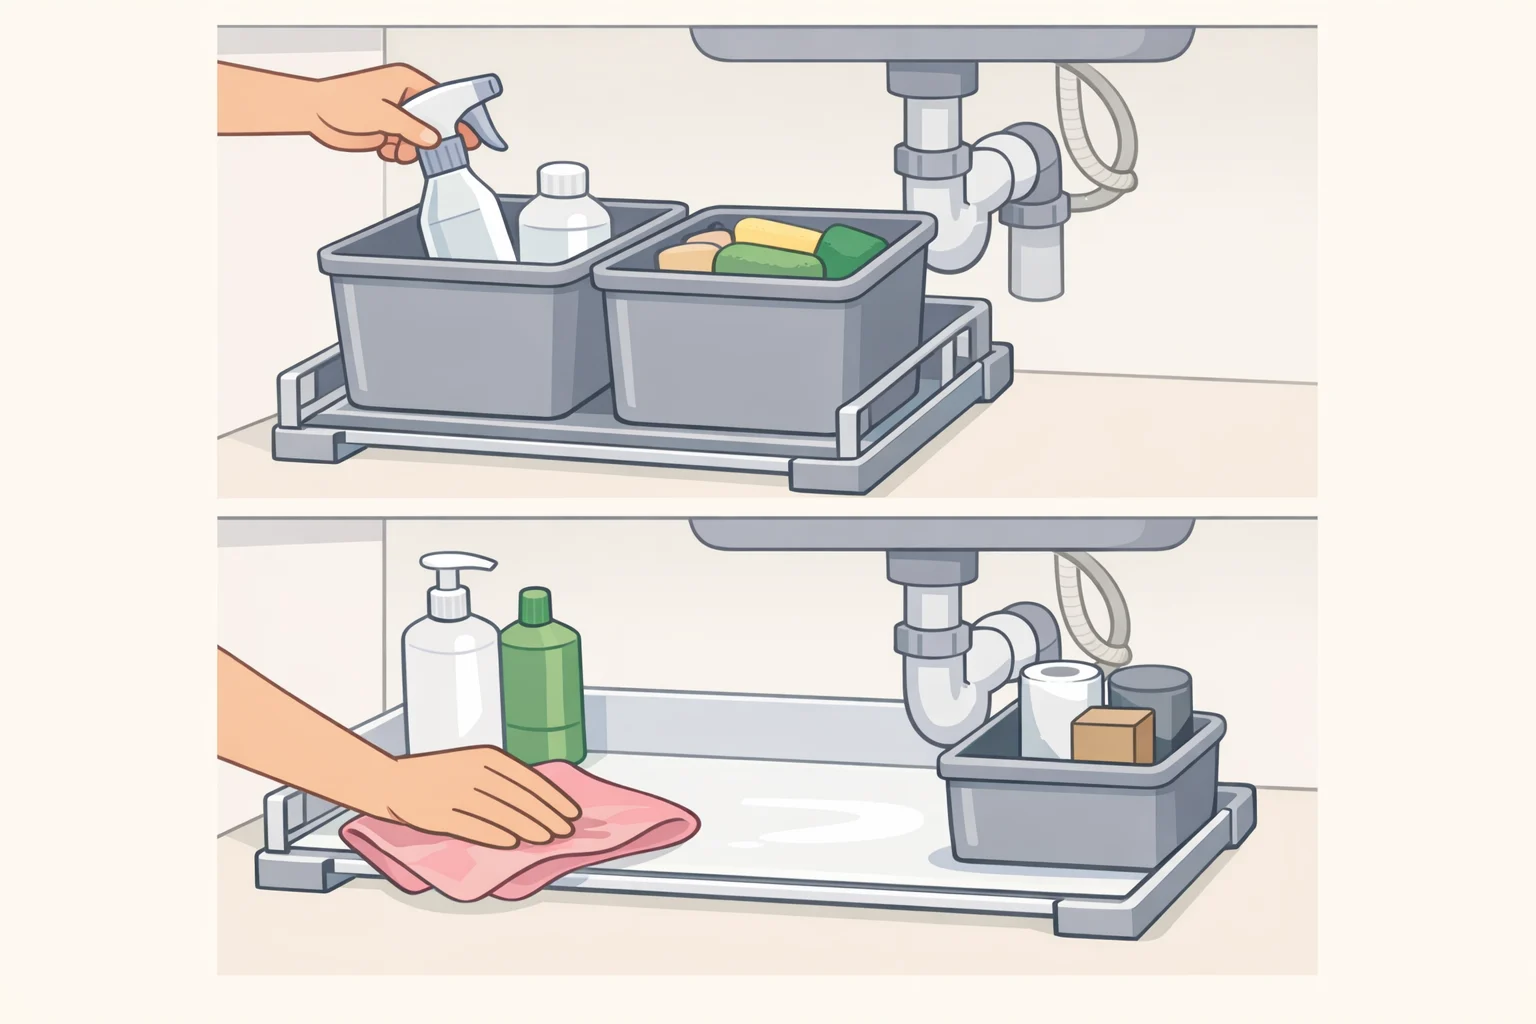
Setup is the easy part. Maintenance is where most efforts unravel, not from laziness, but because the system was designed to look good once rather than function daily.
Assign every item a fixed location. Each category gets one specific bin, slot, or zone. No floating items, no "I'll sort this properly later." When every item has exactly one home, returning it requires no decision. Decision fatigue is how things end up in piles.
Run a short monthly reset rather than waiting for a periodic overhaul. Check for empties, discard them, return anything that's drifted, and wipe the liner. The goal is to make maintenance brief enough that skipping it feels stranger than doing it.
Don't let the cabinet become a staging area. The most common failure mode: items land under the sink temporarily and never leave. Backup stock multiplies beyond what the space holds. A simple rule prevents this; replace stock only when you're close to running out, not when a sale makes stocking up feel smart. The under-sink cabinet is not a warehouse.
What this gets you
The sequence here is deliberately narrow: assess and measure before buying anything, identify the constraint the cabinet presents, select the organizer type that addresses it, and maintain the system with a habit small enough to be automatic. That approach applies to kitchen and bathroom cabinets equally, and it scales to other small-space trouble zones once the logic becomes familiar.
None of this requires a design eye or a free weekend. Accurate measurements, a few well-matched products, and a brief monthly reset. Get those three things in the right order and the cabinet handles itself.
















Comments
Be the first, drop a comment!