


10 Tech Cleaning Tasks to Start Your New Year Fresh
Difficulty: Novice
Time: 2-3 hours (spread across the day)
Cost: ~$15-25
Why You'll Like This Tech Reset
Your tech probably needs a fresh start more than your gym routine does. While you're setting intentions for the new year, don't forget about the devices you touch hundreds of times daily—your phone, laptop, and all those gadgets that have been quietly collecting dust, grime, and digital clutter throughout the past year.
This comprehensive tech reset tackles both the physical mess and the performance-killing digital chaos. Studies consistently show that everyday devices harbor shocking amounts of bacteria, while digital decluttering reduces stress and improves mental clarity. You'll get that satisfying "new device" feeling without spending money on upgrades, plus faster performance and better hygiene all year long.
What You'll Need
Materials
Microfiber cloths (3-4 clean ones)
70% isopropyl alcohol
Distilled water
Cotton swabs/Q-tips
Compressed air can
Mild dish soap
Small spray bottle
Tools
Your computer/laptop
External storage device or cloud backup
Soft-bristled brush (old toothbrush works)
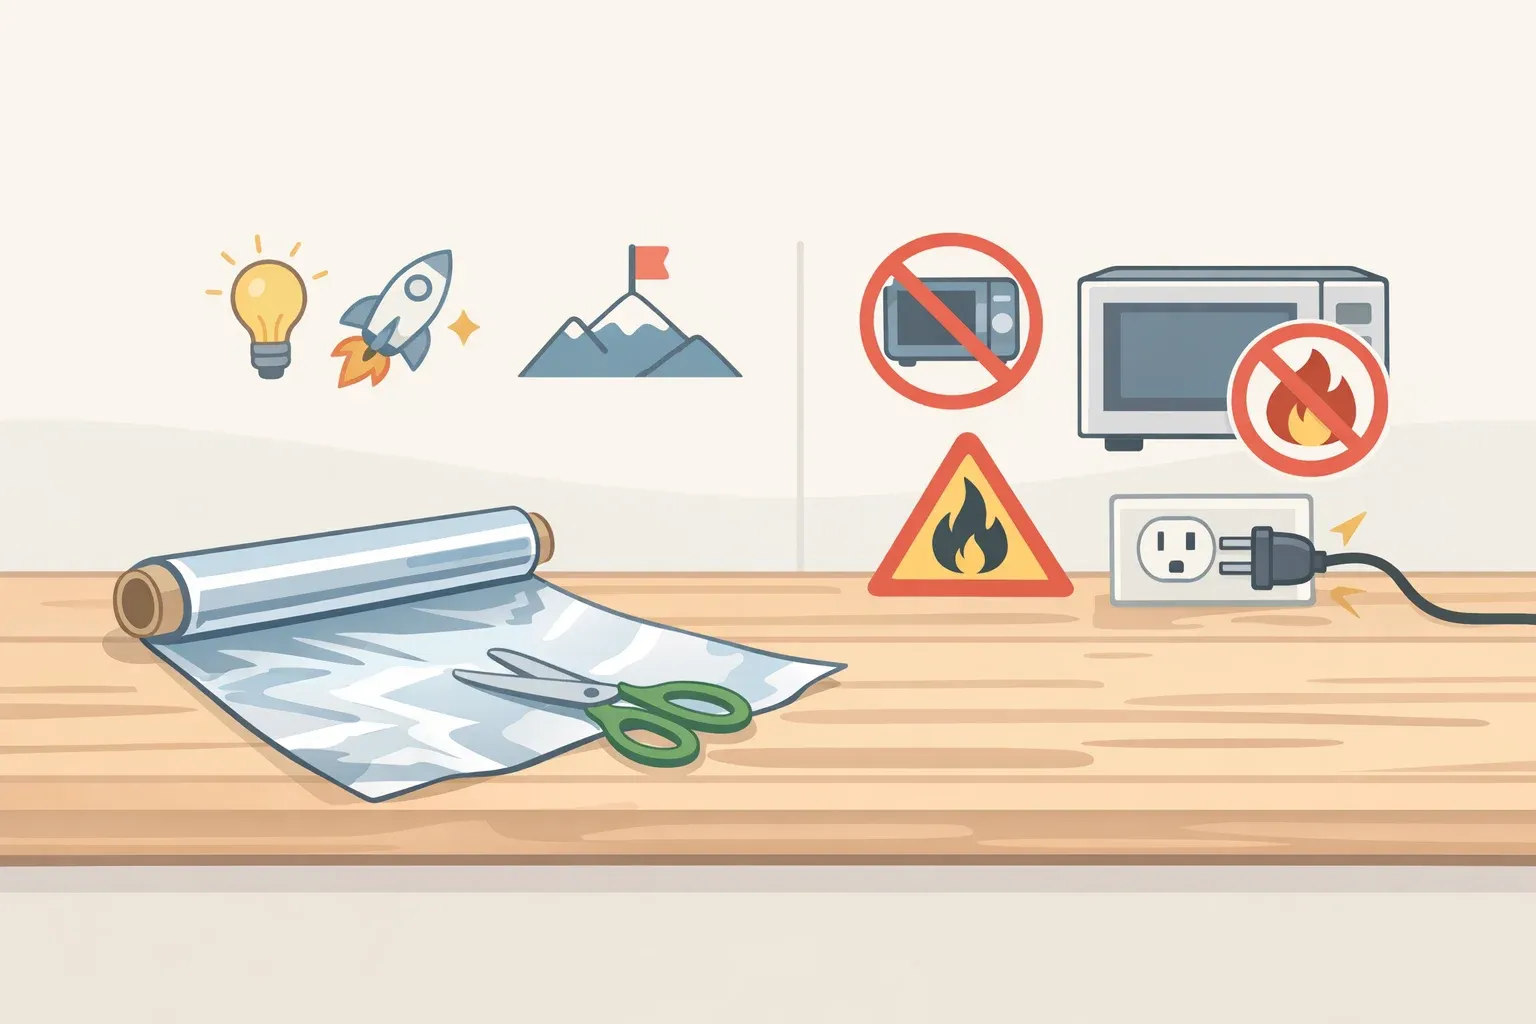
Safety First
Power off and unplug all devices before cleaning
Never spray liquids directly onto electronics
Work in well-ventilated area when using compressed air
Keep liquids away from ports, speakers, and openings
Wash hands before and after cleaning to prevent germ transfer
Steps
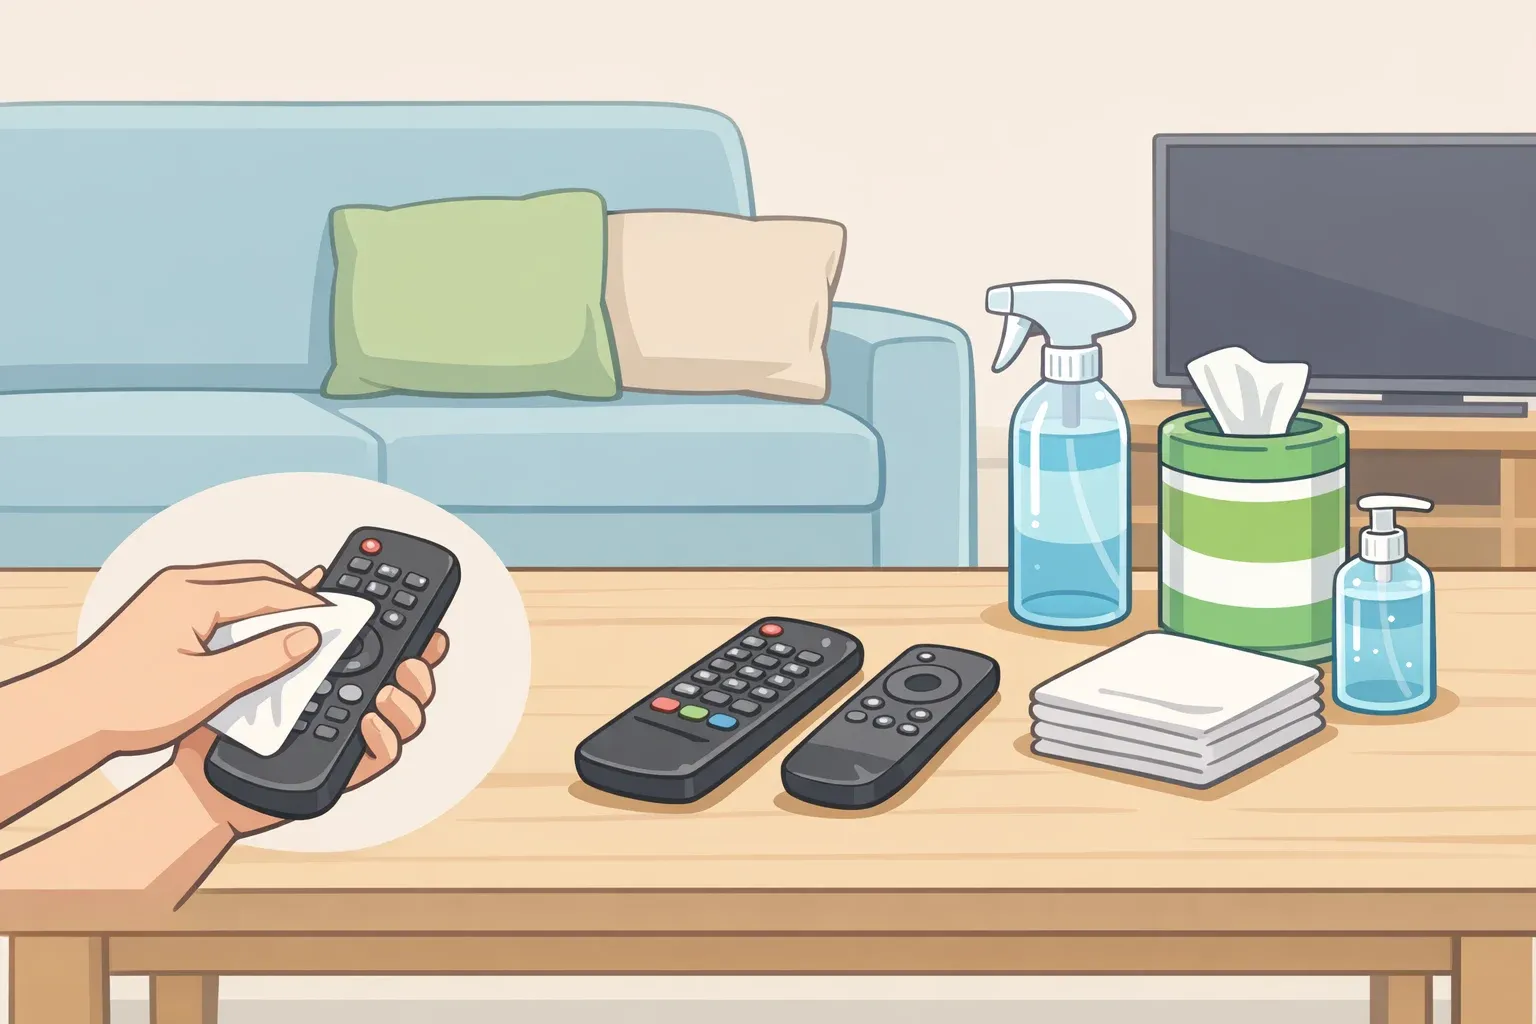
Task 1: Deep Clean Your Phone and Case
Power down completely and remove your case.
Tip: This prevents accidental button presses and protects internal components.
Mix your cleaning solution: 70% alcohol and 30% water in spray bottle.
This ratio effectively disinfects without damaging protective coatings, unlike household cleaners that can degrade oleophobic coatings over time.
Spray microfiber cloth (never the device directly) and wipe screen and back thoroughly.
Use cotton swabs for charging ports and speaker grilles, avoiding moisture near openings where it causes damage.
Clean case separately with warm soapy water, rinse, and dry completely before reassembling.
Task 2: Declutter Your Digital Photo Collection
Back up current photos to cloud storage or external drive first.
Sort by date and work through recent months systematically.
Delete duplicates, blurry shots, and screenshots you no longer need.
Why this matters: Computers run slower when drives are nearly full, so photo clutter directly impacts performance.
Organize keepers into logical folders (by year, event, or person).
Tip: Create a simple system so you can always easily find your photos and maintain it going forward.
Task 3: Computer Hardware Deep Clean
Shut down and unplug your computer completely.
Wait 5 minutes for components to cool if recently used.
Use compressed air to blow dust from vents, fans, and keyboard crevices.
Hold can upright and use short bursts to prevent moisture buildup. Dust buildup creates insulation around components, causing overheating that reduces performance and lifespan.
If desktop: Remove side panel first for internal cleaning access.
Wipe exterior surfaces with alcohol-dampened microfiber cloth.
Pay special attention to frequently-touched areas like trackpads and palm rests.
Task 4: Keyboard and Mouse Sanitization
Turn laptop upside down and gently shake to dislodge crumbs.
Use compressed air between keys, working from bottom row upward.
Follow package directions, keeping can upright to avoid dangerous condensation.
Clean key surfaces with alcohol solution on microfiber cloth.
Cotton swabs work perfectly for tight spaces around individual keys. For sticky residue, use minimal alcohol directly on the swab.
For wireless mice: Remove batteries, clean with alcohol wipe, dry completely before reassembling.
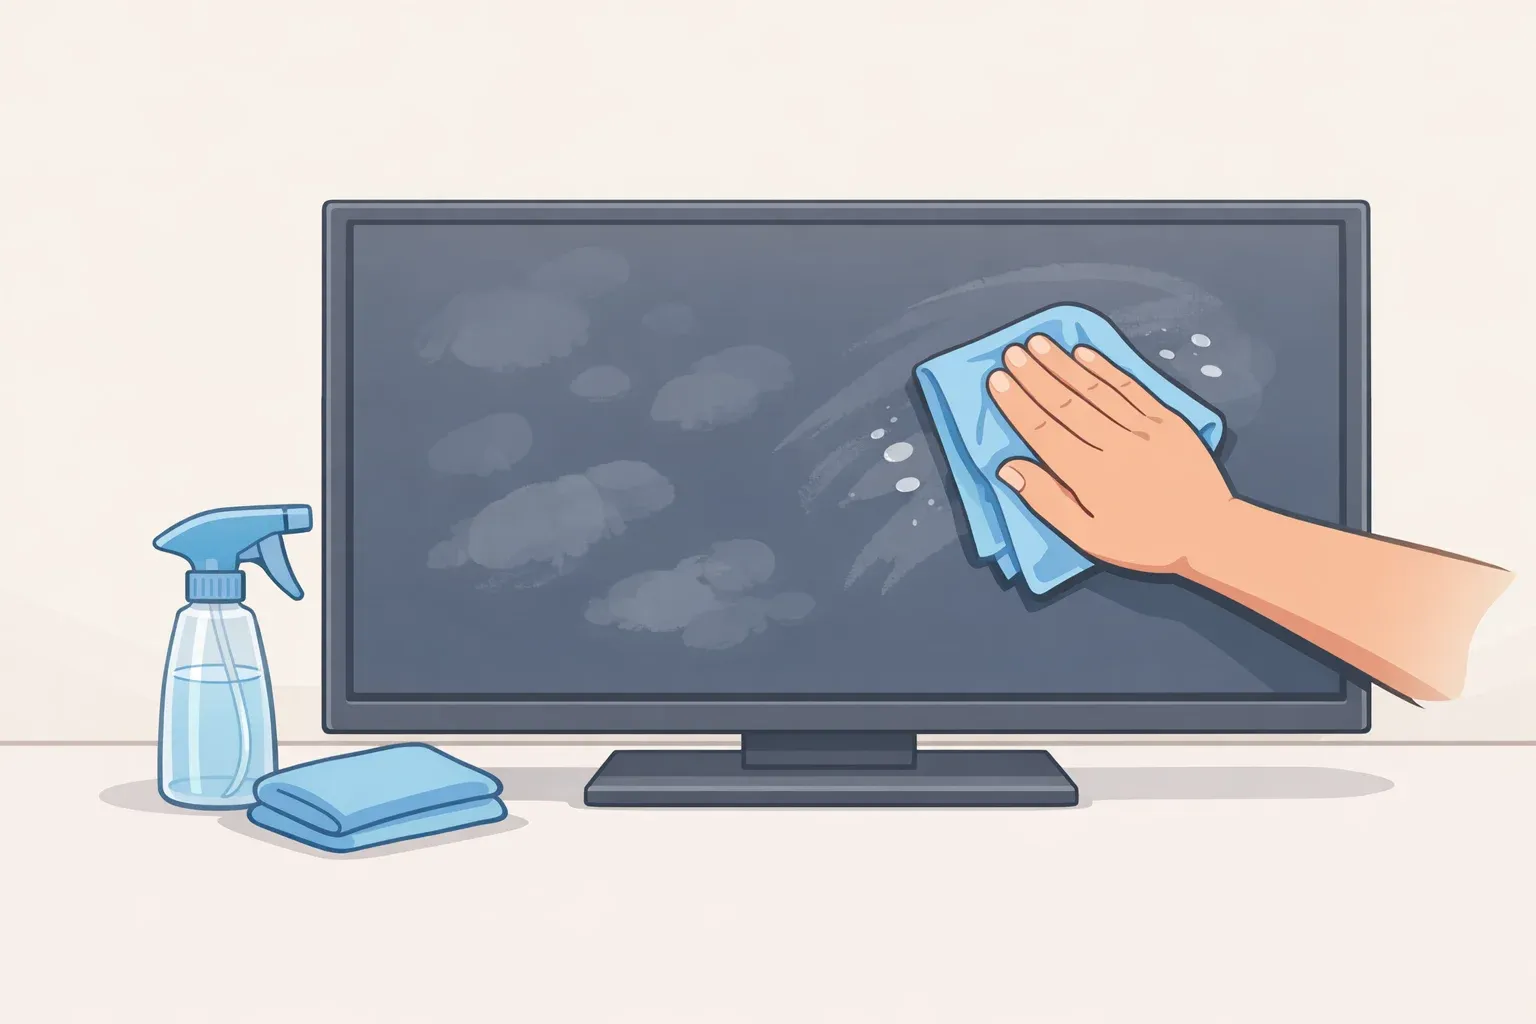
Task 5: Monitor and Screen Refresh
Start with dry microfiber cloth to remove surface dust.
For stubborn smudges: Lightly dampen cloth with distilled water only.
Never use household cleaners—they can permanently damage LCD coatings, wearing away the anti-glare and fingerprint-resistant layers.
Clean from edges inward using circular motions with minimal pressure.
Support laptop screen with your other hand to prevent flexing that could crack the display.
Task 6: Headphones and Audio Gear Revival
Remove ear cushions if possible and clean separately with mild soap solution.
Use dry microfiber cloth on headband and exterior surfaces.
For earbuds: Remove silicone tips, wash with soap and water, dry completely before reattaching.
Cotton swabs work great for removing wax and debris from speaker grilles, but avoid moisture near drivers that could damage sound quality permanently.
Task 7: Cable and Charger Organization
Unplug all cables and inspect for damage or excessive wear.
Wipe down cables with alcohol-dampened cloth, paying attention to connectors.
Organize with simple cable management solutions—even rubber bands work.
Tip: Label frequently-swapped cables to save future frustration.
Task 8: Software Spring Cleaning
Run Disk Cleanup (Windows) or optimize storage (Mac) to remove temporary files.
When you run programs, they create temporary files that don't always get deleted, gradually consuming valuable storage space and slowing performance.
Uninstall unused programs through Control Panel or Applications folder.
Check install dates to identify programs that may have been installed recently without your knowledge—potential bloatware or unwanted software.
Clear browser cache and cookies for faster web browsing.
This simple step can fix slow web browsing issues you might not have realized were browser-related.
Task 9: Email and Digital Inbox Detox
Create a simple folder system for organizing important emails.
Unsubscribe from unwanted newsletters you haven't opened recently.
Research shows this reduces digital clutter stress and improves mental clarity when checking email becomes less overwhelming.
Archive or delete old emails you no longer need.
Tip: Sort by date to quickly identify old messages for bulk deletion.
Task 10: Backup System Check and Update
Verify your current backup system is working properly.
Test file recovery by restoring a small, non-critical file.
Update backup settings to include recent important folders.
Why this matters: A laptop can be replaced, but the information inside may be irreplaceable—regular backups protect against hardware failures and data loss.
Schedule automatic backups if not already enabled.
Cleanup & Disposal
Dispose of cleaning wipes and cotton swabs in regular trash
Store remaining alcohol solution in cool, dry place away from heat sources
Clean microfiber cloths in washing machine (no fabric softener) for reuse
Properly recycle any damaged cables or accessories at electronics recycling centers
Troubleshooting
Problem: Device won't turn on after cleaning → Fix: Ensure all moisture has evaporated; wait 30 minutes before powering on Problem: Screen has streaks after cleaning → Fix: Use distilled water only and clean, dry microfiber cloth Problem: Keyboard keys feel sticky → Fix: Use less liquid on cloth; cotton swab with minimal alcohol for individual keys
Variations & Upgrades
Quick daily version: Focus on phone cleaning and closing browser tabs (5 minutes)
Monthly maintenance: Add internal computer dusting and photo organization
Quarterly deep clean: Include all 10 tasks plus software updates and security scans
Why This Works
Regular tech maintenance prevents dust buildup that acts as insulation around components, causing overheating and reduced performance. Digital decluttering removes unnecessary files that slow system operations, while physical cleaning eliminates bacteria that can affect your health. Most users should perform basic cleaning every three to six months, but New Year's provides the perfect motivation for a comprehensive reset that sets you up for better performance and hygiene throughout the year.


Comments
Be the first, drop a comment!