


Keeping your garage clean all summer comes down to five habits, each taking under 10 minutes, that run quietly in the background from June through September. Not a deep clean, that's a spring and fall job. Summer is actually the lightest maintenance window on the annual garage calendar: roughly 30 minutes a week, focused on sweeping, spill response, and keeping storage dry and sealed.
The habits below work as a system. Floor care, storage discipline, and pest prevention aren't separate chores; they're all responses to the same summer conditions: a slab that stays cooler than the air and creates condensation under floor-level items, warm weather that brings insects and rodents toward buildings with food sources or gaps, and spills that absorb into bare concrete faster than most people expect.
Each habit feeds the next: a clear floor makes spills visible; elevated sealed storage keeps the floor clear; eliminating food attractants removes the reason pests test your gaps; monthly checks catch the gaps before something uses them. Four months from now, the garage either looks like a project, or it doesn't, and the difference is which of these five habits ran consistently.
What you'll need before starting: A heavy-duty push broom for bare concrete or a dry microfiber mop for epoxy floors, plain clay cat litter stored somewhere accessible, a concrete degreaser (pH-neutral for coated floors; enzymatic or alkaline formula for bare concrete), and at least a few rigid plastic bins with snap-close lids to replace any cardboard currently on the floor.
If you only have time to start one habit: Start with the one that matches your current biggest problem. Persistent spills → Habit 2. Cardboard or bags sitting on concrete → Habit 3. Pet food or birdseed anywhere in the garage → Habit 4. The habits are stronger together, but any one run consistently beats doing nothing.
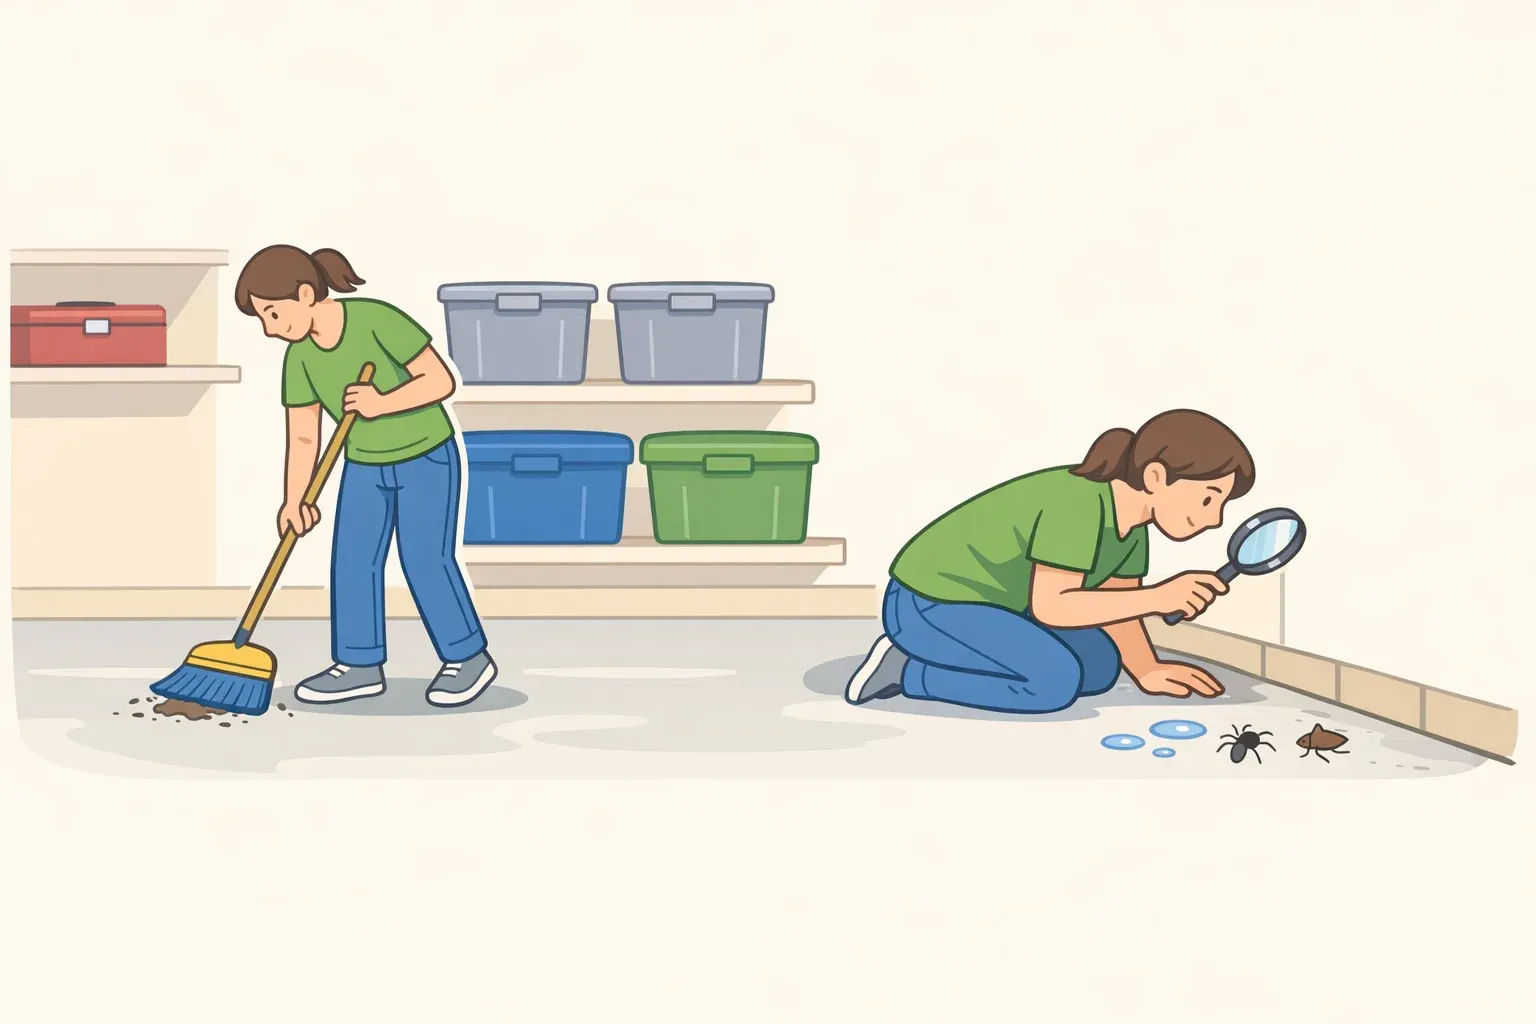
Habit 1: Sweep the floor weekly, it's also an inspection
A weekly sweep takes five minutes on a well-maintained floor. That's the whole ask. What makes it worth prioritizing is what sweeping actually does beyond surface cleanliness: loose grit tracked in from the driveway acts like sandpaper on coated and epoxy floors if it gets dragged around with a mop rather than removed first, but never drag grit across the surface. The sweep also doubles as a passive scan. A new drip, a crack you hadn't noticed, debris collecting in a corner, these register without setting out to inspect anything.
Step 1: Start at the back wall and push toward the garage door. On bare concrete, a heavy-duty push broom moves grit efficiently. On epoxy or polyurea-coated floors, a dry microfiber mop is the better tool, as it captures fine particles without abrasion risk, and a weekly pass takes about three minutes.
Step 2: Don't skip corners and wall edges. That's where crumbs and fine debris collect the same material that invites ants and roaches, which in turn attract rodents. Sweeping corners regularly removes one of the simplest pest attractants in the garage.
Step 3: If anything is stored directly on the floor — bags, bins, equipment — move it to sweep underneath. If it can't be moved because it has nowhere to go, that's a storage problem addressed in Habit 3.
What you should see after: A clear floor and a quick read on current conditions. Anything new — a drip, a crack forming, unusual debris — handle it before the next sweep.
Time commitment: 5 minutes on a clear floor. Add a few minutes if items have migrated back onto the slab.
Habit 2: Treat spills the same day, every time
Speed is the only real advantage against oil and fluid stains on concrete. Most oil stains require two to three full treatment cycles to fully disappear, even under the best conditions, and waiting extends that considerably.
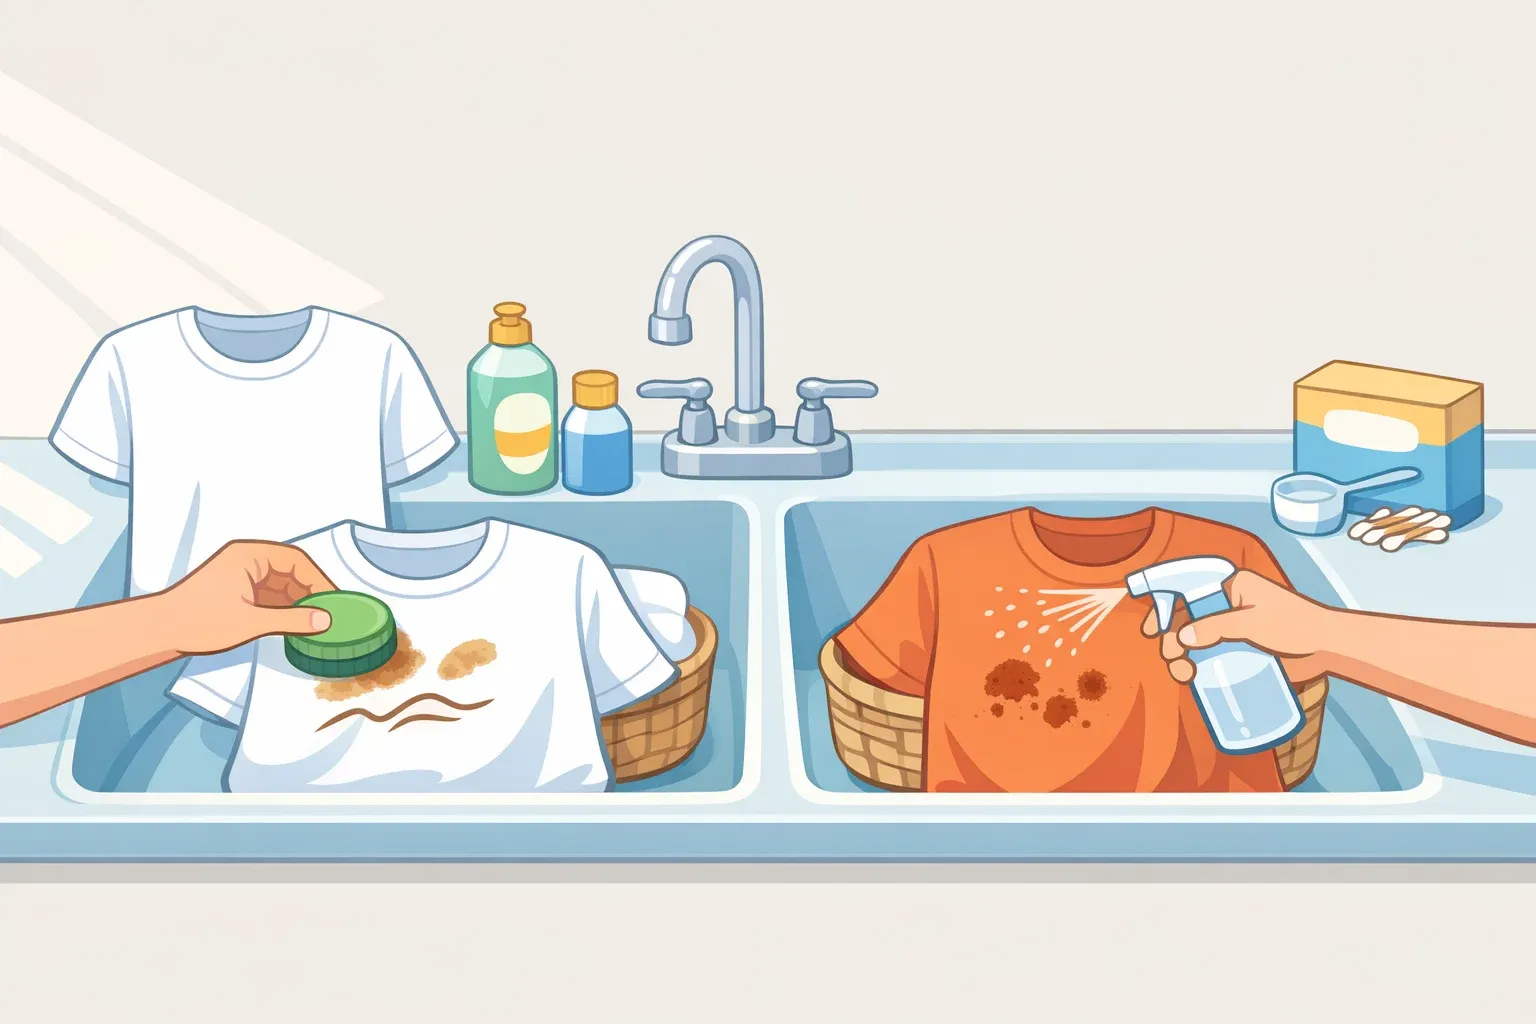
Step 1: Fresh spill: Cover it immediately with a thick layer of plain clay cat litter and press it down to make contact. Let it sit. Overnight gives the litter the best chance to pull fluid out before it sets. Sweep up and dispose of the saturated litter.
Step 2: Degreaser treatment: Apply a concrete degreaser diluted per label instructions. Let it dwell for 15–30 minutes without letting it dry on the surface. Scrub with a stiff-bristle brush for 3–5 minutes, then rinse with a garden hose. Repeat if staining remains after the floor dries.
Coated floor warning: On epoxy or polyurea surfaces, avoid cleaners with ammonia, vinegar, or citrus acids; repeated use gradually clouds and dulls the finish. Use a pH-neutral cleaner with a few drops of dish soap instead. Stronger degreasers are for bare concrete only.
Step 3 Set-in stains: For older stains, mix degreaser with cat litter into a paste, spread it over the stain, cover with plastic wrap, and let it sit overnight. Scrub and rinse the next day. Expect two to three rounds.
When to stop and call someone: Three full treatment cycles with no meaningful improvement, or a recurring dark pool that points to an ongoing mechanical leak rather than an isolated spill. Some damage requires specialized equipment to lift from within the slab, which is a repair problem, not a cleaning one.
Habit 3: Raise storage off the concrete and seal it
The concrete slab stays cooler than the summer air above it. That temperature difference creates condensation under floor-level items, bins, tool chests, bags, cardboard boxes, even when the top surface feels dry. Moisture gathers underneath, rusting the undersides of tool chests and jack stands and trapping mildew odors in straps and fabric. By the time rust or a soft spot in a cardboard bottom makes the problem visible, the damage is already done.
Cardboard makes it worse. It wicks moisture from both the concrete below and the humid air surrounding it, softening from the bottom up while looking stable from the outside. It also provides nesting material and cover for pests. The dampness and darkness of a floor-level cardboard stack is genuinely hospitable to insects and rodents.
Step 1: Replace cardboard used for ongoing storage with rigid plastic bins that have snap-close lids. This eliminates moisture wicking and removes the scent signals that draw insects to unsealed packaging (Modern Teen).
Step 2: Get storage off the floor. Metal shelving, wall-mounted racks, or pallets, anything that creates at least 6–12 inches of clearance under stored items. Elevation reduces moisture buildup risk, allows the weekly sweep to reach underneath, and makes early detection of pest activity possible.
Step 3: Pull shelving units a few inches away from exterior walls. Shelving flush against an exterior wall blocks airflow exactly where condensation tends to form during summer temperature swings. A small gap keeps air moving and allows a visual check behind the shelves without dismantling anything.
One gotcha: Any gear going into a sealed bin needs to be completely dry first: tarps, camping equipment, sports pads. Sealing damp material in a closed container traps humidity inside and raises condensation on the lid and walls. The bin becomes the same problem it was meant to solve.
Habit 4: Eliminate the indoor attractants that draw pests in first
Pests don't appear randomly. They show up because something inside is feeding or sheltering them — food scent, loose crumbs, or open-bag storage that broadcasts an invitation. Two categories of attractants account for most of the problem.
Food storage: Any pet food, birdseed, or packaged food item in the garage needs to be moved into a hard-sided container with a sealed lid. Original bags even folded closed leak scent and shed crumbs with every handling. Ants follow that scent trail quickly, and mice can chew through a standard bag in a single night.
Spilled kibble and crumbs need immediate cleanup with a soap solution. They attract insects first, and rodents follow that activity. Store food containers on shelving, not on the floor, and inspect lids and seals monthly for bite marks or compromised closures.
Trash and recyclables: A bin living in the garage needs a tight lid and a regular rinse. Rinsed recyclables, lidded trash, no food residue sitting open. This matters more in summer when heat amplifies the odors that pests detect from outside.
The one exterior control point: Trim vegetation back at least 12 inches from the garage exterior. Overgrown plants along the foundation give insects a direct bridge to wall gaps and door seams. Summer growth moves fast. What was clear last month may need attention again.
How to keep your garage clean all summer with a 30-minute monthly perimeter check
Set a calendar reminder. Ten minutes, once a month. This check closes the loop on everything else, catching the gaps, cracks, and failing seals that let summer conditions undo the other four habits. Eliminating food sources and blocking entry points together address roughly 80% of pest problems before they start.
Step 1 Floor scan: Walk the floor looking for cracks wider than a quarter inch, returning dark oil pools, or on coated surfaces any bubbling or peeling. Note anything that needs follow-up before fall prep begins.
Step 2 Door seal check: Close the garage door and slide a dollar bill under the bottom seal at several points along its length. A tight bottom seal is a critical and often overlooked barrier against rodents and crawling insects. Mice can squeeze through a gap roughly the diameter of a dime. Replace worn weatherstripping; install a threshold if gaps exceed a half inch.
Step 3 Perimeter inspection: Walk the interior walls and check every penetration point, utility lines, conduit, hose bibs, vents, plus the seam where walls meet the foundation and the corners where walls meet each other. Seal any gap larger than a quarter inch with steel wool backed by caulk or expanding foam. Replace torn weatherstripping on entry doors.
Step 4 Storage audit: Pull lower-shelf bins out slightly and check underneath for moisture marks, rust on bin bottoms, or signs of pest activity, droppings, gnaw marks, or compromised lids. Two minutes. Catches problems when they're still minor.
Step 5 Exterior scan: Check eaves and upper corners for wasp nest formation. Summer is peak season. Confirm vegetation hasn't crept back against the walls since the last trim.
What to expect: Most months, nothing significant. Occasionally, the check will turn up a developing seal gap, a new crack, or early pest activity near a stored food item. Catching that in 10 minutes beats finding it in September.
Summer garage maintenance checklist
Every week
Sweep or dry-mop the full floor, including corners
Treat any spills from the past week same-day (or immediately if spotted)
Running in the background
All storage raised at least 6–12 inches off the floor
Food and pet supplies in sealed hard-sided containers
Shelving pulled a few inches from exterior walls
Every month
Scan floor for new cracks, oil pools, or coating issues
Dollar-bill test on garage door bottom seal
Inspect utility penetrations and wall-foundation seams for gaps
Pull lower bins and check for moisture, rust, or pest signs
Check eaves for wasp nests; verify vegetation clearance
A summer cadence, not a project
Every weekend: five minutes with a broom or microfiber mop, spills treated immediately if anything appeared during the week. Every month: a ten-minute walk around the perimeter. Running in the background starting now: storage raised and sealed, food sources locked down.
D and G Flooring puts summer maintenance at roughly 30 minutes a week. The habits above aren't valuable for the cleaning they accomplish on their own they're valuable for what they prevent: oil stains that require multiple treatment cycles to lift, condensation that silently rusts stored equipment, and pest activity that starts with a crumb trail and compounds from there.
Start with the habit that addresses the current biggest problem. Run it for a month, then layer in the rest. By Labor Day, there won't be a project waiting.
When habits aren't enough: Stains that don't respond after three treatment cycles, floor cracks wider than a quarter inch, coated surfaces showing bubbling, or active pest activity past the early-detection stage those are repair and remediation problems worth a professional evaluation before fall prep.


Comments
Be the first, drop a comment!