



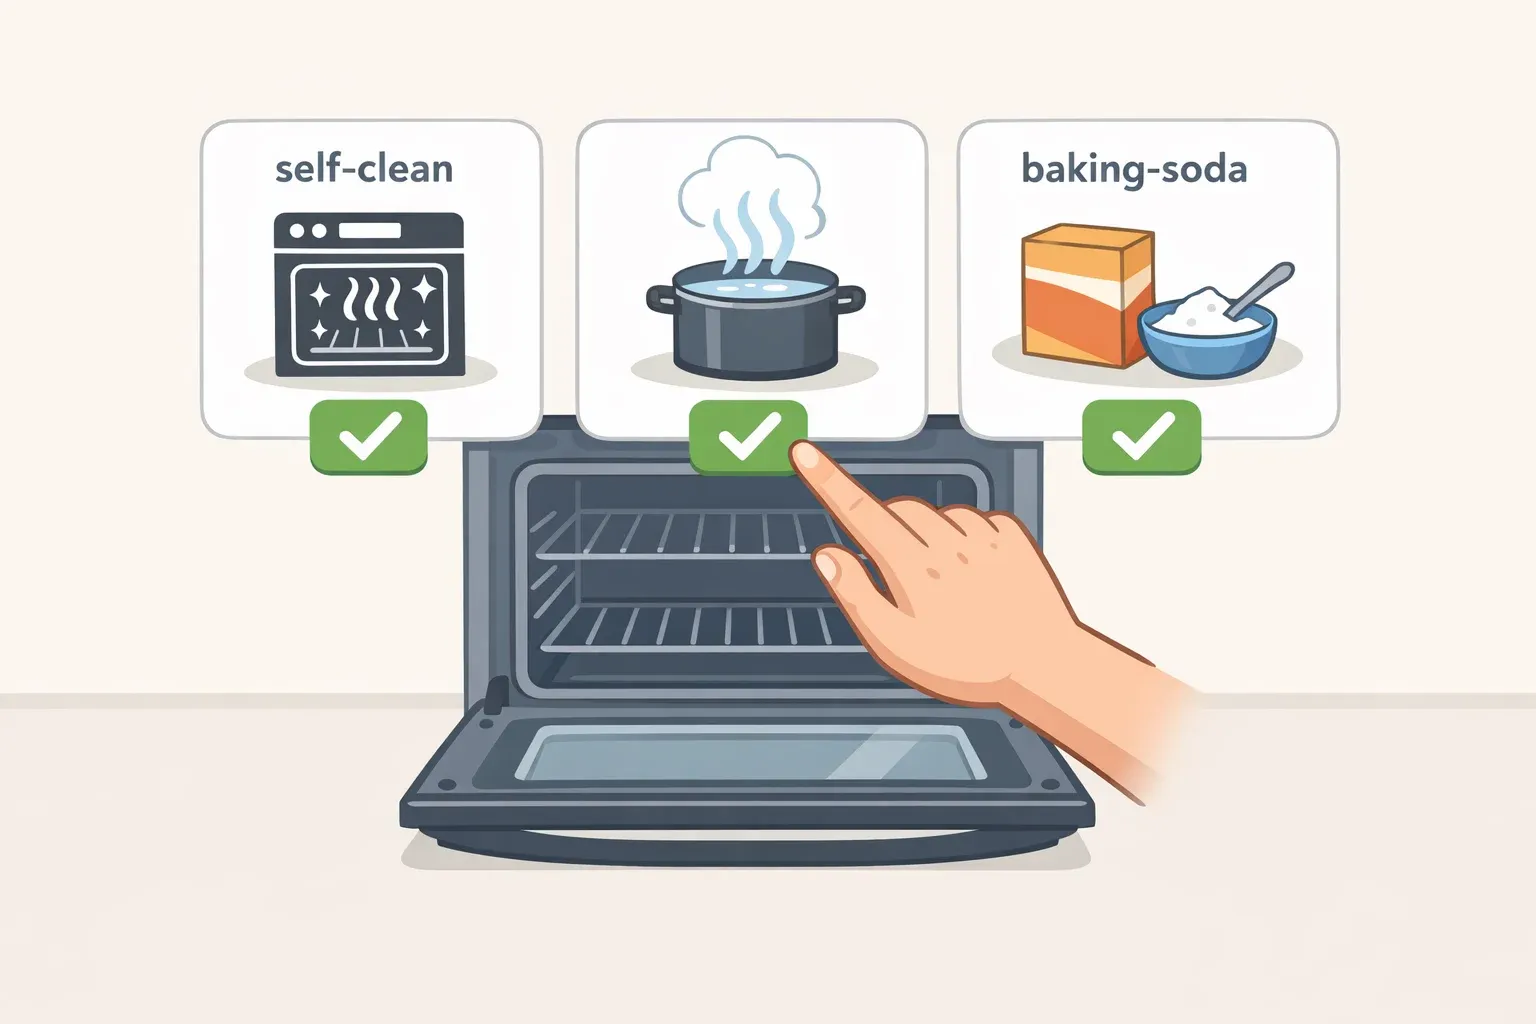
The best way to clean an oven depends less on the mess than on the oven itself. If your model has a self-clean or steam-clean mode, that capability should shape your approach before you reach for baking soda or a commercial spray. Getting this wrong doesn't just mean more scrubbing; it can mean permanent damage to the oven's interior.
Before you start: identify your oven's cleaning modes
Check the control panel or owner's manual to confirm which modes your oven has: Self Clean, Steam Clean, or neither. If the manual isn't handy, the manufacturer's website or customer service line can confirm model-specific instructions.
Which method is right for your situation
Most confusion about how to clean an oven comes from treating it as a single problem with a single solution. It isn't. The right method depends on two things: what your oven is built to do, and how bad the mess is.
Use this as your starting point:
Self Clean + heavy baked-on buildup → Use the self-clean cycle (with prep, see below)
Steam Clean + light to moderate residue → Use the steam cycle
No built-in cleaning mode, or manual restrictions on stronger methods → Use the manual baking soda method, with realistic expectations
Any situation involving commercial oven cleaners → Check manufacturer instructions first, every time
The research doesn't point to one universally superior approach. What it does say is that for ovens equipped with built-in cleaning modes, those modes are generally the first option to consider for their intended mess level. Samsung describes the self-clean cycle as the best approach for interior cleaning if you'd rather not use soap and water. For those without that feature, alternatives exist, but with real limitations.
How bad is the mess?
Fresh splatter or light film: visible but not yet hardened; wipes off with minimal effort. Steam Clean or a damp wipe handles this.
Moderate buildup: grease has baked on through several cooking sessions; darker spots, some resistance when wiping. Self Clean or baking soda with dwell time.
Heavy or long-neglected grime: thick, carbonized crust; smoke or a greasy odor when the oven turns on. Good Housekeeping notes that oven grime at this stage is a fire hazard and affects how food cooks and tastes. Self-clean is the only built-in option that can handle it.
Long-neglected oven with no Self Clean: the baking soda method will help, but may not fully resolve serious buildup. Manage expectations going in.
One caution applies across all methods: certain products and accessories are prohibited on specific oven models, and that prohibition isn't always obvious. Commercial oven cleaners and oven liners are two areas where manufacturer guidance varies sharply. Some brands forbid them entirely. Check the manual before proceeding. If damage occurs in a part of the oven that isn't serviceable. It may require full oven replacement.
Method 1: How to clean an oven with the self-cleaning cycle (heavy buildup, equipped ovens)
Self-clean is the most powerful option available to most modern oven owners. The cycle heats the interior to extreme temperatures. Some models reach 900°F, incinerating food and grease down to a fine ash. It requires some prep and patience, but the actual effort is minimal.
Step 1: Remove everything from the oven. Pull out all racks, baking accessories, and dividers. The self-clean cycle is not designed for racks and can discolor or damage them. Samsung's support guidance is explicit: the oven must be completely empty before starting.
Step 2: Wipe out loose debris and excess grease. Use a damp cloth to clear any food bits and pooled grease you can reach. Self-clean handles what remains after this step, not instead of it. Clear loose debris first.
Step 3: Start the self-clean cycle. Select Self Clean on the control panel and set the cycle length according to your oven's instructions. The door will lock automatically. Some smoke and odor during the cycle are normal, particularly if the buildup is heavy. Open a window or run the range hood.
Do not apply any cleaning product before or during the self-clean cycle. Chemical residue inside the oven during the high-heat cycle causes interior damage. Commercial oven cleaners and liners are prohibited in or around their ovens under any circumstances, because residue from those products will damage the interior during self-cleaning.
Step 4: Allow the oven to cool completely. Don't rush this step. Consult your oven's manual for the expected cool-down period before wiping it typically runs two or more hours after the cycle ends.
Step 5: Wipe away the ash. Once cool, use a damp sponge or cloth to wipe the chalky residue from the oven floor and walls. That's the whole job.
Running self-clean every four months rather than waiting for heavy buildup makes each cycle shorter, less smoky, and easier overall. Good Housekeeping specifically recommends this cadence.
Method 2: Steam clean (light to moderate residue, equipped ovens)
Steam Clean is a gentler, faster built-in option available on select models. It's suited for recent light-to-moderate soil, not the heavy carbonized buildup that self-clean handles. The following steps are drawn from Samsung's guidance for the process.
Step 1: Empty the oven and remove racks.
Step 2: Add water. Pour one cup of tap water (not distilled) into the Steam Clean tray. If there's no tray, pour it directly onto the oven floor.
Step 3: Run the Steam Clean cycle. Select the mode on the control panel and let it complete.
Step 4: Wipe down once cooled. Water will remain on the oven floor after the cycle. Once the oven cools enough to handle safely, wipe away the water and loosened residue with a sponge or soft cloth.
Steam works because moisture softens baked-on grime enough to wipe away without scrubbing but only if the residue hasn't been there long. If wiping after a steam cycle still requires real effort, that's a signal the mess has moved into self-clean territory.
Method 3: Manual cleaning with baking soda (no built-in mode, or when self-clean is restricted)
If your oven lacks a self-clean or steam-clean feature, or if your manufacturer's instructions advise against stronger methods, a baking soda paste is the most widely recommended manual approach.
Know what it can and cannot do before starting. Good Housekeeping recommends baking soda as a spot cleaner only, and advises against applying it across the entire oven interior. It is broadly safe for general use. For heavy grime, it helps, but may not fully resolve the problem.
Step 1: Pre-steam to loosen grime. Leave the racks in the oven. Place an oven-safe bowl filled with water on a rack and set the oven to 450°F for 30 to 60 minutes. This softens residue before the paste goes on.
Step 2: Remove the racks and mix the paste. Once the oven cools, remove the racks for separate cleaning. Combine one cup of baking soda with two tablespoons of water to form a spreadable paste. For greasier ovens, swap one tablespoon of water for a tablespoon of dish soap with degreaser.
Step 3: Apply the paste. Spread it across the oven walls, floor, and the inside of the door. Do not apply paste to electrical heating elements or gas vents. This applies regardless of oven type.
Step 4: Let it sit. Minimum one hour; overnight is better for heavier soil.
Step 5: Wipe down. Use a damp sponge or microfiber cloth to remove the paste, then rinse with a 50/50 solution of white vinegar and water to clear residue and neutralize any alkaline film.
A note on commercial oven cleaners: not categorically unsafe, but they require caution. Use one only if it's certified for oven use and your manufacturer explicitly allows it. Repeated use can permanently damage enamel surfaces, degrade self-clean performance, and in some cases cause damage requiring full appliance replacement. Some brands, Samsung among them, prohibit commercial cleaners entirely.
How to clean oven glass and racks
Racks: Soak in warm, soapy water for at least two hours or overnight for heavier grime, then scrub with a stiff-bristled brush. A baking soda paste applied before scrubbing also works well on metal rack surfaces.
Door glass: Baking soda paste is safe on interior glass. For the exterior panel, use glass cleaner or soapy water and stainless steel cleaner on glass smears. Keep moisture away from door edge cracks and the gasket seal; water that gets between the panes is difficult to address without professional help.
Don't disassemble the oven door to clean between the glass layers. That work belongs to an authorized technician. Attempting it yourself risks cracking the glass, damaging the door, and voiding any remaining warranty.
How often to clean your oven and how to keep it cleaner between sessions
The core principle: frequency beats intensity. A quick wipe after cooking prevents the buildup that turns cleaning into a serious project.
Deep clean every three to six months as a baseline. If you regularly roast fatty meats, monthly deep cleaning may be more appropriate. Experts recommend deep cleaning four times a year, interior spot-cleaning monthly, and exterior wipe-downs weekly.
Wipe spills once the oven cools. Fresh grease comes off quickly; the same grease baked through several more cooking sessions takes considerably more work.
Treat a smoky or greasy odor at startup as a cleaning trigger, regardless of schedule. Experts recommend this symptom-based approach at that point, when buildup has reached a level that affects cooking and presents a fire risk.
Cook greasy foods at lower temperatures to reduce splatter, and wait for preheating to finish before placing food inside.
On oven liners: Some sources recommend them for catching drips. Certain manufacturers explicitly prohibit them. Check the manual before placing any liner in the oven.
The method that works best is whichever one your oven was actually built to use. Start by identifying the cleaning mode or the absence of one, and let that dictate the approach. For anything beyond routine maintenance, the self-clean cycle outperforms manual methods when it's available. When it isn't, baking soda paste is a reasonable fallback with honest limits. And before reaching for any commercial cleaner, check the manual: what's permitted varies enough across brands that skipping that step is a genuine risk.






Comments
Be the first, drop a comment!