


How to Clean Your Bathroom with Hydrogen Peroxide: A Surface-by-Surface Guide
This guide walks through cleaning hard, non-porous bathroom surfaces with 3% hydrogen peroxide showers, tubs, toilets, tiles, and glass with exact dwell times and formulations for each surface. If you're using hydrogen peroxide for bathroom mold, the key is knowing which spots are truly surface-level before you start spraying.
That distinction matters more than any specific step. Hydrogen peroxide is an effective surface cleaner and disinfectant on hard, non-porous materials. It's a poor choice, or at best a partial fix, when the real problem is porous materials, uncontrolled moisture, or growth that's already embedded below the surface. The standard 3% concentration from any pharmacy works as an antibacterial, antimicrobial, and disinfectant. Unlike bleach, it doesn't produce harmful fumes and is biodegradable, breaking down into water and oxygen, per IERE. But its effectiveness depends on concentration, contact time, surface type, and how advanced any mold or mildew growth is. Use it correctly and it's a capable, low-cost cleaner. Skip those variables and you'll wonder why it didn't work.
What you'll need: 3% hydrogen peroxide (undiluted, from the pharmacy), a dark or opaque spray bottle, rubber gloves, eye protection, a sponge, a scrub brush, and an old toothbrush for grout. Open a window or run the exhaust fan before starting and keep it running until surfaces dry completely.
Surface compatibility at a glance
Before getting into the steps, here's a fast-reference summary of where 3% hydrogen peroxide is safe, where caution is warranted, and where to reach for something else.
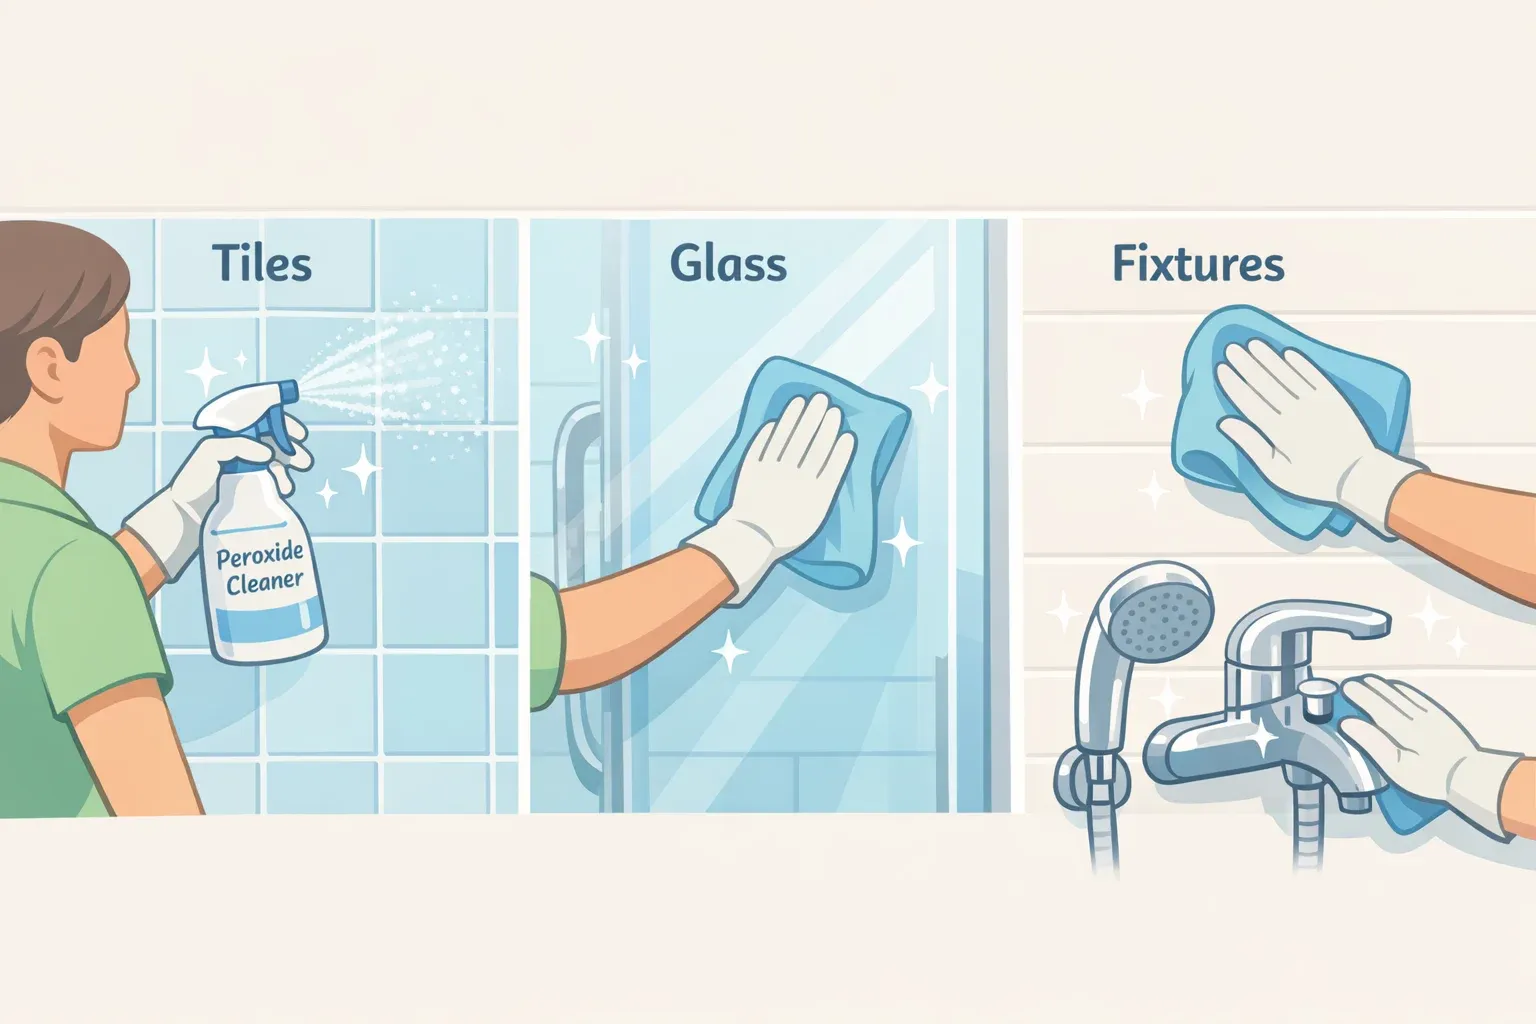
Generally safe: White porcelain tubs and toilets, ceramic and porcelain tile, glass shower doors, bathroom mirrors, clear or white plastic fixtures.
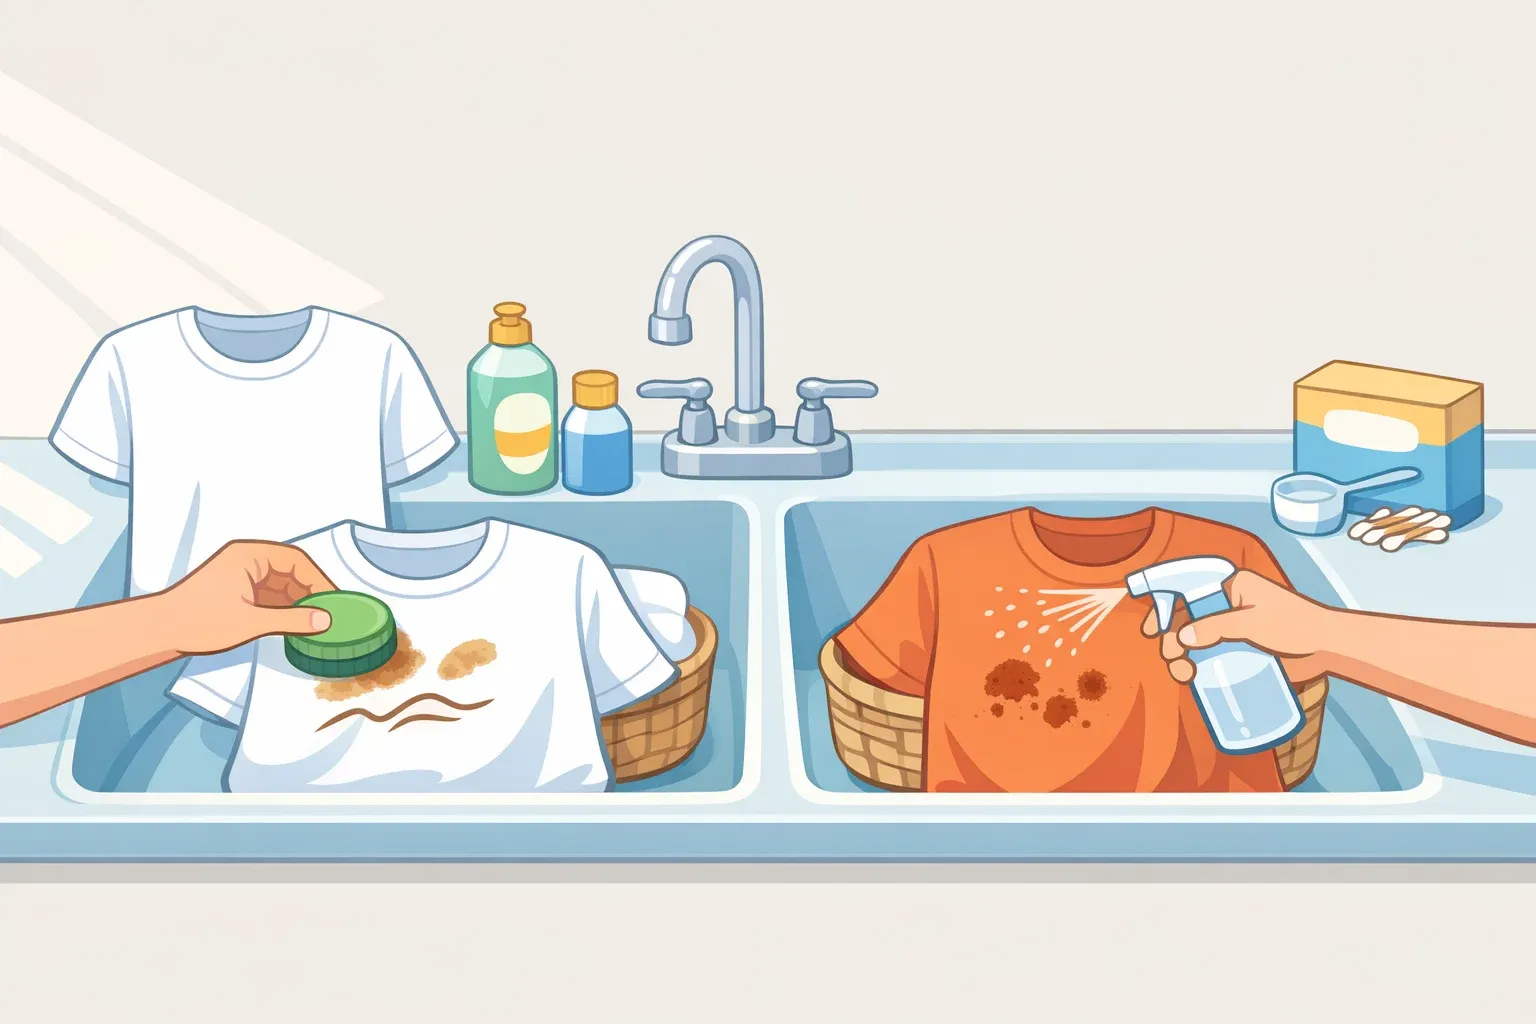
Use with caution test first: Dark or colored grout, colored caulk, colored tile or textured finishes. Hydrogen peroxide has mild bleaching properties and can lighten these materials unevenly, per IERE. Apply a small amount to a hidden spot, wait 10 minutes, and check before committing to a full application.
Avoid or substitute: Natural stone surfaces including marble, travertine, and slate. These can react poorly to oxidizing cleaners. Use a stone-safe product instead.
Before you start: know what hydrogen peroxide can and can't do here
Read this before touching any surface. These aren't boilerplate warnings they determine whether the method works and whether you'll damage anything.
Verify your peroxide is still active. Once opened, a bottle degrades in roughly six months; sealed bottles last about three years, according to The Spruce. Pour a small amount into the sink if it fizzes; it's working. If it lies flat, it's broken down to plain water. Store your supply in its original dark container, away from heat and direct sunlight; light accelerates that breakdown, which is why it's sold in opaque bottles, per IERE. Fill your spray bottle fresh before each cleaning session.
Know the hard mixing rules. Combining hydrogen peroxide with vinegar in the same container produces peracetic acid, which can irritate the skin, eyes, and respiratory system, Good Housekeeping reported earlier this year. Combining it with bleach produces toxic fumes, per IERE. Never mix hydrogen peroxide with bleach, ammonia, lemon juice, or vinegar in the same container. If you're using multiple cleaners on the same surface, apply one, rinse completely, then apply the other.
Understand the core limitation. Hydrogen peroxide works on surface mold and bacteria organisms sitting on top of tile, porcelain, or glass. It doesn't penetrate well into porous materials, which means mold embedded in grout joints, silicone caulk, or behind walls may survive treatment entirely, according to IERE. It kills what's there today; it does nothing to prevent regrowth if the underlying moisture conditions haven't changed.
Is hydrogen peroxide the right tool? A decision guide before you spray
This is the section most cleaning guides skip. It belongs here before the step-by-step instructions because using the right method on the wrong problem wastes time and may leave you thinking the cleaner failed when the real issue was moisture or embedded growth.
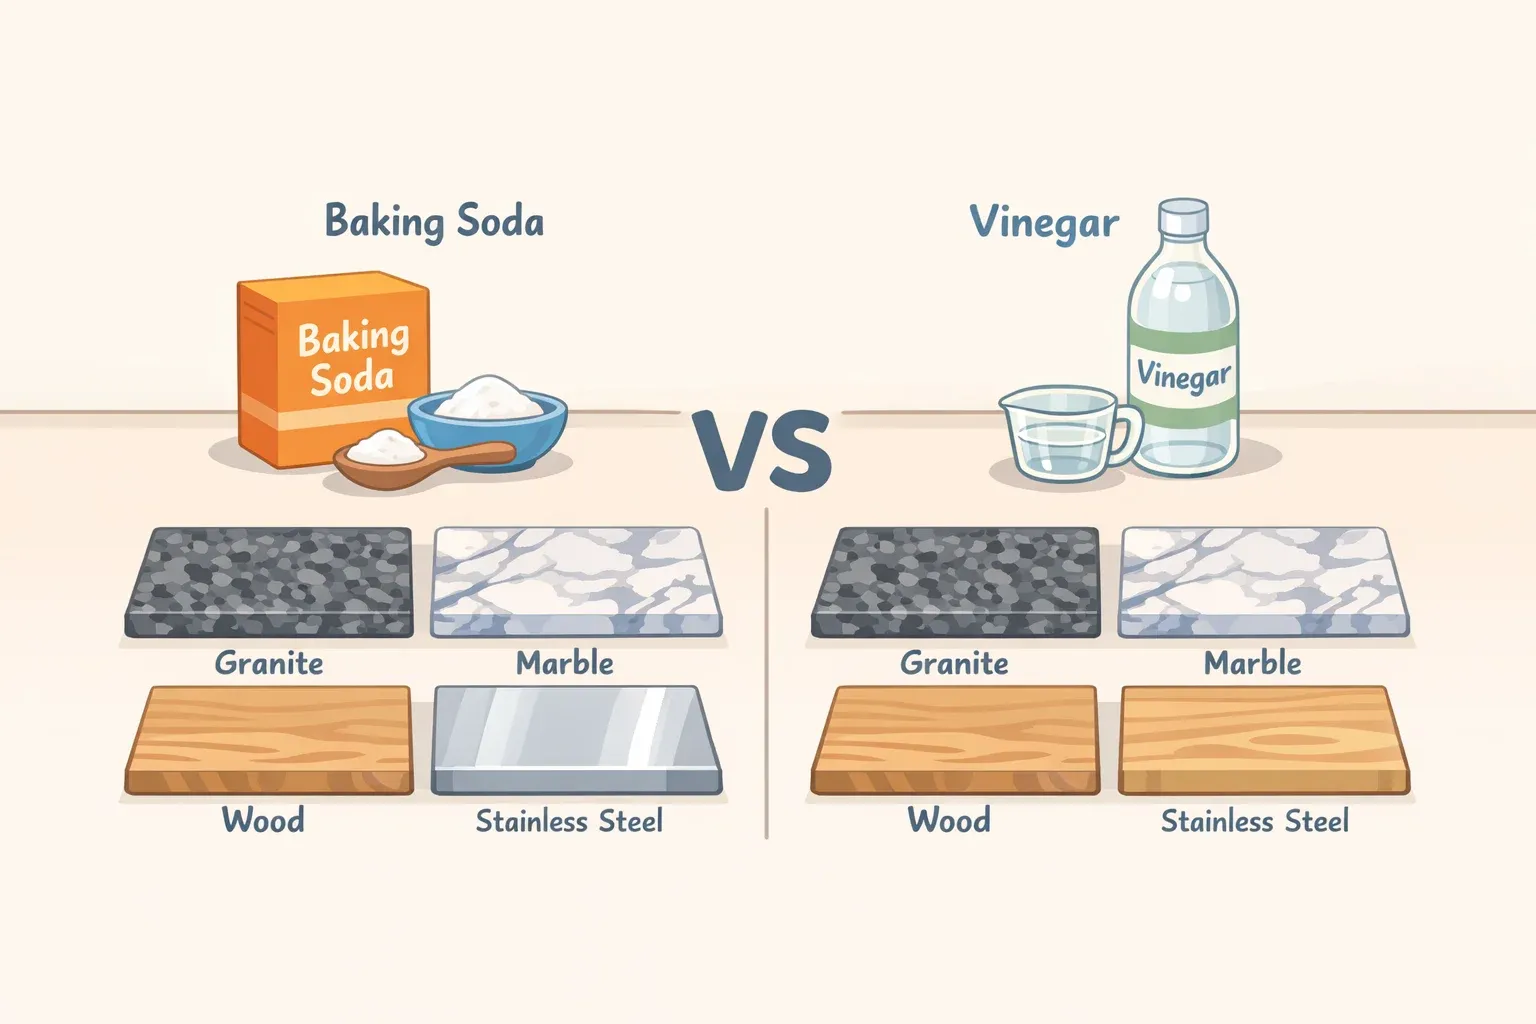
Where hydrogen peroxide works well: On early-stage, surface-level mold and general grime on hard, non-porous surfaces porcelain tubs, ceramic and porcelain tile, glass shower doors, and mirrors. On these surfaces, it tends to deliver stronger antimicrobial action than vinegar, particularly with adequate contact time, per Mold Removal Lab. Soap scum, light discoloration, and bathroom odors respond well.
Where it has limited effectiveness:
Grout lines: Grout is porous. Hydrogen peroxide including the baking soda paste method can address early discoloration and light surface growth, but it's a cosmetic and early-stage intervention, not a fix for mold that has embedded into the joint. If the same spot darkens again within a week or two of treatment, the mold is deeper than peroxide can reach.
Silicone caulk: Peroxide doesn't meaningfully penetrate silicone. Mold on caulk surfaces can be lightened, but growth inside or beneath the caulk line won't be eliminated. If caulk stays visibly discolored after cleaning, recaulking is the practical answer.
Natural stone: Marble, travertine, slate, and similar materials can react poorly to oxidizing cleaners. Test with particular care, and consider a stone-safe cleaner instead.
Colored grout, dark finishes, colored fabrics: Bleaching risk is real. Always test first.
When to stop DIY and escalate: Contact a licensed mold remediation professional if any of the following apply, per IERE:
Mold covers more than 10 square feet
Mold returns to the same spot within a week or two of treatment, even with improved ventilation
You suspect mold behind walls, under flooring, or inside a ceiling
There's a persistent musty smell with no visible source
Anyone in the household is experiencing respiratory symptoms or unexplained irritation
The moisture problem, stated once. Hydrogen peroxide kills existing surface mold. It does nothing to prevent new growth. If the bathroom lacks adequate ventilation, surfaces stay wet after showers, or there's a slow drip somewhere, mold will return regardless of what cleaner you use, according to IERE. Reducing moisture, drying surfaces promptly, and cleaning at the first sign of growth have as much long-term impact as product choice, Mold Removal Lab notes. Run the exhaust fan during and for 20 minutes after every shower. Wipe down tile and glass. Fix leaks. Those habits are doing more of the work than the hydrogen peroxide is.
Hydrogen peroxide for shower and tile cleaning: steps, dwell times, and what to expect
The principle across all non-porous surfaces is the same: coat thoroughly, wait, then scrub or wipe. Dwell time is not optional. The oxidation process that kills mold and bacteria requires at least 10–15 minutes of contact, per IERE. Spraying and wiping immediately delivers a fraction of the cleaning effect.
SurfaceSolutionDwell timeMethodTest first?Shower walls and floorUndiluted 3%15 min; up to 60 min for mildewSponge, then rinseIf colored tile or stoneBathtubUndiluted 3%15–60 minScrub brush or sponge, then rinseIf colored finishBathtub (set-in stains)2:1 baking soda to peroxide paste60 minScrub off with sponge, rinseYesToilet bowl½ cup undiluted, poured in20–30 minToilet brush, then flushNoWall tilesUndiluted 3%15 minWipe with spongeIf dark or colored groutFloor tiles1:1 peroxide and waterNo fixed dwell timeMicrofiber mop, then air dryIf colored grout or stoneGrout linesPaste: ¼ cup peroxide + ½ cup baking soda + 1 tbsp dish soap10–15 minOld toothbrush, then mop and dryAlwaysMirrors and glass doorsUndiluted or 1:1 with waterNoneWipe with microfiber clothNo
Step 1: Shower walls and floor
Fill your spray bottle with undiluted 3% hydrogen peroxide. Apply an even coat across all walls and the floor full coverage, not a light mist. Wait at least 15 minutes, per The Spruce. For visible mildew, extend to 30–60 minutes before scrubbing with a sponge and rinsing. If mildew comes back within a week or two, skip another cleaning round and move to the decision guide above the problem is moisture or embedded growth, not the method.
Step 2: Bathtub
Spray the entire surface and wait 15 minutes for routine cleaning. For heavier soap scum or mildew, extend to 30–60 minutes, then scrub and rinse, per IERE. For set-in stains, apply a paste of 2 parts baking soda to 1 part hydrogen peroxide, leave for an hour, scrub with a sponge, and rinse, per The Spruce.
Step 3: Toilet bowl
Wipe the seat, lid, and tank exterior with dish soap or a general cleaner first. Then pour ½ cup of undiluted hydrogen peroxide into the bowl, let it sit 20–30 minutes, scrub with a toilet brush, and flush, per The Spruce. Effective routine sanitation on porcelain not medical-grade sterilization, but a meaningful reduction in surface bacteria and odor.
Step 4: Tiles and grout
Wall tiles: spray undiluted, wait 15 minutes, wipe with a sponge. Floor tiles: mix equal parts hydrogen peroxide and water in a bucket, mop with a microfiber mop, air dry, per The Spruce.
For grout, use the paste: ¼ cup hydrogen peroxide, ½ cup baking soda, 1 tablespoon dish soap. Apply directly to the lines, wait 10–15 minutes, scrub with a toothbrush, then mop and dry the area, per The Spruce. Test on an inconspicuous section first hydrogen peroxide can lighten dark or colored grout, and the effect will be uneven if you skip this. Set expectations clearly: this method addresses surface and early-stage growth. If darkening returns within a week or two, the mold is embedded and recaulking or professional assessment is the next step, not another round of paste.
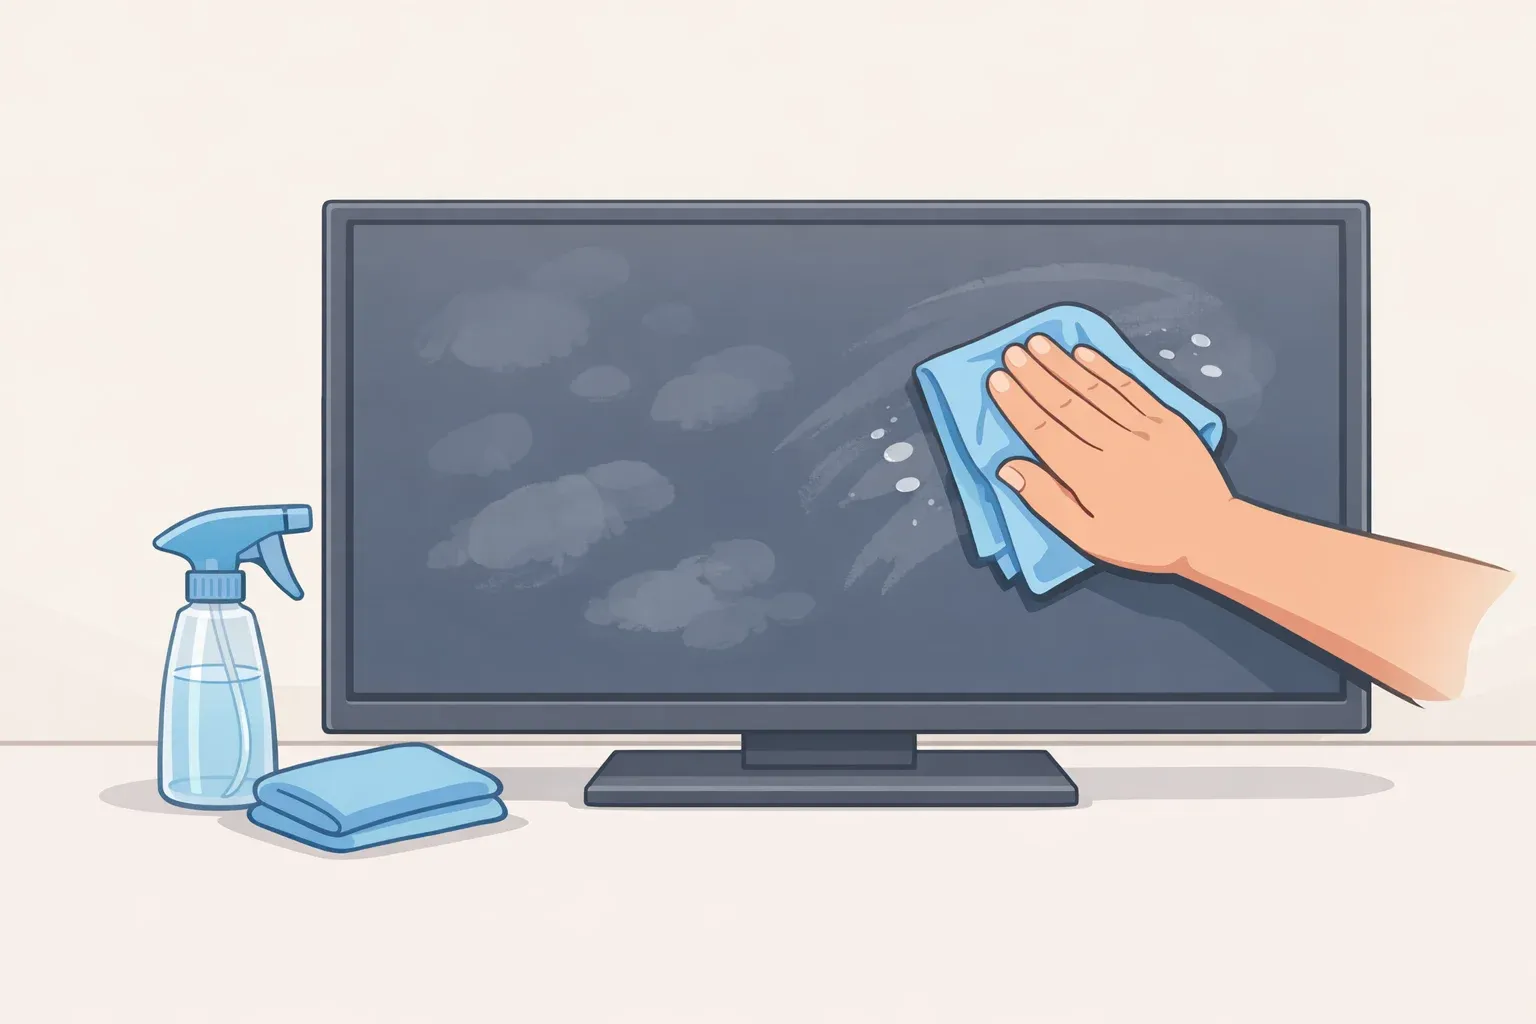
Step 5: Mirrors and glass shower doors
Spray directly and wipe with a microfiber cloth hydrogen peroxide leaves glass streak-free with no residue, per The Spruce. No dwell time required. A 50/50 dilution with water works equally well.
Keeping it clean: a maintenance protocol that prevents the hard work
The goal is preventing buildup, not recovering from it. Consistent light maintenance makes the cleaning steps above a 10-minute routine rather than an hour-long project.
After every shower: Squeegee or wipe down tile and glass. Ventilate for at least 20 minutes. This single habit does more to prevent mold than any cleaning product.
Weekly: Spray shower walls, the tub, and toilet bowl with undiluted hydrogen peroxide. Observe the 15-minute dwell time. Wipe or scrub, then rinse. Check grout for early discoloration.
Monthly: Treat any grout lines showing early color change with the paste method. Catching growth before it embeds is the difference between a quick fix and a recaulking job.
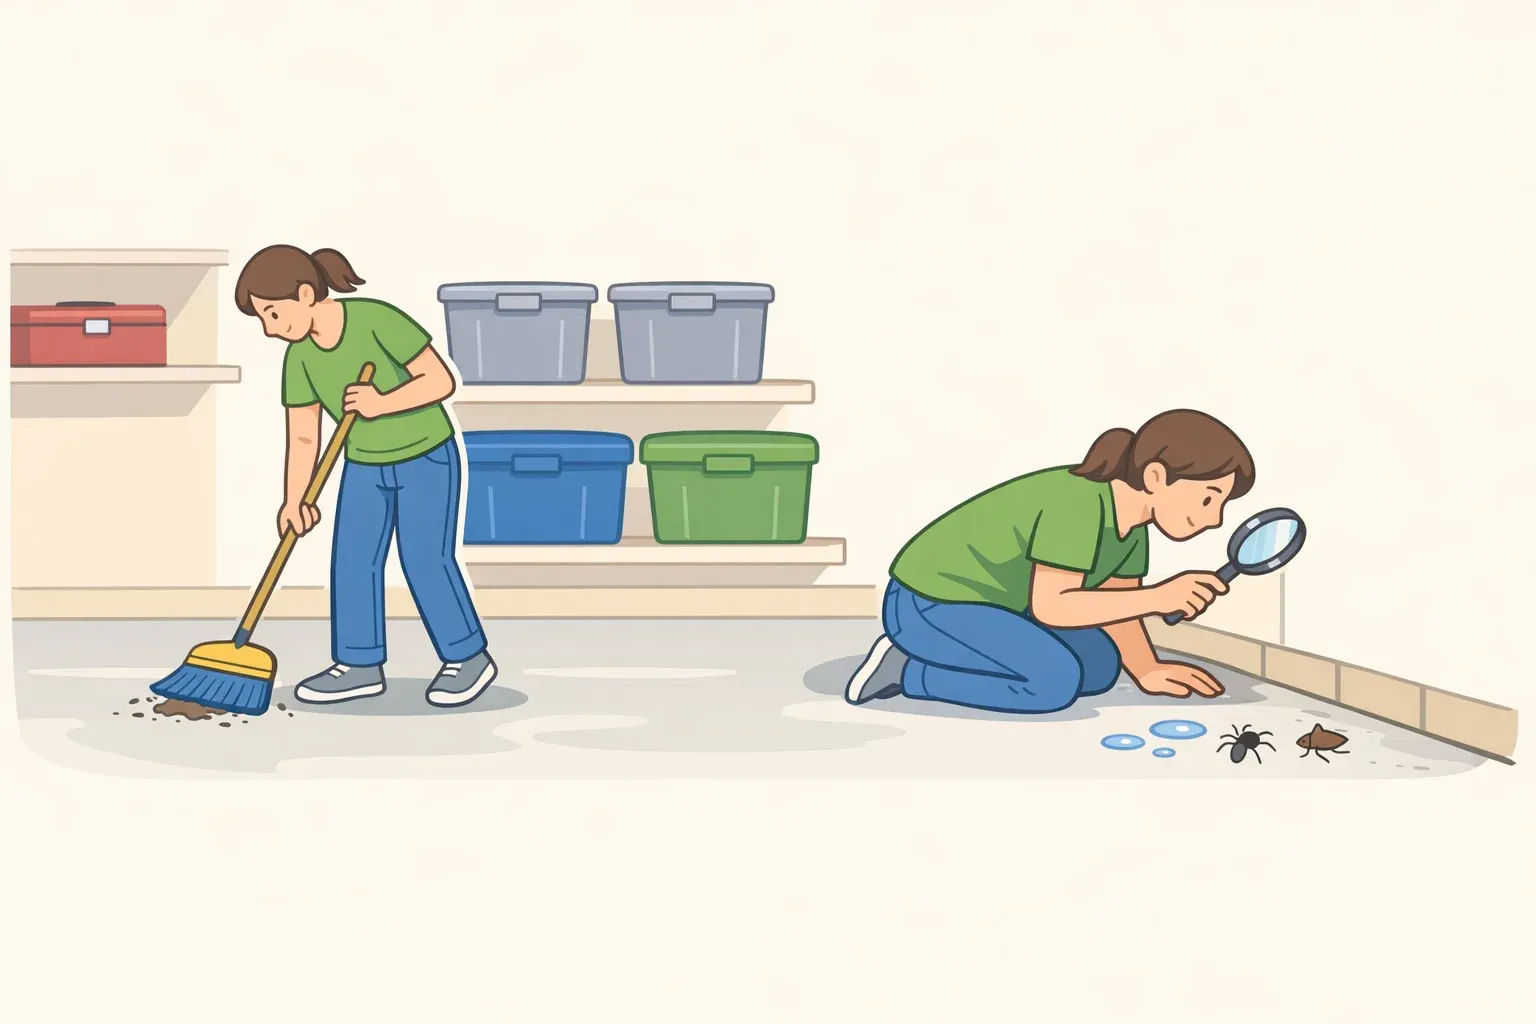
Every few months: Inspect behind the toilet, under the sink, and around caulk lines for moisture accumulation or hidden growth. A slow drip in the wrong place causes more damage than any surface grime.
Two things to carry forward. The minimum effective dwell time is 10–15 minutes less than that and you're mostly wetting the surface, per IERE. And if a spot keeps returning despite cleaning, the answer is almost never more peroxide. Recurring growth means the problem has moved beyond surface cleaning, and the next step is addressing moisture, recaulking, or calling a professional.


Comments
Be the first, drop a comment!