



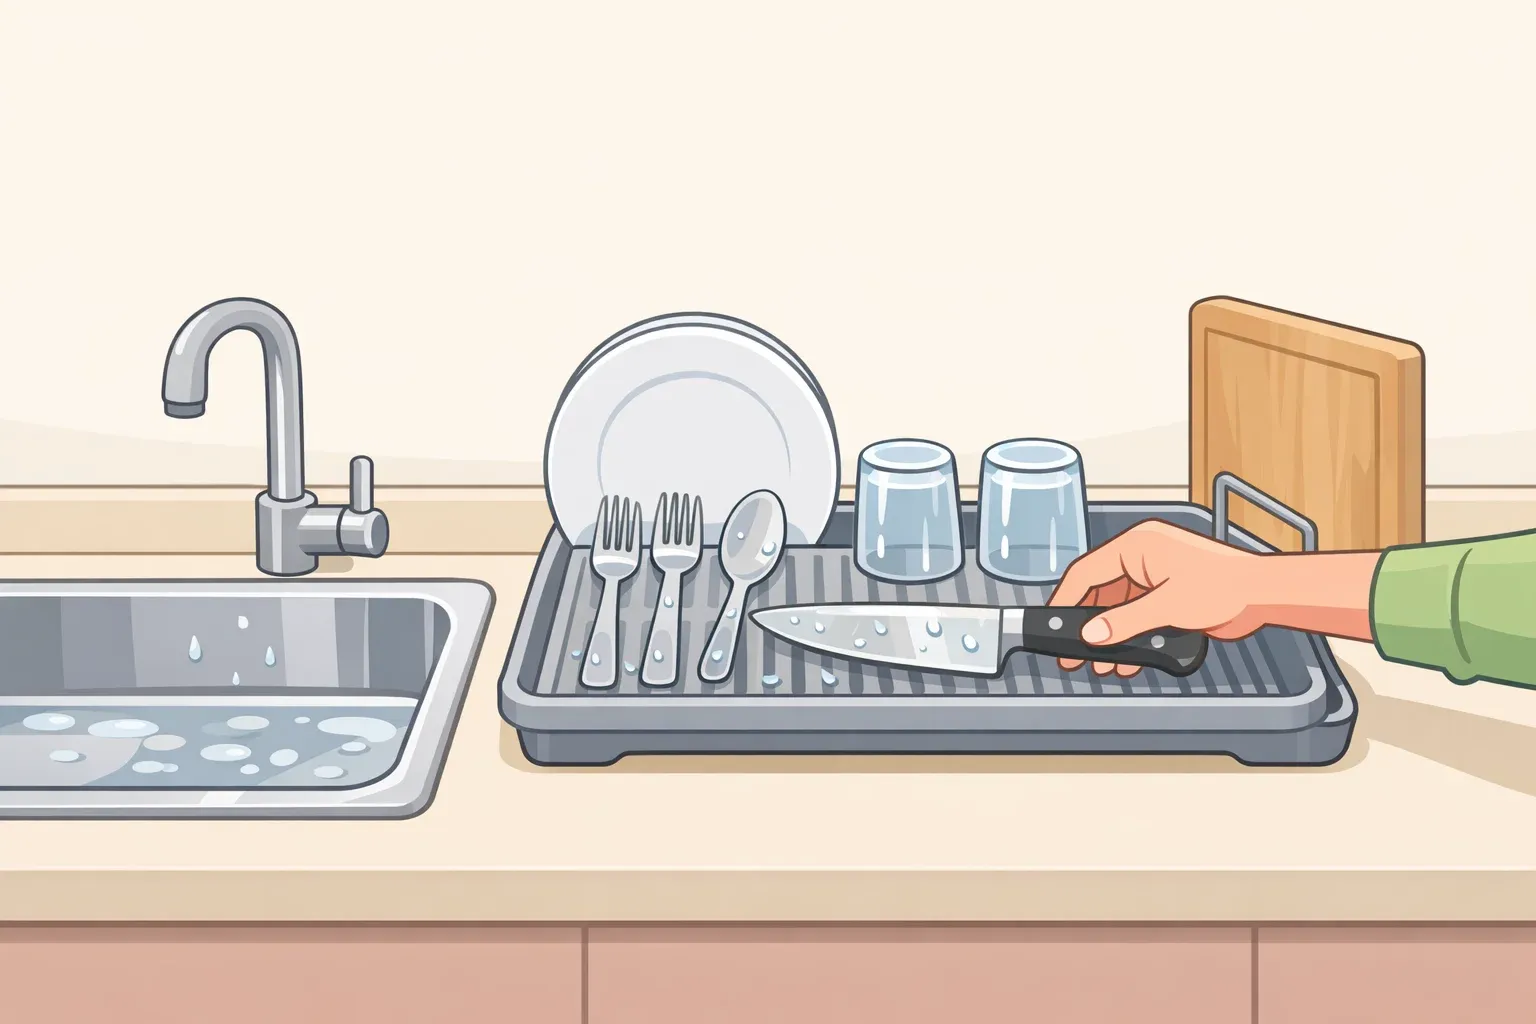
A useful sink-side tray does one thing well: it keeps wet tools off the bare counter and dries fast enough between uses that it doesn't become its own source of moisture. A plastic dish that pools standing water under your sponge is not that. It's the same problem, moved two inches to the left.
This guide walks through how to choose, position, load, and maintain a sink-side tray that actually reduces counter maintenance. Four steps. No special tools required.
The hygiene case for caring about this is grounded in real data. A study published earlier this year in the Journal of Food Protection found that E. coli and Salmonella Enteritidis can survive inside kitchen sponges for at least two weeks, even starting from very low contamination levels, and transfer to nearby surfaces under the kind of mild contact pressure you'd use wiping a dish.
Mold spores can begin establishing on damp surfaces in as little as 24 to 48 hours. The underlying pattern, wet surfaces accumulating microbial growth fast, aligns with the peer-reviewed sponge research. A tray won't eliminate that. It can stop wet tools from spreading the problem every time someone sets them down.
Step 1: Understand what the tray is actually fixing (and what it isn't)
Before buying or repositioning anything, understand why the sink area gets grimy so persistently.
The core issue is sponge and scrubber storage. Most people set wet tools directly on the counter, where they sit in their own moisture for hours. A sponge left flat on a damp surface doesn't dry between uses. It stays wet, and wet conditions accelerate microbial activity.
The Journal of Food Protection study found that E. coli and Salmonella in sponge material reached stable populations of roughly one billion colony-forming units per sponge section. Those populations held even after three days of partial drying. "Letting the sponge air out" does considerably less than most people assume.
The cross-contamination pathway is more direct than it looks, too. The same study found that a colonized sponge pressed against a surface under ordinary contact pressure can deposit up to 100,000 CFU onto that surface in a single wipe. Every time a contaminated sponge touches a dry counter, that transfer happens.
A sink-side organizer for sponges addresses this through containment and improved drying conditions, not pathogen elimination. Corral wet tools in one designated spot and, when the tray design is right, improve airflow around them so they dry faster between uses. That's the mechanism. A tray does not sanitize a sponge, and no arrangement of storage replaces replacing or sanitizing sponges regularly. Frame it as the first layer of a habit, not the whole solution.
One failure mode worth flagging immediately: many people set up a tray, pile four items onto it, and find it's just as damp as before. If wet tools have no airflow between them, the tray's benefit largely disappears. Keep that in mind for Step 3.
Step 2: How to choose a sink-side tray for kitchen sink use
Three design traits make a tray functional:
Drainage or absorption. The tray should not hold standing water under your sponge. Solid-bottom plastic trays are the most common offender. They pool water in sealed pockets, extending the time wet items sit in moisture rather than reducing it. Slatted or raised-bottom designs let water flow away. Absorbent materials like diatomaceous-earth stone pull moisture in and release it through evaporation rather than letting it accumulate.
Cleanability. The tray needs to be easy to rinse and dry itself. Hidden crevices, grouted corners, or textured undersides collect residue. Flat or simply shaped surfaces take a quick rinse. Anything more complex won't get cleaned often enough to stay useful.
Structural durability under water exposure. Metal trays rust with constant moisture contact, which creates a secondary maintenance problem. If you go with metal, confirm it's stainless or coated specifically for wet environments.
A counter-mounted sink caddy tray works well if you have accessible counter space within arm's reach and more than one or two tools to corral. If you're working with a very small sink area, an over-the-sink caddy or a hanging wall-mounted option may serve better: no counter footprint, tools positioned directly above the drain. If you only ever use a single dish brush and rinse it after every use, a tray may genuinely add more to maintain than it saves.
Step 3: Place and load the tray to make it actually work
Getting the tray into place is fast. Getting the loading right is where most setups fail.
Position the tray. Set it roughly 2 to 3 inches from the sink edge. Close enough to reach without dripping water across the counter while your hands are wet, far enough that it isn't sitting in the direct splash zone from the faucet. Counter-mounted caddies sit beside rather than inside the sink, so they work with most sink configurations.
Load only what belongs there. The tray's job is to hold items used at the sink every day: the sponge or scrubber, a dish brush if you use one, and optionally a small bottle of dish soap. Wirecutter's cleaning philosophy, drawn from years of product testing, holds that a small curated set of tools you can find immediately outperforms a cluttered counter full of items that drift around. Apply that directly here. If it doesn't get used at the sink daily, it doesn't belong on the tray.
Stand items upright. This is not optional. A sponge lying flat on any surface, including a tray, cannot dry effectively because airflow doesn't reach the contact side. Prop sponges vertically or at an angle. Use a tray with a divider, slot, or raised compartment that keeps the sponge off the surface. If your tray is flat, a small clip or rubber band along one edge works. The goal is air on all sides.
Step 4: Build a maintenance routine the tray can't do for you
A sponge holder tray for the sink only reduces cleaning time if you also maintain it. Ignore it, and it becomes the very thing it was meant to prevent.
Weekly: Lift the tray, wipe the counter beneath it, and give the tray itself a quick rinse under warm water. Moisture migrates even with a well-designed tray, and slow residue buildup underneath is what causes counters to discolor and smell. Takes under a minute. Skip it, and the problem compounds.
Every one to two weeks: Replace or sanitize your sponge. No tray arrangement compensates for a heavily colonized sponge transferring pathogens to every surface it contacts. Sponge hygiene is the behavior the tray setup supports, not the one it replaces.
Monthly: Rinse the tray more thoroughly and inspect it. Check for residue in corners, early rust if it's metal, or any drop in drainage or absorption performance.
For absorbent stone trays specifically: Keep them out of the dishwasher. High heat and concentrated detergents degrade the porous structure that makes them effective. Rinse by hand and let air dry fully. If absorption seems sluggish after months of use, light sanding with fine sandpaper can restore the surface. The manufacturer treats this as normal long-term maintenance rather than a sign of failure.
The setup that fails in slow motion looks like this: too many items on the tray, sponge lying flat, tray sitting in the splash zone, counter underneath never wiped. Each is minor on its own. Together, they produce a sink area that's harder to clean than if you'd never added the tray at all.
What a working setup actually looks like after a week
After seven days of use, a well-configured tray should show specific signs. The counter beneath it wipes down without effort because wet tools aren't spreading drips across it throughout the day. There's no damp ring under the tray itself. The sponge is drying upright between uses rather than sitting in contact moisture. Nothing has crept onto the tray that doesn't belong there.
If any of those aren't true, the fix is usually mechanical, not a product swap. Reposition the tray out of the splash zone, reduce what's on it, or adjust how the sponge is propped. The principle is simple: a tray should improve drying conditions, not just contain the mess.
The material choice determines whether any of this holds up. A solid-bottom plastic tray that holds standing water is a relocated problem. What you want is drainage, quick-drying surfaces, and a shape that's easy to rinse. Get those three right, and the rest of the routine takes care of itself.
If the setup surfaces other habits worth addressing, swapping to a dish brush, trimming what lives on the counter, and replacing sponges more consistently are natural next steps. Start with the tray set up correctly, and those decisions get easier to see.

















Comments
Be the first, drop a comment!