



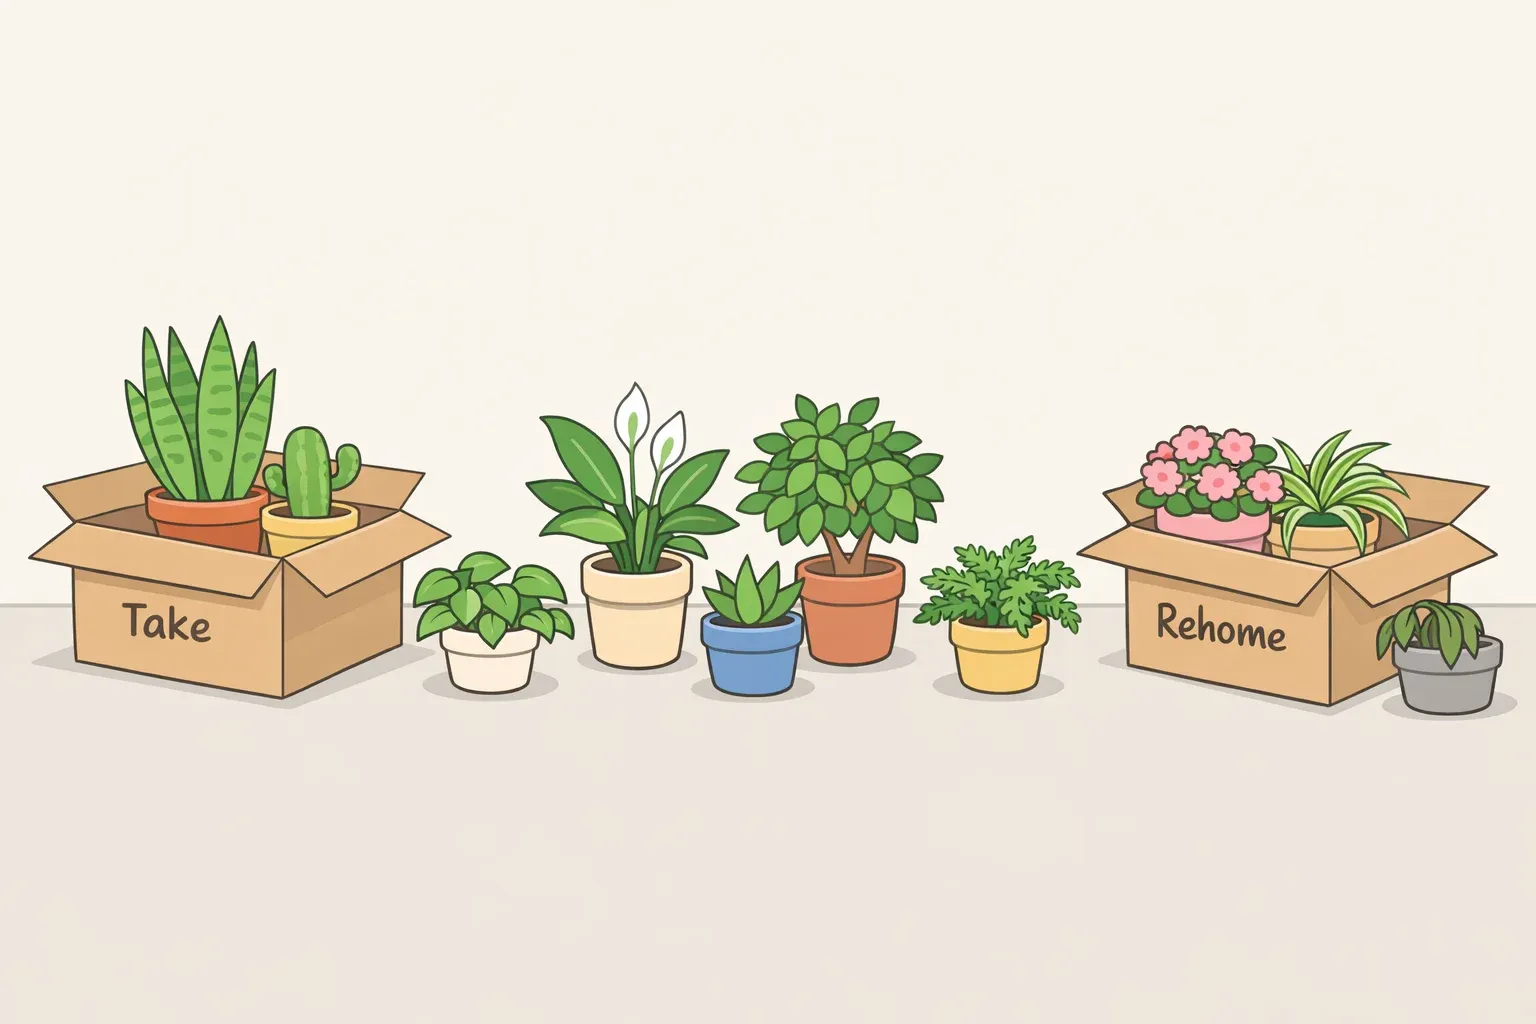
How to move houseplants: which to take and how to pack them
Most moving guides jump straight to packing materials. This one starts with a harder question: which plants are actually worth taking? Work through that first, and the packing becomes straightforward. Skip it, and you'll spend moving day hauling plants that have no business making the trip.
Even plants that look perfectly healthy can carry hidden insects or pathogens that spread pests and disease to new environments, which is why USDA APHIS advises homeowners to consider rehoming plants before any move and to avoid transporting them long distances when possible. That's not a convenience note. It's the first reason the decision matters.
Once a plant enters a moving box, it faces darkness, physical jostling, and temperature swings all at once, a combination many species handle poorly, as Healthy Houseplants notes. Some plants aren't worth the trip. Deciding which ones before you touch a single pot saves effort on both ends of the move.
Step 1: Run every plant through a four-part decision filter
Before committing to moving any plant, evaluate it against four questions in order. Failing any one of them makes a plant a strong candidate for rehoming, propagation, or replacement.
1. Is it legally movable?
Check the destination state's department of agriculture before committing to anything else. Long-distance moves can run into state restrictions on plants and soil types, and those rules can apply to personal moves as well as commercial shipments, per Healthy Houseplants. A plant you can't legally transport isn't one you're moving.
2. Is it valuable enough to justify the effort?
Rare, heirloom, or genuinely hard-to-replace plants clear this bar. Common or easily replaced plants often don't. HireAHelper puts it plainly: heirloom or rare plants are worth the effort; cheap or easily replaced plants usually aren't. Sentimental value counts, but be honest about what the attachment is actually to. If it's the lineage rather than the specific pot, a cutting will do.
3. Is the plant hardy enough to survive transport?
Plant type is a reliable predictor. Succulents, cacti, snake plants, ZZ plants, pothos, jade, and aloe tolerate stress well. One plant expert told Sunset Magazine that succulents and cacti can be packed almost any way and come through fine. Smaller and larger-leafed tropicals need significantly more careful handling, per Sunset Magazine, while orchids and prayer plants require extra preparation, Condé Nast Traveller ME notes. Moisture-dependent plants like peace lilies, calatheas, and areca palms start deteriorating after roughly a week away from normal conditions, according to Condé Nast Traveller ME.
Container type matters too. Small pots hold less soil and dry out faster in transit. Terracotta loses moisture more quickly than ceramic or plastic because the material is porous, per Condé Nast Traveller ME. Both factors raise the risk on any haul longer than a few hours.
4. Can you guarantee climate-controlled transport?
Many tropical houseplants can sustain damage at temperatures of 50°F or lower, even briefly, according to Healthy Houseplants. Moving trucks lack climate control and can cook or freeze plants on a multi-day haul, HireAHelper warns. If a plant needs climate control and you can't provide it for the full duration of transit, it doesn't make the cut.
Three outcomes:
- Move it. Rare or hard-to-replace, tolerates transport stress, legally cleared, and climate-controlled transport is guaranteed.
- Move it only if conditions allow. Borderline on hardiness or value; proceed only if it's a short local move in your own car and the plant is in good health.
- Leave it behind. Fails any filter above. Rehome it, take a cutting, or buy a replacement at the destination.
On cuttings: For a plant worth keeping but not practical to move whole, propagate a cutting before the move. A small cutting travels far more easily than a full plant, avoids the root-system stress of transport, and gives the plant a clean start in the new space, per Healthy Houseplants.
Step 2: Prepare the plants that made the cut
The filter isn't just a culling exercise. Plants that didn't make it stop getting your attention now, which means everything from here forward goes toward the ones genuinely worth the effort. Preparation starts two to three weeks before moving day, not the morning of.
Two to three weeks out
If any plant needs repotting, do it now. Repotting on moving day piles stress onto a root system already about to face transport shock. Miss this window and wait until after you arrive, Healthy Houseplants advises. If you're switching plants from terracotta to plastic to cut weight and slow moisture loss in transit, do that at this stage too, per HireAHelper.
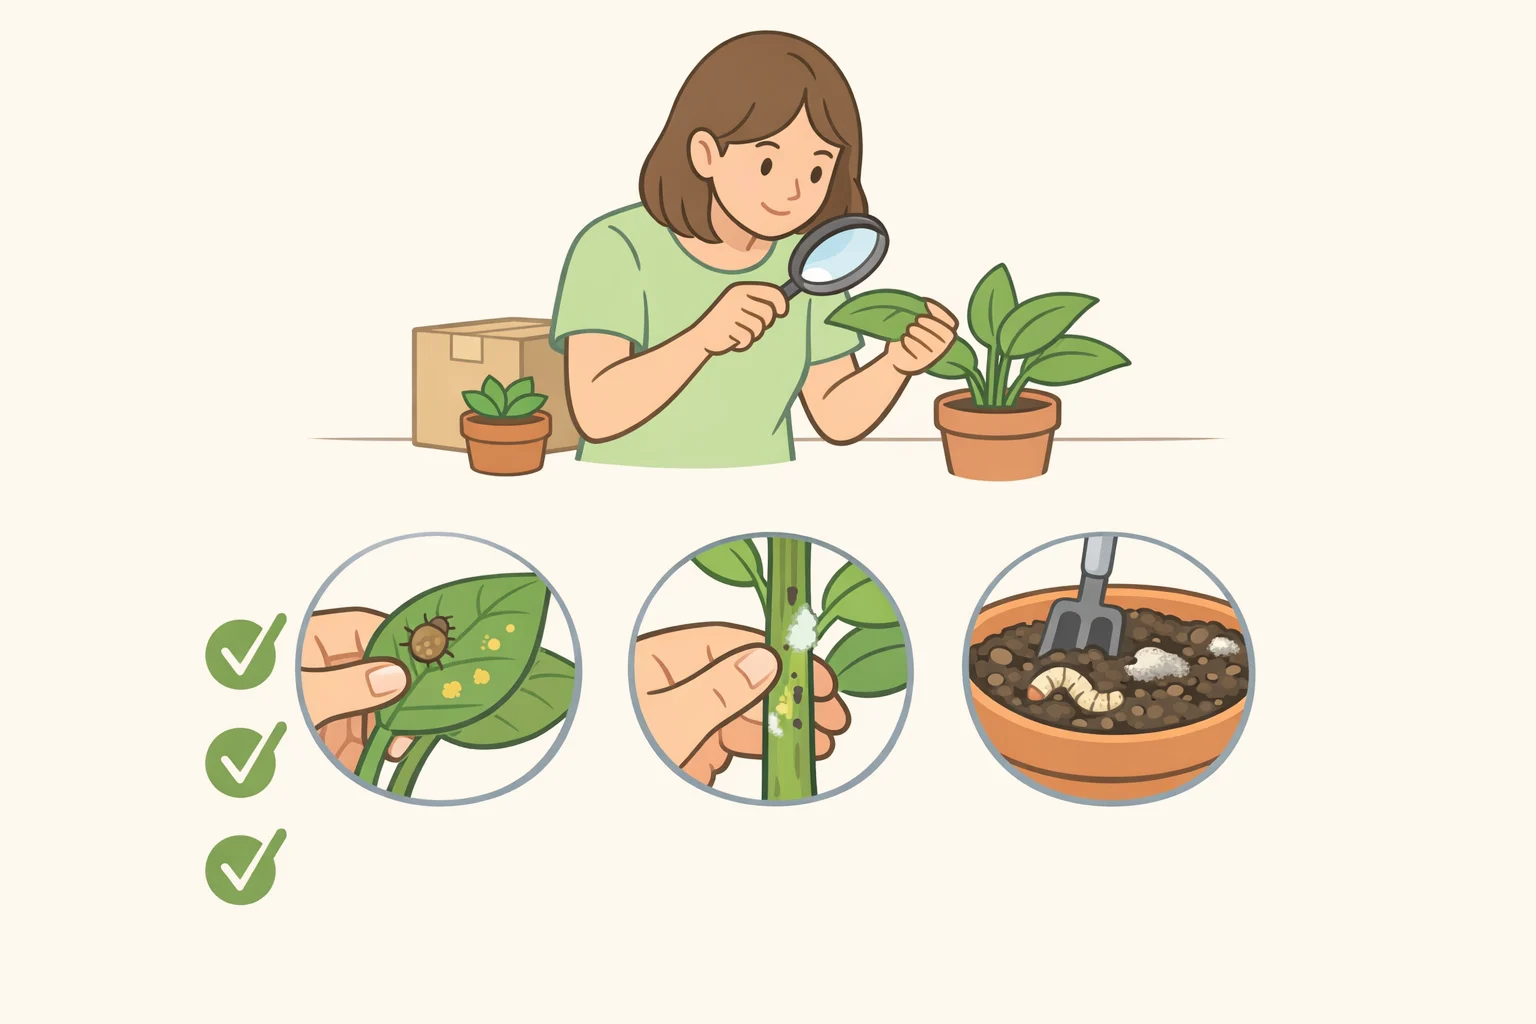
Inspect every plant carefully. Check leaves, stems, and soil for insects, egg masses, unusual discoloration, or signs of disease, and treat any problems before packing. Moving a pest-harboring plant introduces those risks to your new home and to any plants already living there, as USDA APHIS cautions.
Two to three days out
Water each plant so the soil is evenly moist but not saturated. Wet root balls are heavier, prone to rot in transit, and messier to pack. Bone-dry soil going into a box is equally bad. The goal is a well-hydrated plant without soggy soil sitting for hours, consistent with guidance from Healthy Houseplants and Sunset Magazine.
Packing houseplants for a move
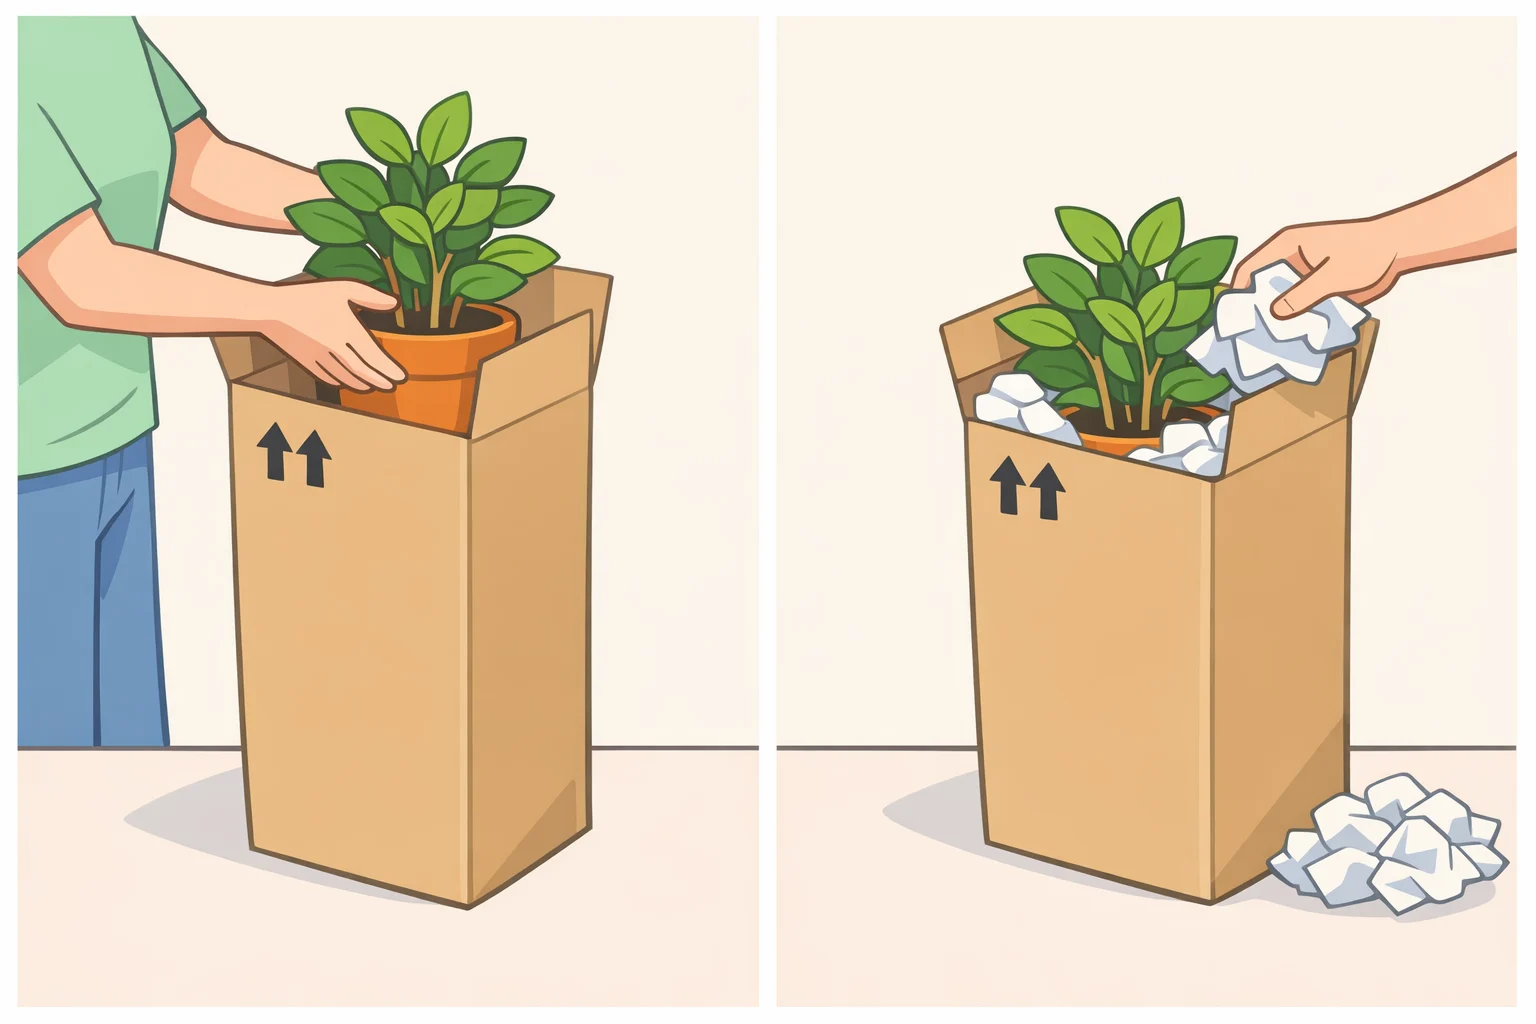
Pack pots upright in sturdy, clearly labeled cardboard boxes. Stuff the gaps around each pot with crumpled paper or folded towels so nothing shifts during loading. Load plant boxes last so they come off the truck first, and unpack them immediately on arrival. Every extra hour in a dark box adds stress, per Healthy Houseplants and Sunset Magazine.
Transport plants in your own climate-controlled car, not the moving truck. Never leave them in a parked vehicle. Temperatures inside a closed car climb far faster than the ambient air outside, and heat damage to leaves won't reverse. As one expert told Sunset Magazine: if you're hot, your plants are even hotter, and once the leaves shrivel from heat, there's no coming back.
Step 3: Help moved plants settle in the new home
Getting plants to the new address alive is the easier half. The first few weeks after arrival determine whether they actually settle in, Healthy Houseplants notes.
-
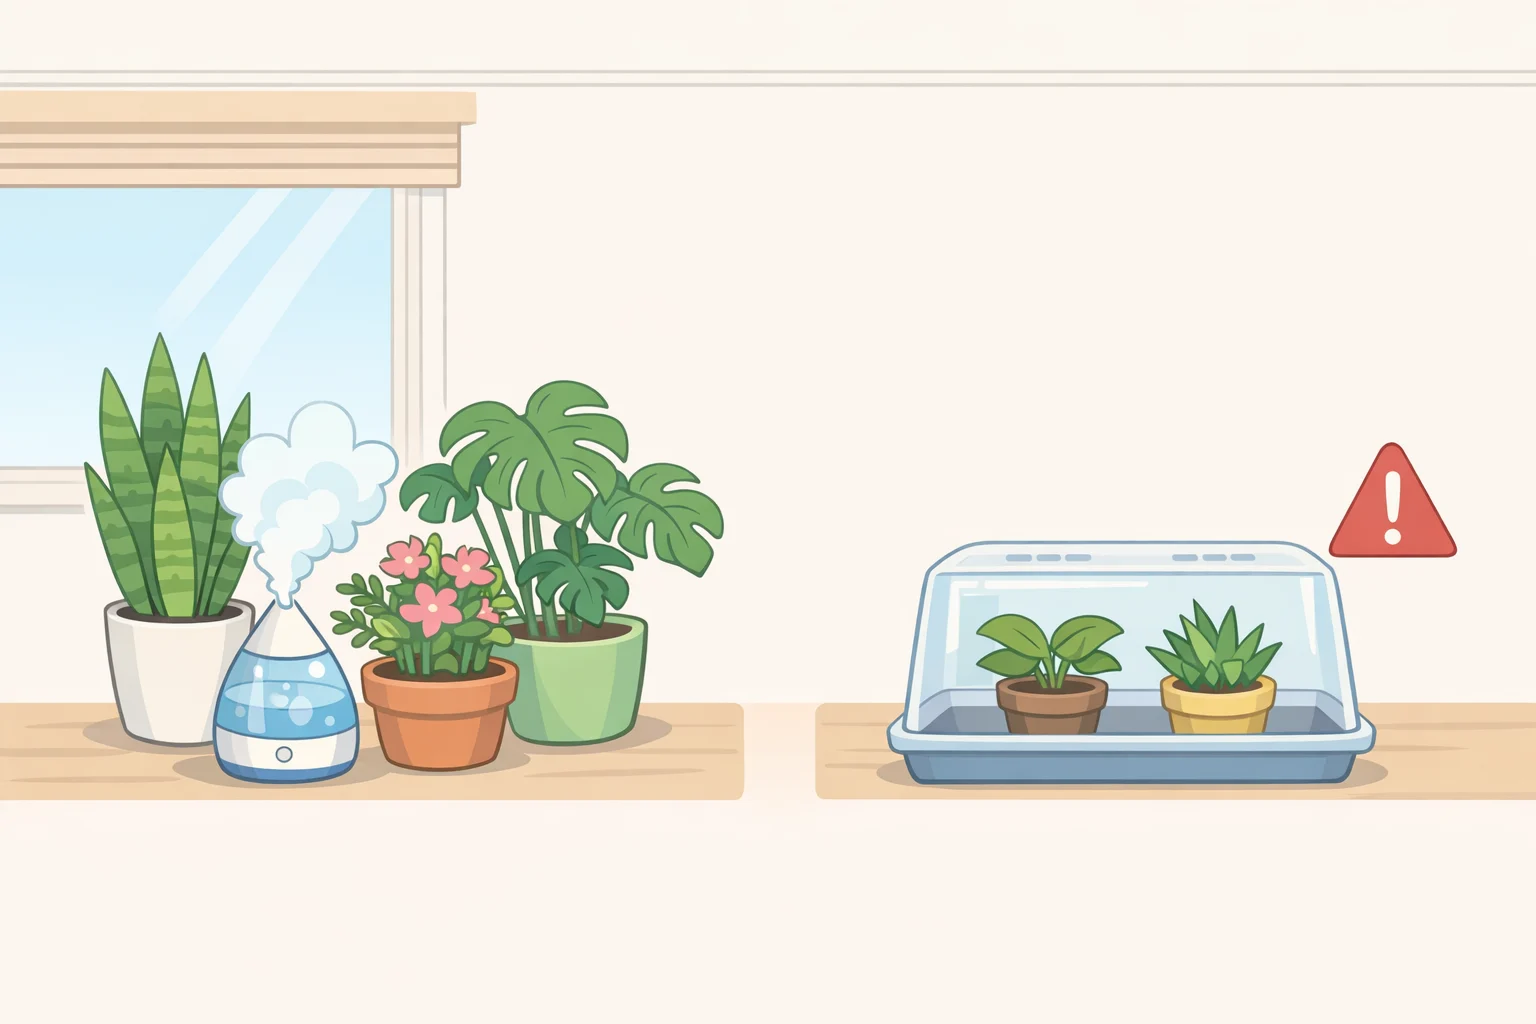
Unpack immediately and place plants in indirect light while they stabilize. Match previous light conditions as closely as possible. A shift from medium-bright to medium-low indirect light alone can cause significant leaf drop and stalled growth, according to Sunset Magazine. If the new space has a window where the old one didn't, introduce that change gradually.
-
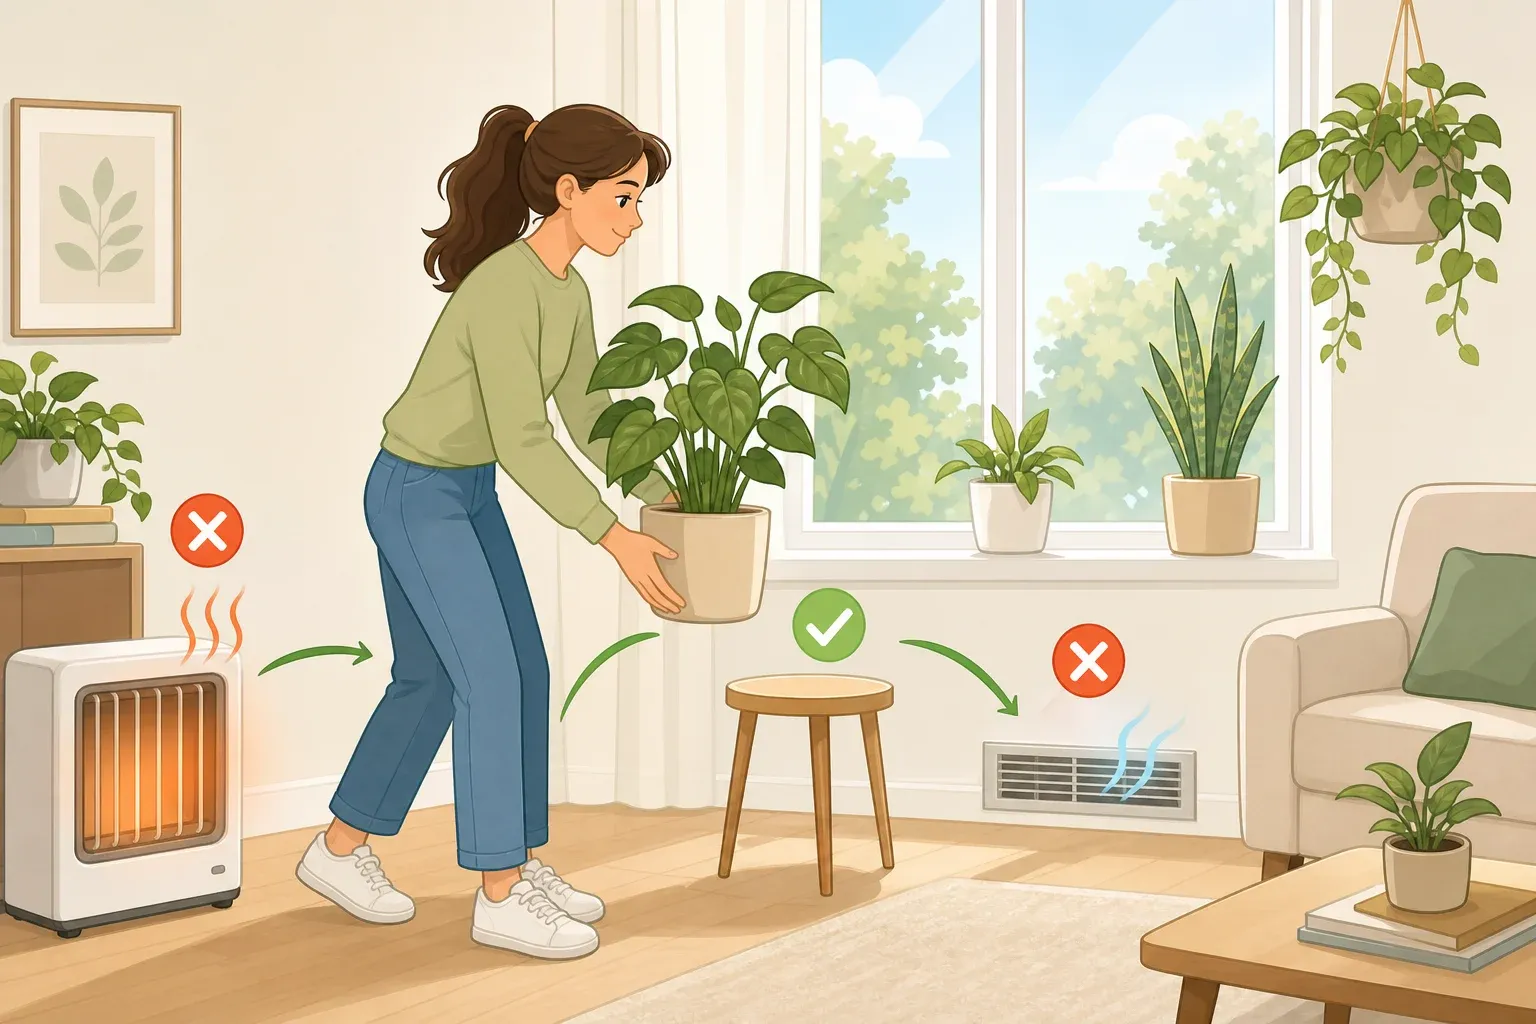
Watch for drafts. Air conditioning vents, high-traffic corridors, and exterior doors are among the biggest environmental causes of post-move plant decline, alongside lighting changes, per Sunset Magazine. Tropical plants will need a humidity boost; a humidifier placed near the group helps stabilize conditions while they adjust.
-
Quarantine transported plants away from any existing houseplants for a couple of weeks, monitoring for pests or disease that may have hitched a ride despite the pre-move inspection, as USDA APHIS recommends.
-
Don't fuss. The most common post-move mistake is overcorrecting: watering, pruning, repotting, and repositioning all at once while a plant is still adjusting. Do one thing, observe, then decide what comes next, per Sunset Magazine.
Expect the full adjustment period to run three to four weeks, Healthy Houseplants notes. Three to five dropped leaves is completely normal after a move, according to Sunset Magazine. Drooping and stalled growth during that window are standard stress responses, not signs the move failed. If there's still no new growth after several weeks alongside consistent drooping and leaf drop, the placement probably isn't working and it's worth trying a different spot, Sunset Magazine suggests.
The smartest approach is usually to move fewer plants and invest the saved effort in the ones most likely to thrive. A well-chosen, carefully transported collection has a better chance of coming through than a large one packed in a hurry.



Comments
Be the first, drop a comment!