


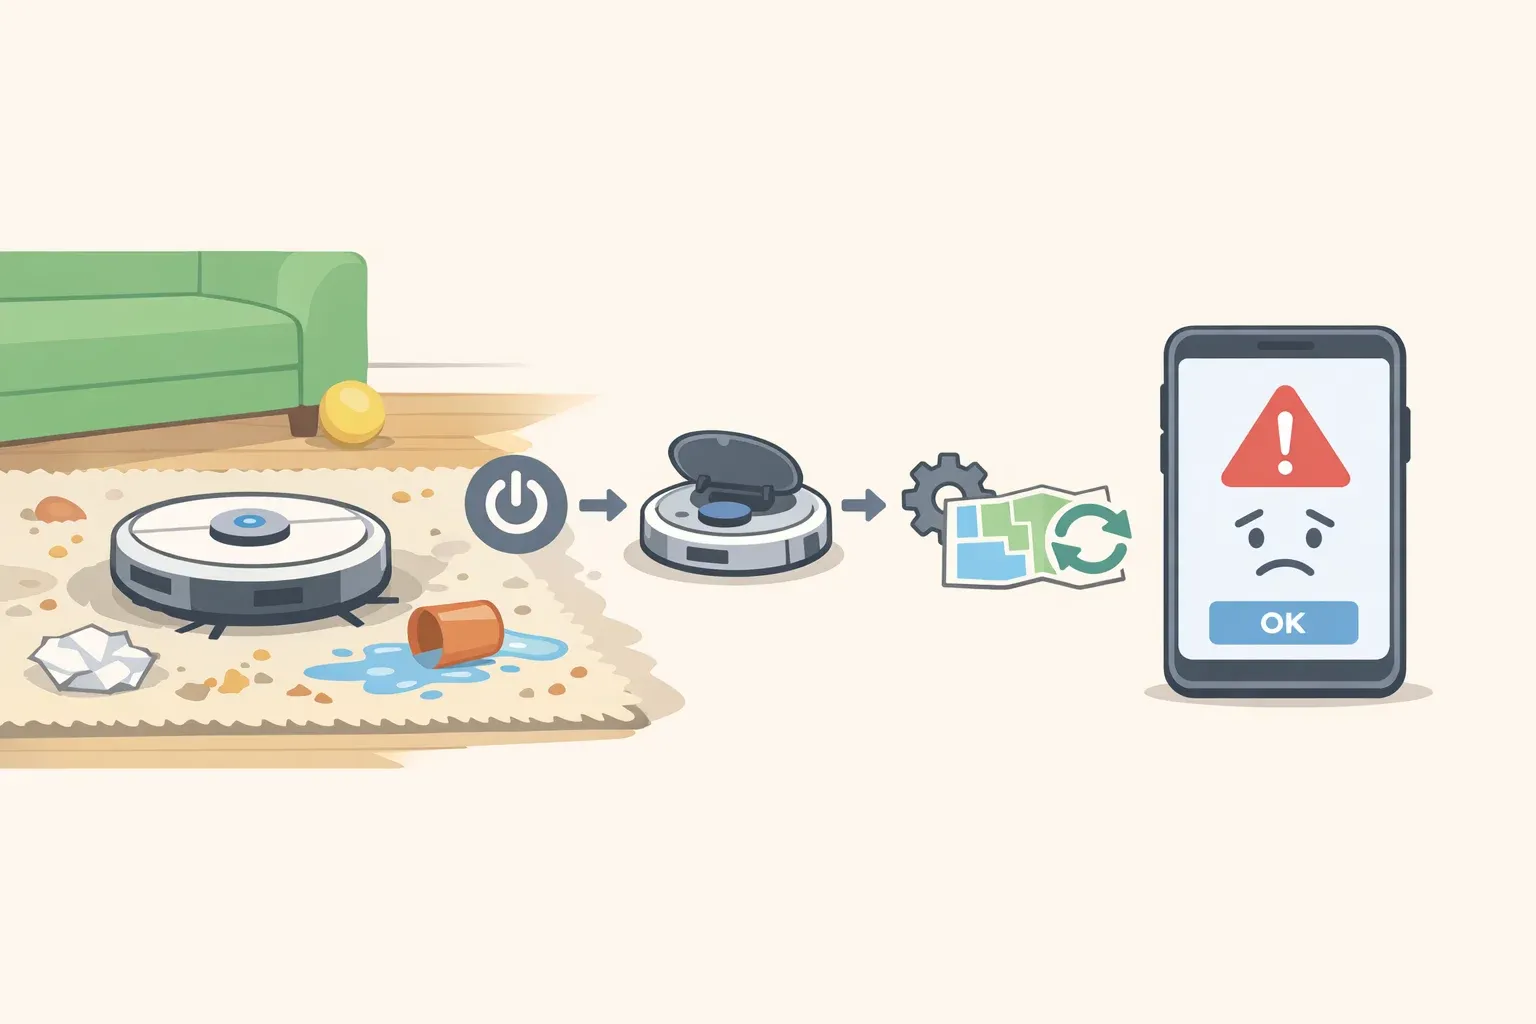
Robot Vacuum Mistakes: Fix the 5 Errors Behind Most Failures
Before calling customer support, consider this: according to Device Pitfalls (March 2026), 80% of error-code complaints across hundreds of field diagnostics covering iRobot, Roborock, Shark, and ECOVACS units are resolved by clearing corrupted maps, resetting navigation sensors, or power-cycling the device. The robot vacuum mistakes driving those complaints aren't hardware failures. They're maintenance, setup, and software problems that owners can fix themselves.
This guide covers the five errors behind the overwhelming majority of robot vacuum failures, organized as a diagnostic sequence. Start with the simplest physical fixes, work toward map and software issues, escalate only if nothing else resolves it. Most readers will find their answer in the first two or three steps.
Before you begin: This guide applies broadly to major brands including iRobot Roomba, Roborock, Shark, Eufy, and ECOVACS. Specific menu names vary by app. Check your manual where noted.
Quick symptom lookup:
Stops mid-run, reduced suction, or loud motor noise → Mistake 1 (maintenance)
Erratic movement, spins in place, false cliff detections → Mistake 2 (sensors)
Gets stuck in the same spot, ignores specific areas → Mistake 3 (environment)
Declares cleaning done after 10% coverage, loops one section, skips mapped rooms → Mistake 4 (maps)
Won't connect, misses scheduled runs, commands don't respond → Mistake 5 (software)
Robot vacuum troubleshooting: why the order matters
In Device Pitfalls' field diagnostics (March 2026), corrupted map data tops the failure list at 30%, followed by dirty navigation sensors at 20% and connectivity issues at 15%. Environmental factors, including poor lighting and reflective surfaces, account for most of the remainder.
The sequence below isn't arbitrary. Physical maintenance failures, neglected brushes, full bins, clogged filters, rarely show up as their own error codes. They quietly degrade navigation and map quality until the robot starts behaving as if it has a software problem. Fix the physical layer first, and you'll often find the "map corruption" resolves on its own. Work these in order.
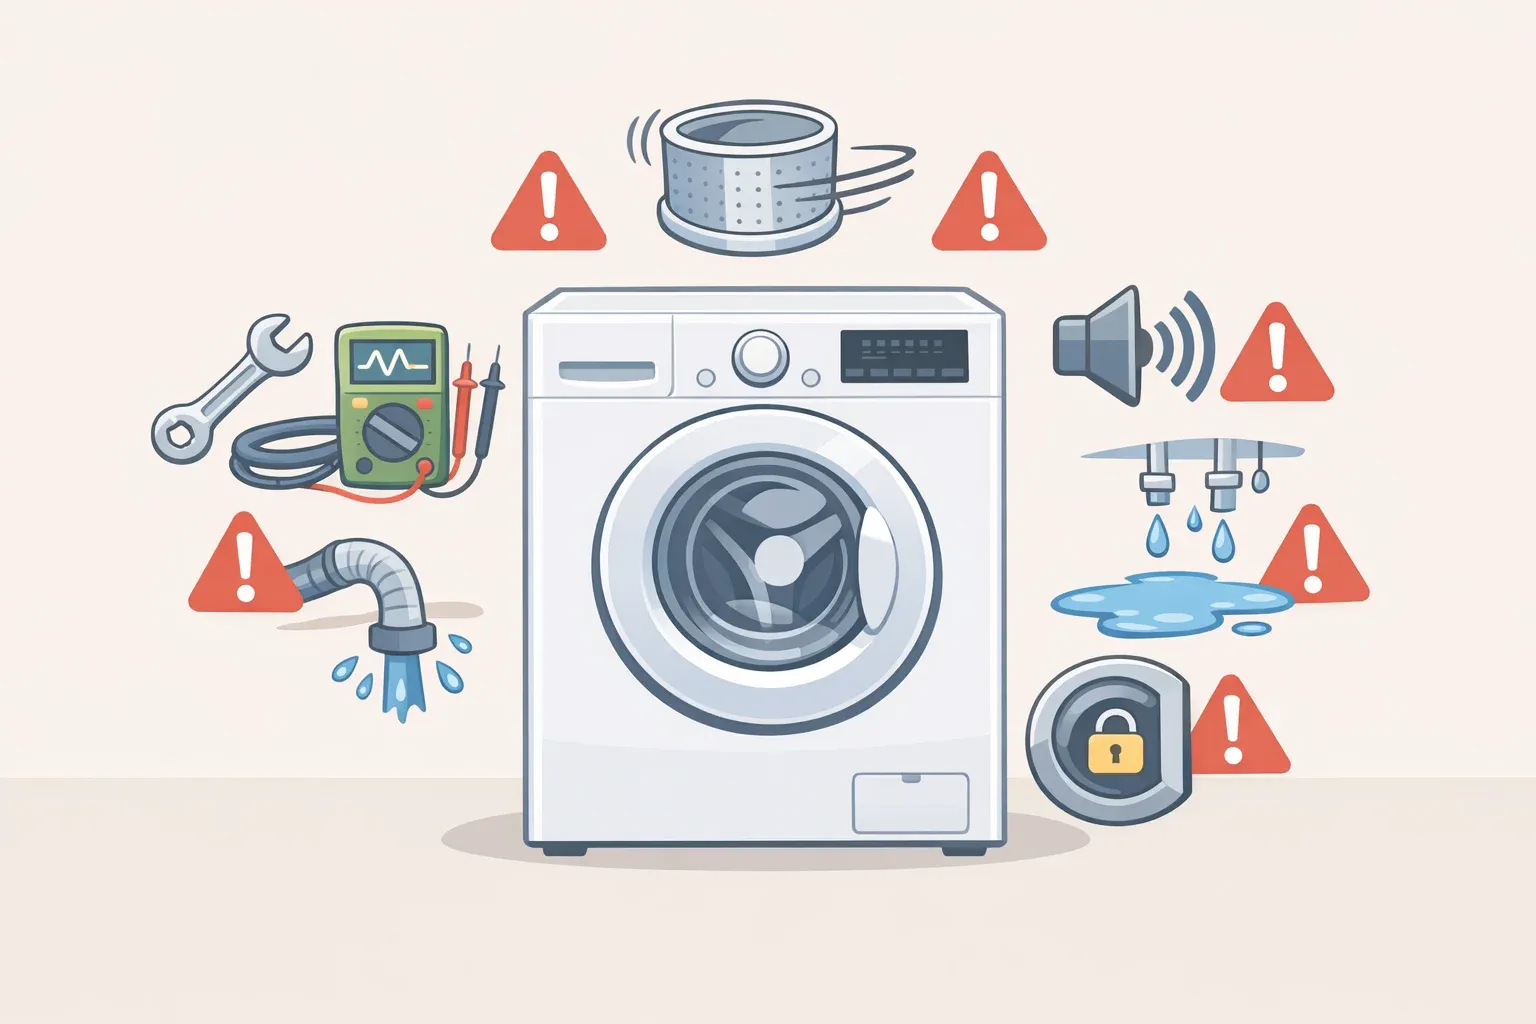
Mistake 1: Skipping physical maintenance until something breaks
Neglected brushes, full dustbins, and clogged filters are the most common causes of lost suction, poor navigation, and early failure. All are fixable in under five minutes, per Euronics (March 2026).
A full dustbin doesn't just reduce pickup. In some models it triggers automatic shutdowns and can cause motor overheating, notes Eufy (December 2025). Hair wrapped around the main brush axle strains the roller motor and can stop the machine mid-cycle; Vacuum Wars (November 2025) recommends checking the axle ends weekly, not just the visible brush surface. A clogged filter chokes airflow and forces the motor to work harder. Euronics identifies it as one of the easiest-to-fix and most commonly ignored causes of suction loss.
What to do:
After every run: Empty the dustbin completely. Check the main brush for wrapped hair. Scissors work for stubborn tangles around the axle.
Weekly: Tap the filter over a trash can to clear loose debris. Check side brushes for hair at their bases. Wipe charging contacts on both the robot and dock with a dry cloth. Oxidized contacts cause charging failures that look like battery problems.
Every 1–3 months (washable filters only): Wash with water and air-dry completely, minimum 24 hours, before reinserting. Putting a damp filter back risks mold growth inside the motor housing, per Euronics (March 2026). If your filter is disposable, never wet it. Washing doesn't restore suction and destroys the filter medium, per Vacuum Wars (November 2025).
Every 1–2 months: Remove and clean the wheels. Hair and grit collect around wheel axles and can cause the robot to drag or stop. SpiceHomeTech (January 2026) notes this is a step most manuals skip entirely.
Every 3–6 months: Replace brushes when bristles are flattened or no longer spinning freely. Replace the filter when cleaning no longer restores suction, per Euronics (March 2026).
⚠ Gotcha: self-emptying docks aren't maintenance-free. The dock's dust bag needs replacement every 30–75 days, and in pet-heavy homes even auto-empty robots can overfill between cycles, according to Vacuum Wars (November 2025) and Euronics (March 2026).
Maintenance cadence at a glance:
| Task | Frequency | |---|---| | Empty dustbin, check brush for hair | After every run | | Tap filter, wipe charging contacts, check side brushes | Weekly | | Clean wheels/axles | Monthly | | Wash filter (washable only) | Every 1–3 months | | Replace filter, brushes | Every 3–6 months | | Replace dock dust bag | Every 30–75 days |
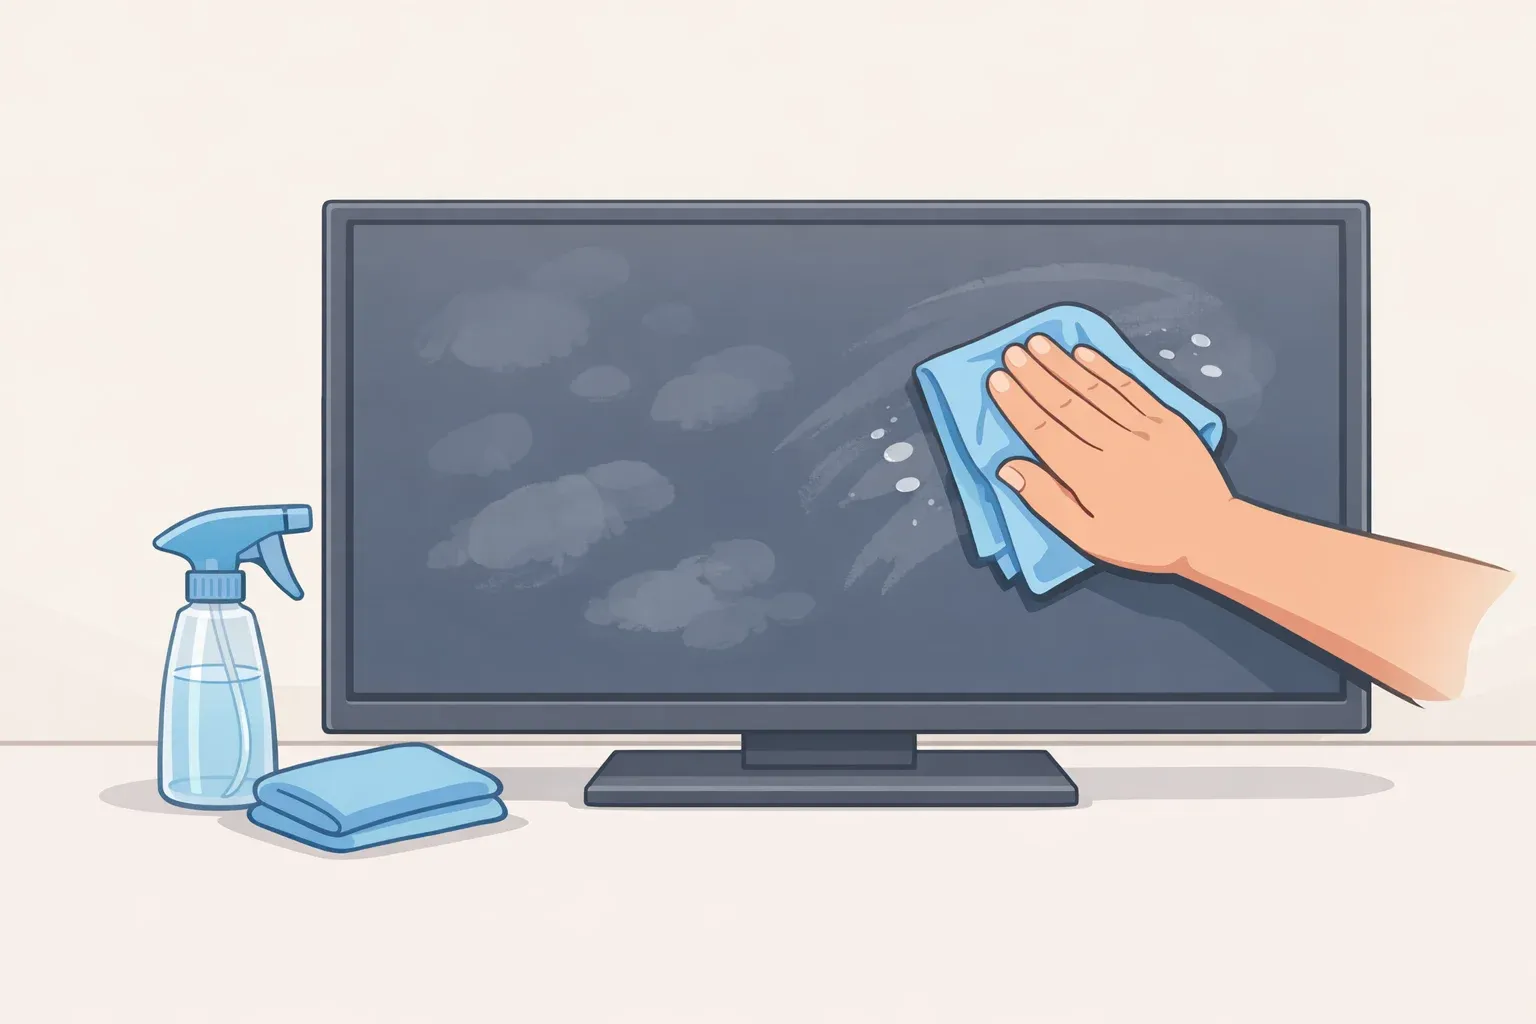
Mistake 2: Not knowing your sensors need regular cleaning
Dirty sensors are a "surprisingly common" cause of erratic behavior, random bumping, missed areas, freezing at floor transitions, even false cliff detections that stop the robot cold, according to Euronics (March 2026). Even a thin film of dust can distort mapping accuracy.
In Device Pitfalls' field diagnostics (March 2026), dirty navigation sensors rank as the second most common root cause of failures at 20%. One documented Roborock S6 case is instructive: the robot was spinning erratically, and the fix was wiping the LiDAR turret window with a microfiber cloth. That's it. Dirty cliff sensors on the underside cause false drop detections, which can make the robot refuse to cross dark floor mats or transitions it previously handled without issue, per ECOVACS (March 2026).
What to do:
Identify your sensor locations. Cliff sensors sit on the underside. Wall and proximity sensors are near the front bumper. Premium models have a spinning LiDAR turret on top or a camera lens on the front face. Your manual shows exact positions.
Wipe wall/proximity sensors weekly using a dry microfiber cloth.
Wipe cliff sensors every two weeks. Same dry microfiber, light pressure.
Clean the LiDAR turret monthly. For camera-based obstacle avoidance lenses, use a lens cloth every two weeks. Never use soaps or solvents. They leave residue that degrades sensor performance over time, per Vacuum Wars (November 2025).
Also check the bumper. A stuck bumper, jammed by debris or impact, stops the robot and generates error codes. Press the left, center, and right sections to confirm it springs back freely. Clear any debris caught around its edges, per ECOVACS (March 2026).
Test after cleaning. Start a short cleaning cycle and watch for smooth navigation, no spinning in place, and no hesitation at floor transitions. If your app supports sensor diagnostics, available on some ECOVACS and Roborock models, run those first.
What you should see: The robot navigates without hesitation, doesn't loop back over cleaned areas, and moves freely across floor transitions it was previously treating as obstacles.
Mistake 3: Sending the robot into a floor that hasn't been prepared
When a robot stops in the same spot every run, most owners assume a navigation or hardware problem. Often the floor itself is the issue, and it's faster to fix the environment than diagnose the machine.
Loose cables and small floor objects are among the most common causes of brush and wheel entanglement that halt a cleaning cycle, per ECOVACS (March 2026). Poor lighting accounts for 10% of navigation failures in camera-based models; reflective surfaces, mirrors, glass table legs, chrome furniture bases, account for another 8%, according to Device Pitfalls' field data (March 2026). Dark floors and transparent furniture confuse sensors and distort mapping accuracy, causing the robot to misread areas as blocked or empty, per VacuumCleanerTips (December 2025).
What to do before running the robot:
Pick up cables, toys, and small objects. A 60-second walkthrough before each run prevents most stuck-robot and entanglement scenarios. Charging cords are the most common offender.
Clean up any wet spills. Standard robot vacuums are designed for dry surfaces. Moisture reaching internal electronics or sensors causes damage, not just a mess, per ECOVACS (March 2026). Consumer Reports (January 2026) testing found that even vacuum-mop combo models vary significantly in how they handle wet debris, and most underperform dedicated robot vacuums on carpet.
Check difficult floor transitions. If the robot consistently stops at a specific threshold or high-pile carpet edge, clear any debris blocking the wheels at that point and verify the machine's rated crossing height covers that transition.
Set no-go zones proactively for problem areas. If there's a cluttered corner, a shag rug, or a cramped space the robot reliably struggles with, draw a virtual boundary in the app rather than letting the machine exhaust itself on the same obstacle every run.
For camera-navigation models, check lighting conditions. Very dark rooms and direct sunlight both degrade camera-based navigation. Schedule runs during consistent ambient lighting, or set no-go zones for rooms with severe lighting challenges.
⚠ Gotcha: reflective and transparent furniture. Glass coffee tables, mirrored cabinet bases, and chrome legs can appear invisible to sensors or produce false obstacle readings that send the robot into an infinite loop around a single piece of furniture, per VacuumCleanerTips (December 2025). A no-go zone is faster and more reliable than trying to correct this through remapping.
Mistake 4: Running the robot again instead of fixing a corrupted map
If maintenance and floor prep don't fix it, check the map next. In Device Pitfalls' field diagnostics, corrupted map data is the most common root cause of failures, responsible for 30% of all diagnosed complaints (March 2026), more than any other category.
Running the robot without clearing a corrupted map makes things worse. Each run reinforces incorrect spatial data. Don't do it.
A broken map often looks like an early mission end (5–15 minutes in), a "mission complete" notification after covering only 10% of the floor, or a robot that loops a small section of one room indefinitely. Objects present during initial mapping get saved as permanent fixed obstacles, meaning furniture moved weeks ago may still appear as an impassable barrier, as documented in a Shark RV1001 case by Device Pitfalls (March 2026). Mis-configured no-go zones account for 7% of navigation failures on their own. In one confirmed Shark IQ case, a forgotten virtual wall had boxed the robot into a 3-foot section it kept cleaning in circles.
What to do:
Check no-go zones first. Open your app and review all active virtual boundaries. Delete any that are outdated, incorrect, or that you don't remember setting.
Open the map view and assess the damage. An incomplete map, blank rooms, or a robot shown cleaning a tiny loop are signs of corruption.
Delete the existing map entirely. Don't remap over it. That creates conflicting reference points and compounds the problem. Go to Map Settings → Saved Maps → Delete.
Clear the floor before remapping. Remove all loose objects. Anything present during the new mapping run will be saved as a fixed boundary.
Keep the dock fixed in position with at least 3 feet of clearance on each side. Moving the dock after map deletion gives the robot two conflicting origin points, per Device Pitfalls (March 2026).
Start from the dock and let it run uninterrupted. Don't open doors to new rooms or move furniture mid-session. A successful remap should show 90%+ floor coverage in the app.
Also check: battery health. Most robot vacuums use lithium-ion batteries rated for 400–500 charge cycles before meaningful degradation, typically 2–5 years depending on use, per Euronics (March 2026). If the robot pauses mid-run to recharge but won't resume, power-cycle the robot and reposition the dock. A recharge-and-resume software glitch was confirmed as the cause in a documented Roborock S5 case where the dock was placed too close to a wall, per Device Pitfalls (March 2026).
Mistake 5: Ignoring firmware, app health, and Wi-Fi
When the app stops loading the map or scheduled runs keep failing, you're no longer dealing with brushes and dust. You're dealing with software. Device Pitfalls (March 2026) ranks Wi-Fi connectivity and app cache issues as the third most common failure category, at 15% of diagnosed complaints.
Outdated firmware can cause unexpected stops, failed scheduled runs, and degraded navigation. ECOVACS (March 2026) describes firmware as the device's brain: if it isn't running correctly, nothing else will be. App cache corruption was confirmed as the root cause when an ECOVACS Deebot T8's map refused to load and zone cleaning stopped responding entirely. Clearing the cache resolved it in minutes, per Device Pitfalls (March 2026). Many robot vacuums require 2.4GHz Wi-Fi; setup failures and repeated disconnects are frequently caused by routers broadcasting 5GHz only, per Eufy (December 2025) and Device Pitfalls (March 2026).
What to do:
Update firmware. Open the vacuum app → Device Settings → check for firmware updates. Install while the robot is docked and fully charged. Don't interrupt the update.
Update the companion app separately. The app and firmware update independently. An outdated app causes map sync failures even when firmware is current.
Clear the app cache if maps won't load or commands don't respond. Android: Settings → Apps → [Vacuum App] → Clear Cache. iOS: delete and reinstall the app. Two minutes, fixes a significant share of "the app is broken" complaints.
Confirm your Wi-Fi band. If initial setup fails or the robot drops connection, check that your router is broadcasting 2.4GHz. If it's 5GHz-only, enable a 2.4GHz band or temporarily disable 5GHz during pairing.
Disable and re-add any voice assistant or smart-home integrations. A misfire from Alexa or Google Home, or a broken routine, can silently cancel scheduled cleaning cycles, per ECOVACS (March 2026).
What you should see: Scheduled runs execute on time, the map loads in under 10 seconds on open, and zone cleaning and start/pause commands respond without delay.
When the five fixes don't work: escalation and the replacement threshold
Two options remain before contacting support.
Factory reset. A full factory reset clears corrupted settings, software glitches, and behavioral bugs that simple restarts don't touch. It erases all saved maps and preferences, so treat it as a last resort, per Eufy (December 2025). After the reset, remap from scratch using the clean-floor process in Mistake 4.
Know when to replace. Device Pitfalls (March 2026) offers a clear framework: if a LiDAR or camera module replacement estimate exceeds 40% of the cost of a new unit, replace the robot. If the unit has had three or more navigation-related failures in 12 months despite maintenance, the environment may be fundamentally incompatible with that model's navigation system, and a unit with different navigation technology is worth considering. If the unit is under warranty, escalate to the manufacturer before paying for any repairs.
Symptoms that point past owner-fixable territory: a wheel motor that won't spin after debris removal and cleaning; a LiDAR turret that doesn't spin at startup (it should spin for 5–10 seconds on power-up, per Device Pitfalls (March 2026)); a battery that won't hold a charge after contact cleaning and a full reset; repeated bumper fault errors with no physical obstruction present. Any of those, under warranty, go straight to the manufacturer.
What to do right now: a 5-step triage order
Most robot vacuum problems resolve in this sequence:
Check bin, brushes, filter, and wheels. Empty and clear everything physical.
Wipe all sensors and check the bumper. Dry microfiber, no solvents.
Prepare the floor. Remove cables, check transitions, set or review no-go zones.
Inspect and reset the map. Delete if corrupted; remap from a cleared floor.
Update firmware and app, clear app cache, confirm 2.4GHz Wi-Fi.
If none of these work: factory reset, then contact support.
Eufy (December 2025) puts a well-maintained robot vacuum's lifespan at 4–6 years. The five robot vacuum mistakes above, individually or stacked together, are what compress that timeline. Fix the habits, and the hardware usually takes care of itself.


Comments
Be the first, drop a comment!