


Bleach mistakes usually fall into two categories: safety risks and cleaning failures. Used incorrectly, bleach can produce toxic fumes, irritate your eyes and lungs, or damage surfaces. Used too weak, too old, or on a dirty surface, it may not disinfect the way you expect.
One rule applies throughout: the product label is the first place to check for dilution ratios, contact times, surface compatibility, and rinsing instructions. When label instructions are missing or unreadable, CDC guidance offers a safe fallback for household bleach use.
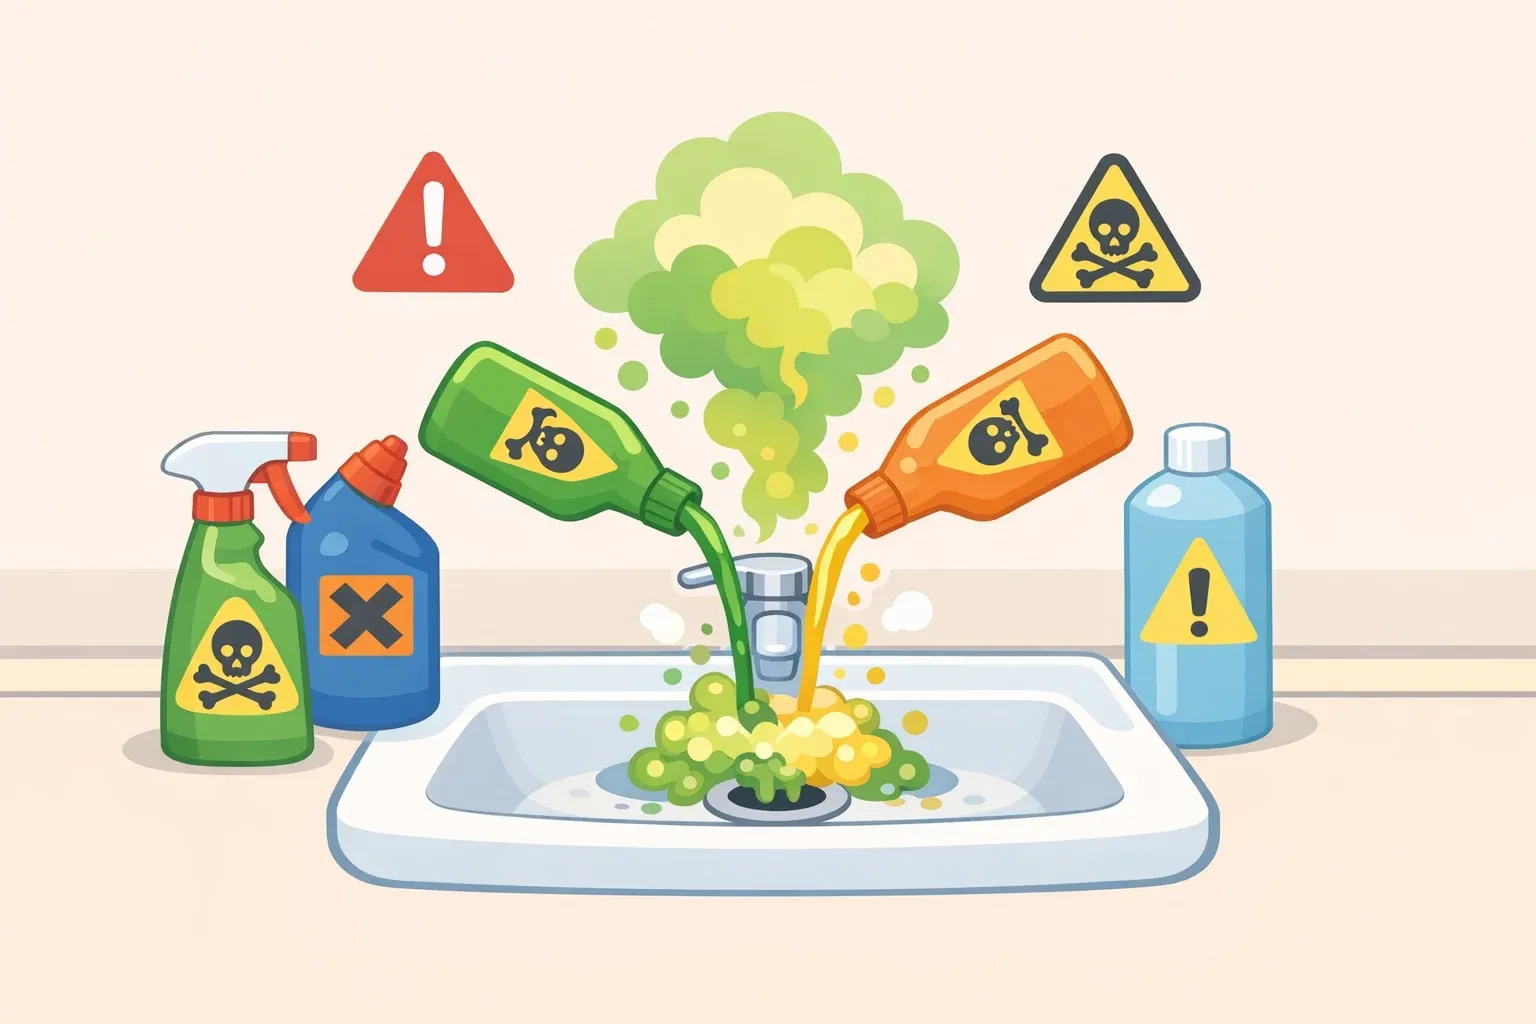
Mistake 1: Mixing bleach with the wrong products
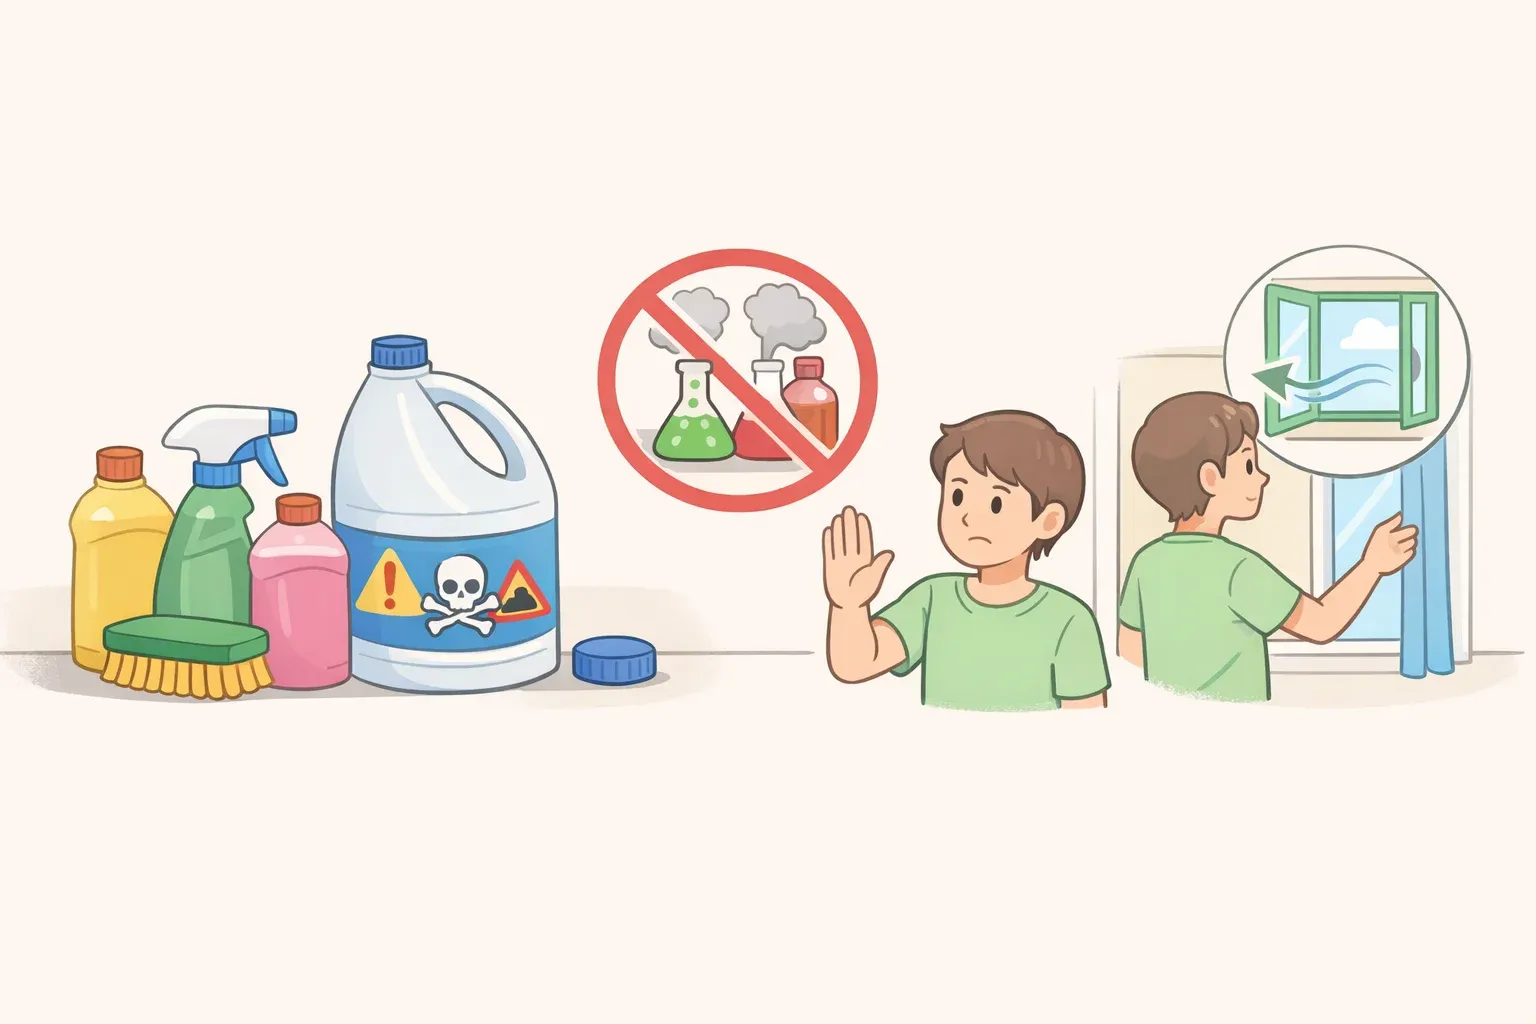
Use bleach with water only. Do not combine it with other cleaners, disinfectants, or household chemicals.
The most dangerous mistakes often happen when people try to "boost" bleach with another product. Bleach can react with ammonia, acids, vinegar, toilet bowl cleaners, drain cleaners, rust removers, hydrogen peroxide, some oven cleaners, insecticides, and pool chemicals. The Washington State Department of Health warns that these combinations can release gases that irritate the eyes, throat, and lungs and may cause serious breathing problems.
Ammonia can appear in some glass and window cleaners, paints, and urine residue. That makes toilets, pet areas, litter boxes, and bathroom surfaces especially important places to slow down and check what was used first.
The safe approach:
Use bleach diluted in water only.
If another cleaner was already used, rinse the surface thoroughly with water and let it dry before applying bleach.
Treat "clean, then disinfect" as two separate steps: soap and water first, fully rinsed away, then bleach.
If bleach is accidentally mixed with another product, leave the area immediately and get fresh air. In the U.S., call Poison Control at 1-800-222-1222 for exposure guidance, or call 911 for severe symptoms. Burning eyes, throat irritation, coughing, chest pain, wheezing, or difficulty breathing are signs to get out and get help.
Keep bleach and other cleaning products in their original containers and out of reach of children and pets.
Mistake 2: Using the wrong bleach or rushing contact time
This failure is harder to spot: the surface looks treated, but the bleach may not disinfect if the product is wrong, the solution is too old, or the surface dries too soon.
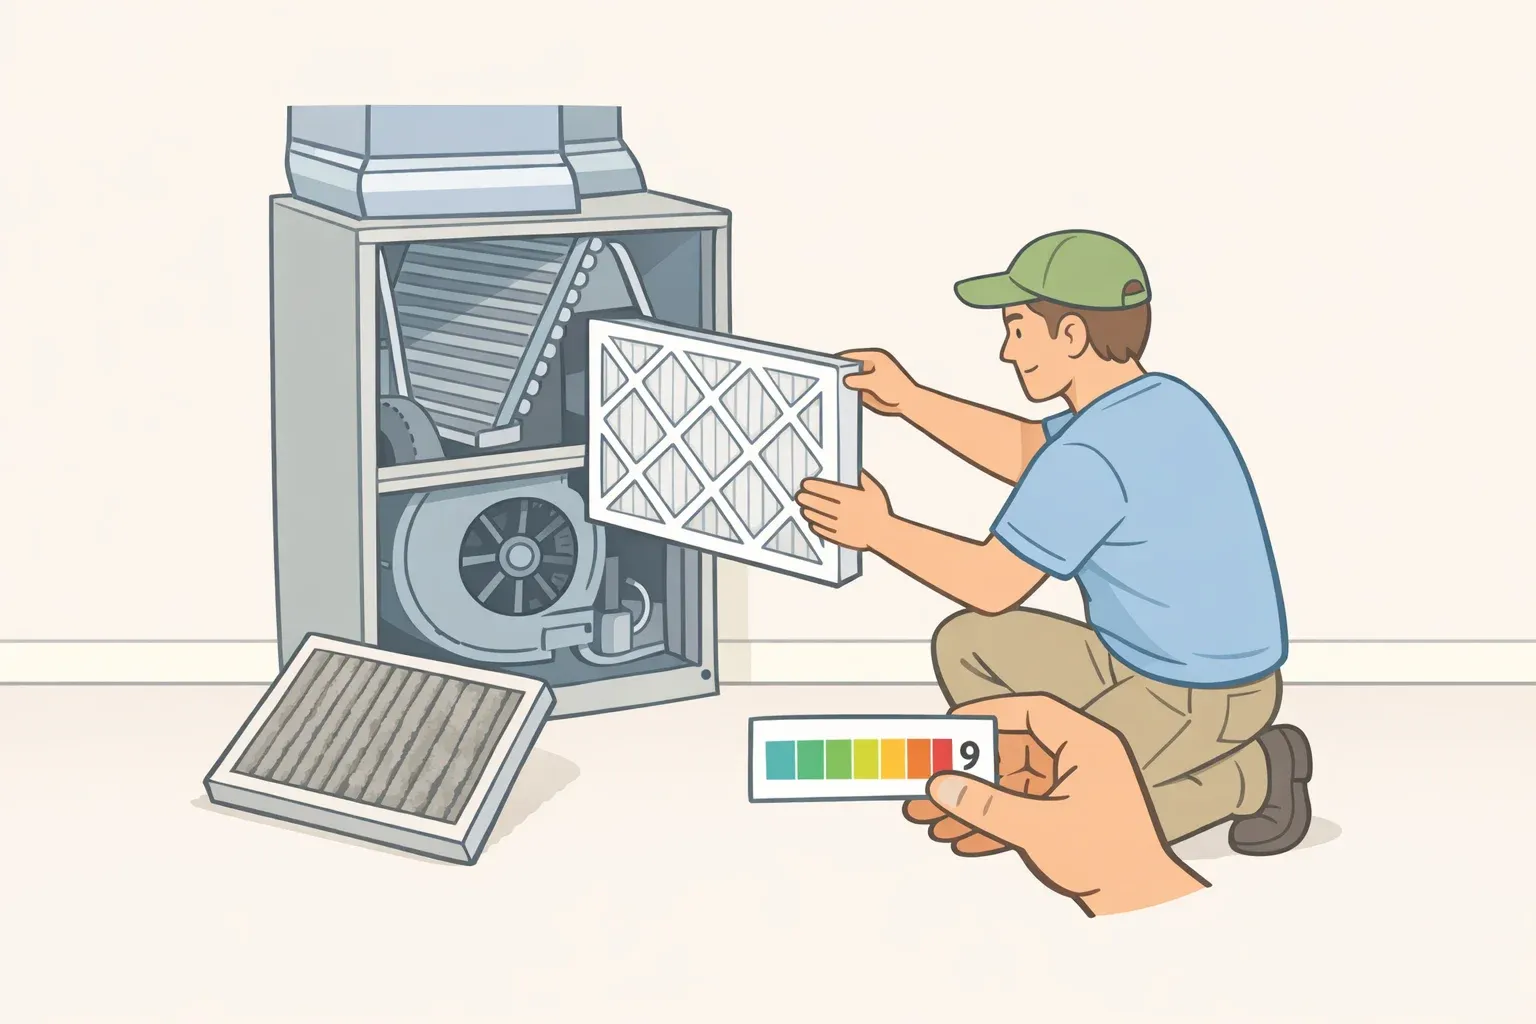
Check the bleach label first
Turn the bottle around and find the "active ingredients" section. For household disinfection, the bleach should be regular, unscented household bleach with sodium hypochlorite listed in the 5% to 9% range. If the label does not list a percentage, or the percentage falls outside that range, do not use it for surface disinfection.
Some bleach products are made for laundry whitening or splash control, not disinfecting hard surfaces. If the product is splashless, scented, marketed only for laundry, or does not show a sodium hypochlorite percentage in the 5% to 9% range, do not use it for surface disinfection unless the label specifically says it is intended for that purpose.
Before you mix anything, check four things:
The active ingredient is sodium hypochlorite.
The concentration is listed as 5% to 9%.
The label says the product can be used for disinfection.
The label gives dilution, surface, contact-time, and rinsing instructions for your task.
Use the label's numbers for the job in front of you. Sanitizing, disinfecting, food-contact surfaces, bathroom surfaces, and general household surfaces may not use the same directions.
Three steps that make bleach work
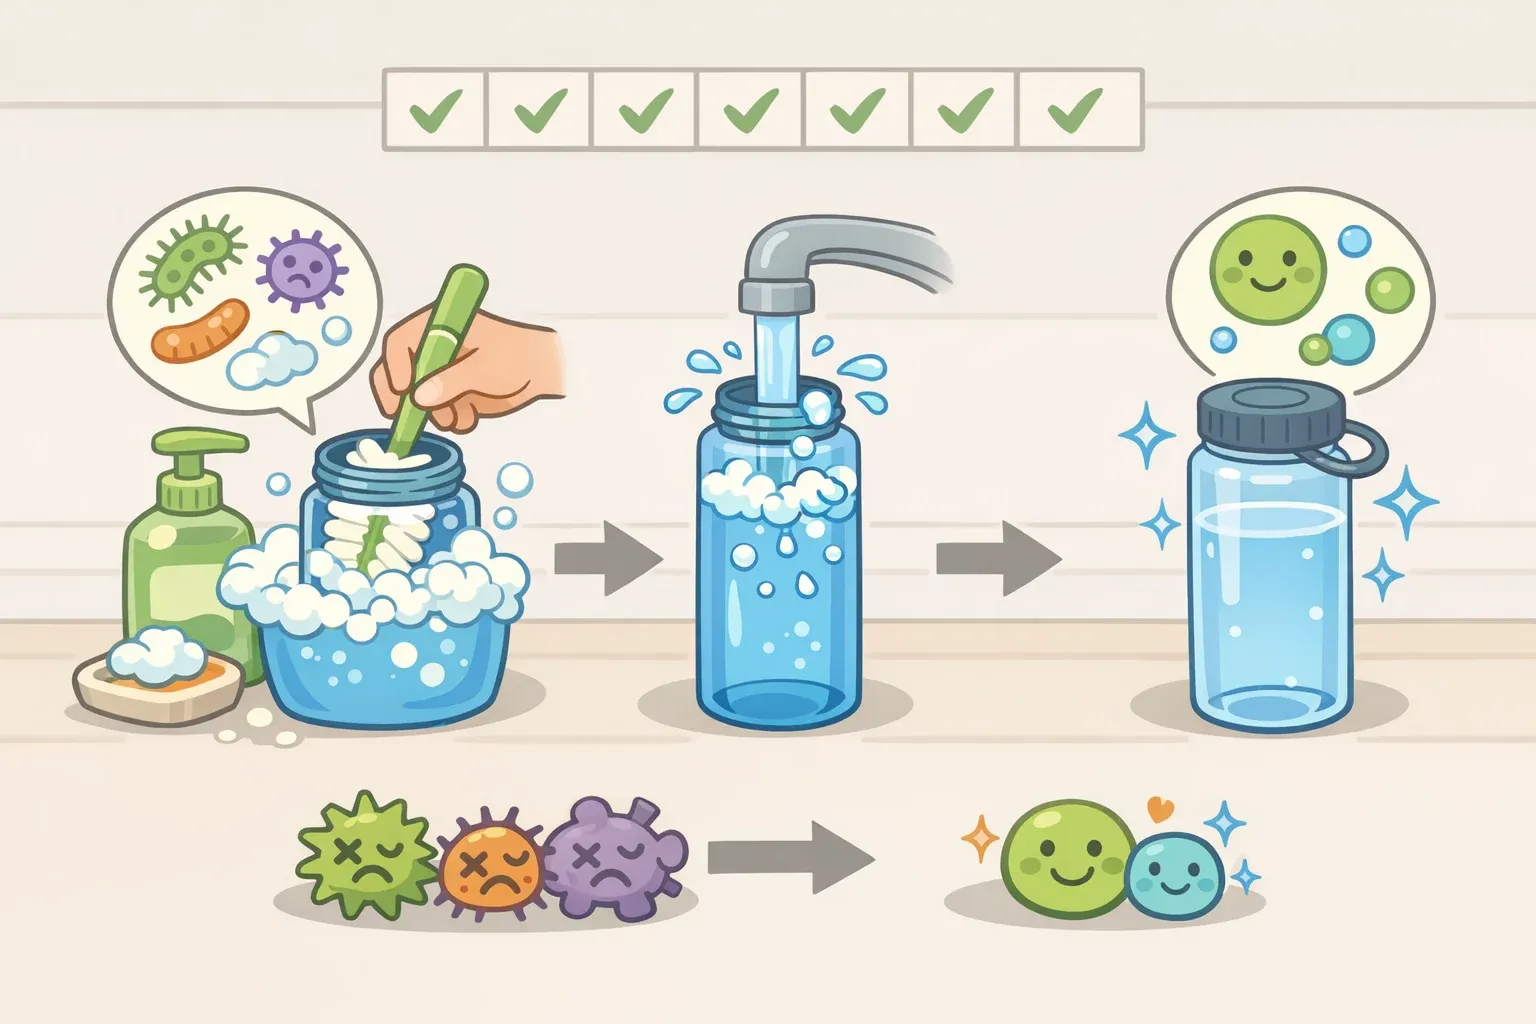
Clean the surface first. Bleach is a disinfectant, not a general-purpose cleaner. If the surface is visibly dirty, wash it with soap or detergent, rinse it, and wipe it down before applying bleach. Skipping straight to bleach on a dirty surface can leave grime behind and make disinfection less reliable.
Do not wipe it off too soon. Disinfectants need contact time, which means the surface has to stay wet long enough for the product to work. Follow the label. If label instructions are unavailable, leave the diluted bleach solution on the surface for at least one full minute and keep the surface visibly wet during that time.
Mix fresh each session. Diluted bleach loses effectiveness after 24 hours. Mix only what you need, use it, and discard the leftover diluted solution when you are done.
Mistake 3: Using bleach without airflow or protection
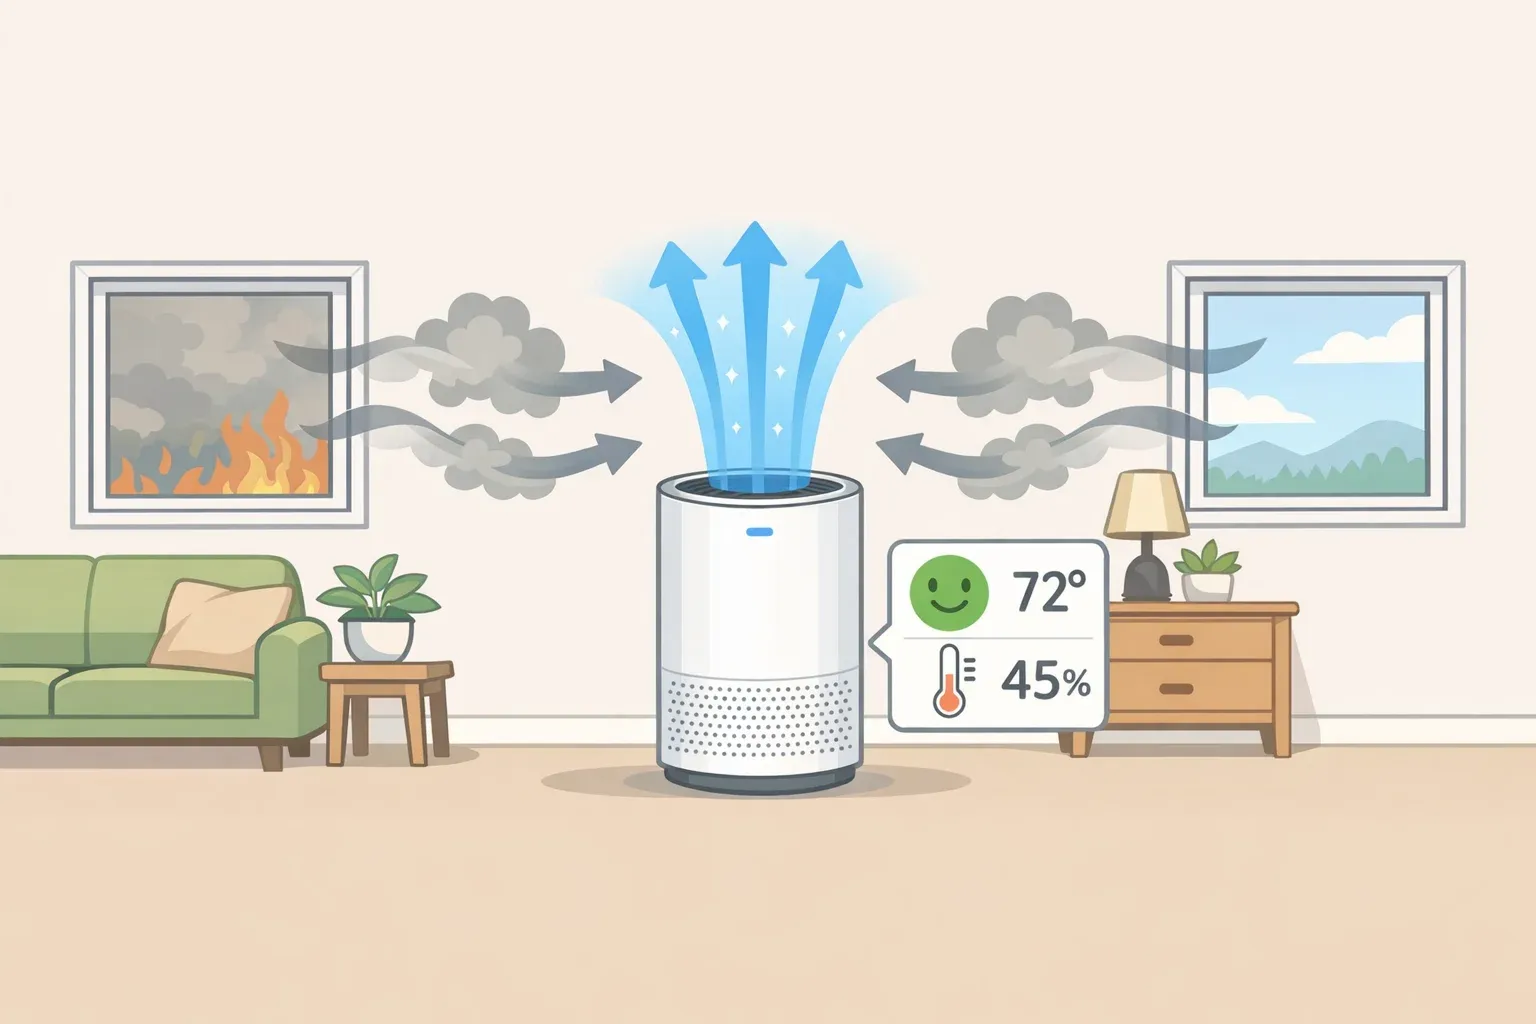
Even correctly diluted bleach can produce fumes. In a poorly ventilated space, those fumes can build up and irritate your eyes, throat, and lungs.
Ventilate first, then mix, then apply. Open a window or exterior door before using bleach indoors. Turn on an exhaust fan if the room has one. Starting with airflow is safer than opening a window after fumes build up.
For heavier cleaning jobs, splash-prone tasks, or overhead surfaces, wear rubber or other nonporous gloves and consider eye protection. OSHA's cleaning chemical safety guidance also warns that cleaning chemicals can irritate the skin and eyes and trigger breathing problems when handled without proper precautions.
Set up before any bleach task:
Open a window or exterior door before mixing the solution.
Put on rubber gloves.
Add eye protection if splashing is possible.
Work in short intervals in small spaces.
Step away immediately if your eyes, throat, or chest start to feel irritated.
A closed bathroom with no window or exhaust fan is a poor place to use bleach. If you cannot create airflow, choose another disinfectant that is safer for the space or postpone the task until you can ventilate.
When soap and water is enough
Bleach is not a daily cleaner for every mess. For routine dirt, dust, crumbs, sticky spots, and tracked-in grime, soap and water is usually the right first step.
Cleaning and disinfecting are not the same thing. Cleaning physically removes dirt and many germs from a surface. Disinfecting uses chemicals to kill germs that remain after cleaning. In most everyday situations, cleaning alone is enough. Disinfection is most useful in higher-risk situations, such as bathrooms during illness, kitchen surfaces after handling raw meat, or surfaces contaminated by body fluids.
Bleach is also surface-specific. It is generally meant for hard, nonporous surfaces when the label allows it. Do not assume it is safe for stone, metal, wood, fabric, carpet, painted surfaces, electronics, or porous materials. If the product label does not list your surface type, stop and use a cleaner made for that material instead.
If the bleach product has no label, faded instructions, or no visible sodium hypochlorite percentage, do not use it for disinfection. A product you cannot verify is not a reliable disinfecting tool.
A safe bleach routine from start to finish
Use this sequence before a cleaning session, not halfway through one:
Clean first. Wash with soap or detergent, rinse, and remove visible dirt before bleach touches the surface.
Ventilate before you mix. Open windows or doors and turn on an exhaust fan if available.
Check the label. Confirm the product is regular, unscented household bleach with 5% to 9% sodium hypochlorite and is labeled for disinfection.
Mix fresh. Use the label's dilution ratio. If directions are unavailable, use 5 tablespoons, or 1/3 cup, of bleach per gallon of room-temperature water, or 4 teaspoons per quart.
Apply alone. Bleach mixes only with water. If another product was on the surface, rinse thoroughly and let the surface dry first.
Keep it wet long enough. Follow the label's contact time. If instructions are unavailable, keep the surface visibly wet for at least one minute.
Rinse or air-dry as directed. Some surfaces need rinsing after contact time, especially surfaces that may touch food. Follow the label.
Discard leftovers. Do not save diluted bleach for the next cleaning session.
Before your next cleaning session, check the bleach label for its sodium hypochlorite percentage and scan nearby cleaners for ammonia, acids, vinegar, hydrogen peroxide, and other reactive ingredients. Those two minutes can prevent the most common bleach mistakes before they start.


Comments
Be the first, drop a comment!