


Dryer Vent Cleaning Guide: DIY Steps, Warning Signs, and When to Call a Pro
Cleaning the lint screen after every load is a good habit. It is not, however, dryer vent cleaning a distinction the U.S. Fire Administration has been tracking in fire data for years, and one that quietly costs households money long before anything catches fire.
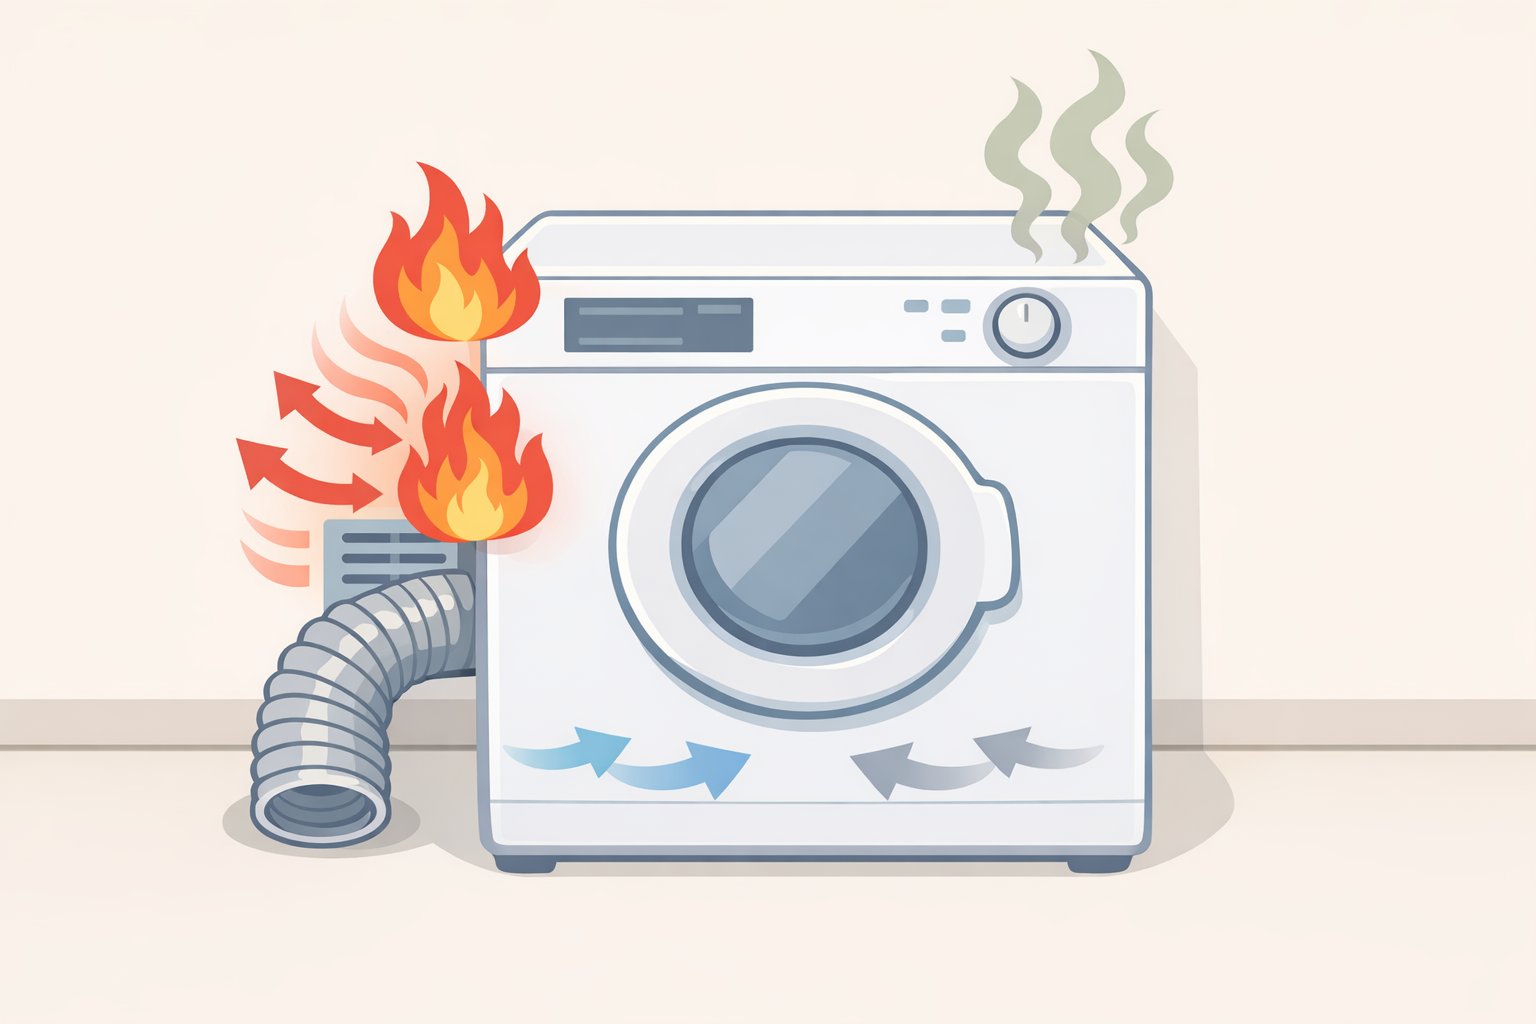
The lint trap intercepts only a portion of what a dryer produces per load. The rest travels through the exhaust duct and accumulates at bends and joints, load after load, until airflow slows enough that the machine works against itself. The Filter Report documented this progression in testing published March 19, 2026. The result isn't just slower drying: failure to clean was identified by the U.S. Fire Administration as the leading ignition factor in residential dryer fires from 2018 to 2020, accounting for 31% of all causes. The CPSC estimates roughly 15,500 residential dryer fires annually, resulting in approximately 10 deaths, 310 injuries, and more than $84 million in property damage per year, per The Filter Report.
The energy cost compounds the risk. Dryers fighting restricted ducts ran 20 to 30 minutes longer per load than the same machines with clear ducts in controlled testing, adding 100 to 150 extra run hours annually for a household doing five loads per week, per The Filter Report. The U.S. Department of Energy puts standard electric dryer consumption at roughly 782 kWh per year, per The Filter Report; extra runtime compounds that figure directly. Most homeowners, presented with a dryer taking 90 minutes to finish a load, assume the appliance is failing. Service calls run $200 to $350, per Maytag. The problem is usually the duct.
This guide covers how to recognize a clogged dryer vent, determine whether DIY cleaning suits your setup, perform the full cleaning from both ends, and diagnose the installation problems that cause the same symptoms to return after cleaning.
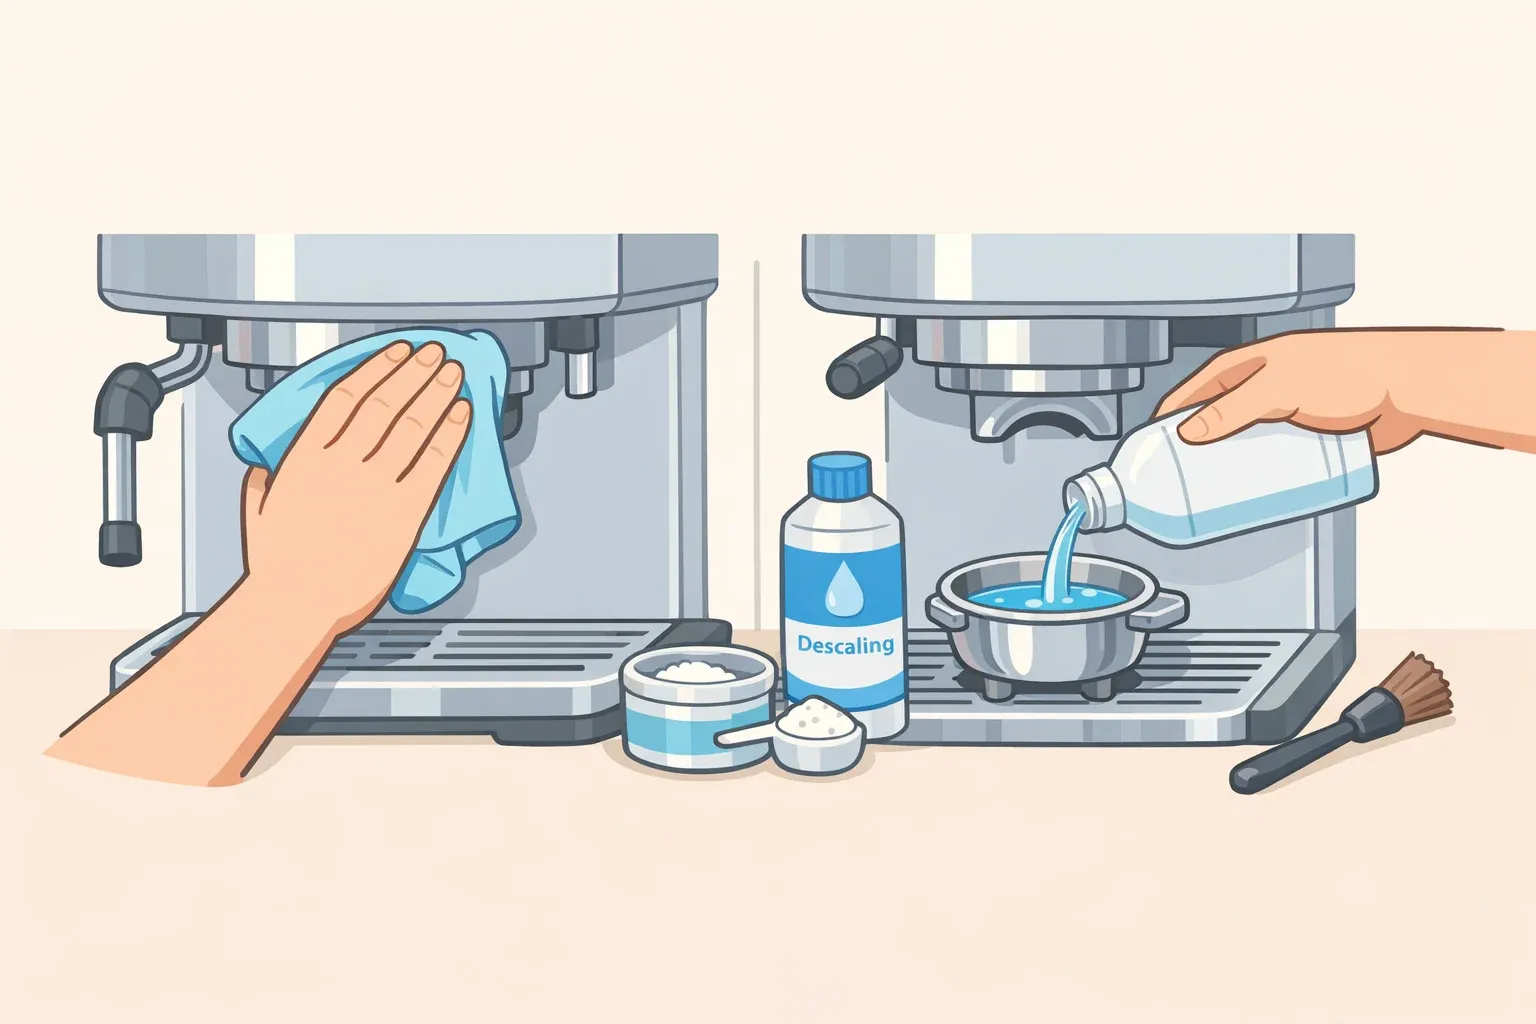
What you'll need before starting: A dryer vent brush kit with flexible extension rods, a vacuum with a hose attachment, UL-rated metal foil tape (not standard duct tape), a screwdriver, and a second person to help move the appliance. Gas dryer owners must shut off the gas valve before disconnecting anything. That step is covered first in Step 1.
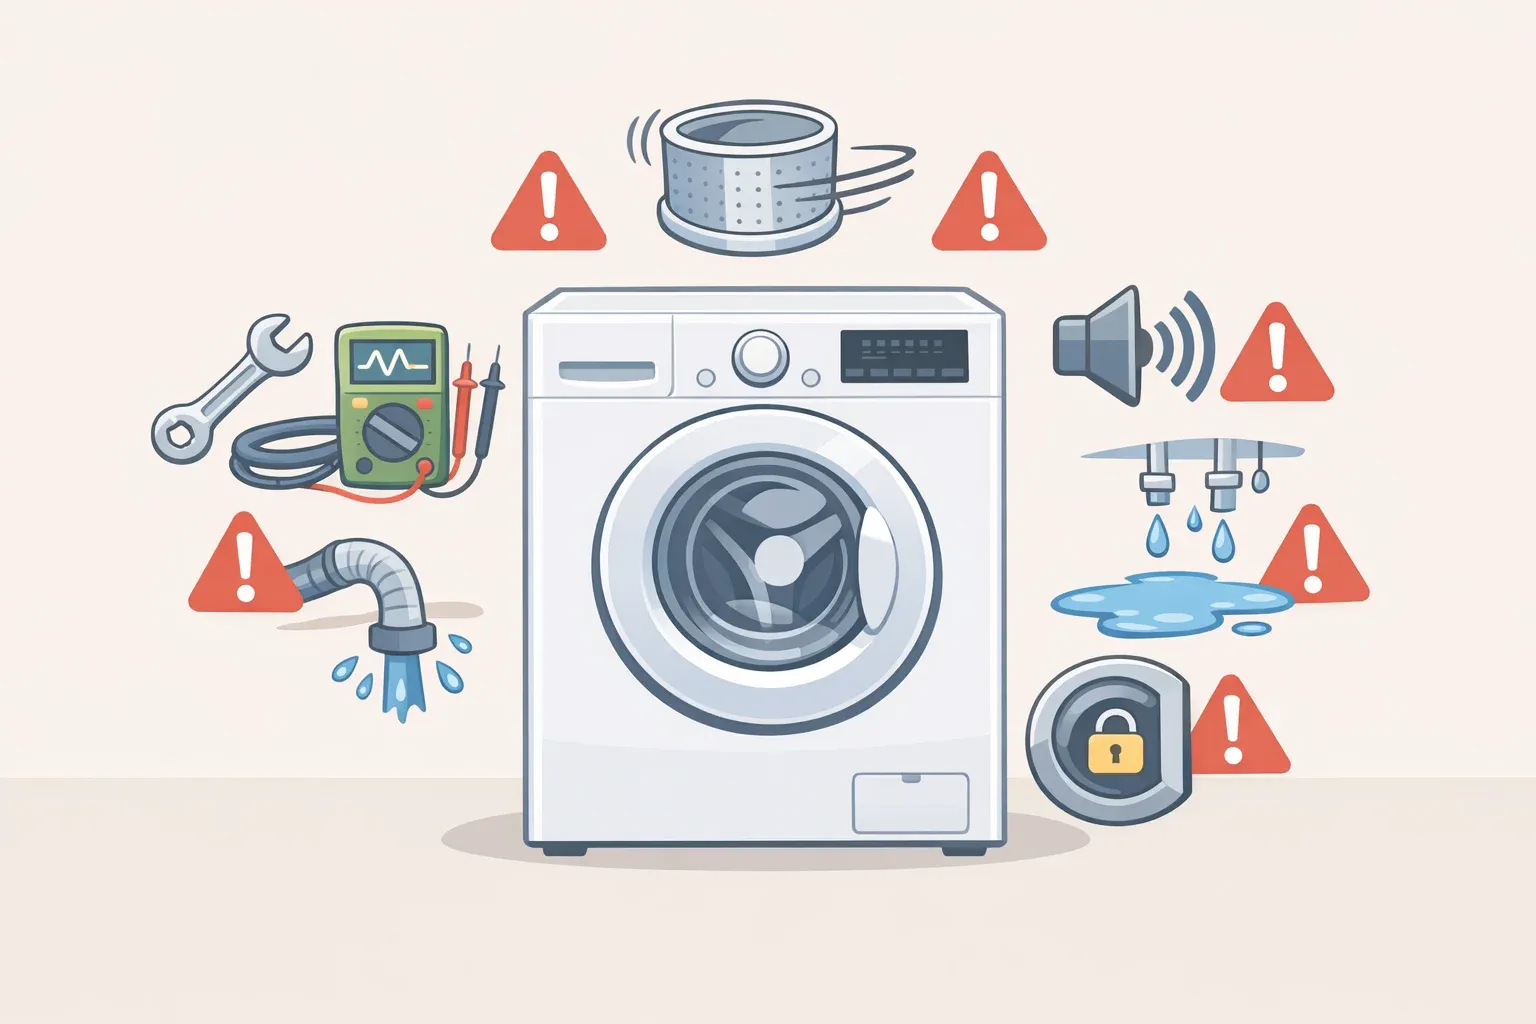
Clogged dryer vent signs to check before you do anything else
One case from The Filter Report (March 19, 2026) says everything: a homeowner's clothes were taking 90 minutes per cycle. He assumed the machine was aging out. It was the duct. Before spending money on a service call or a new appliance, check these indicators first.
Extended drying times are the most reliable and most overlooked sign. If clothes routinely take longer to dry than they once did, or longer than the manufacturer's estimated cycle time, the exhaust duct is the first thing to rule out, per Maytag's own diagnostic guidance. Gradual creep is easy to normalize; benchmark a standard load against the manufacturer's spec and note any gap beyond 20 minutes.
Other warning signs worth taking seriously:
- Clothes or the dryer exterior running unusually hot, or a faint burnt smell with no clear source. Heat being trapped rather than exhausted is a direct sign of restricted airflow, per Maytag.
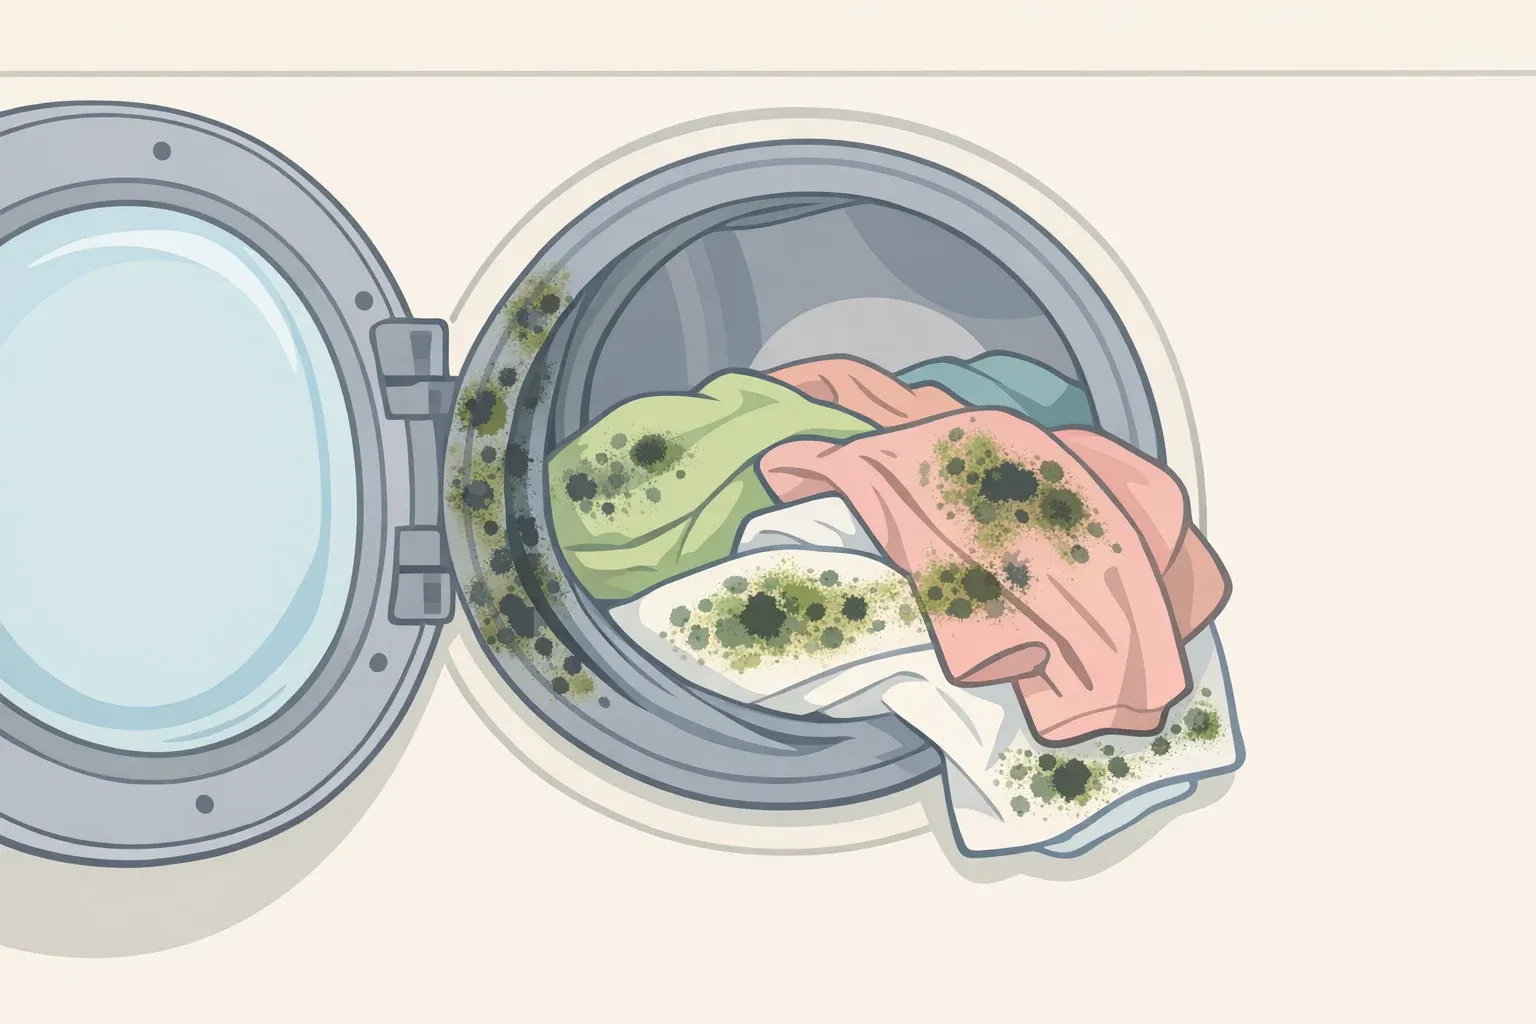
- Moisture or lint accumulating indoors, water condensing near the duct connection, or lint visible around the exterior vent hood. All suggest exhaust is backing up into the house rather than clearing through, per Maytag and GuideSpot.
Before pulling the dryer out, run through a quick false-positive check. Overloading, a lint screen coated with fabric-softener residue, an ambient laundry room temperature below 45°F, or insufficient makeup air in a closed room can all mimic vent restriction symptoms, per Maytag Product Help. Clear these variables first. If none apply and drying times are still long, the vent system is the first place to investigate.
⚠ Go/No-Go before attempting DIY: DIY cleaning works well for short, accessible duct runs with minimal bends. Stop here and call a professional if: you don't know when the duct was last professionally cleaned; the run is long, concealed in a wall or ceiling, or has more than two bends; the exterior termination shows signs of a bird nest or total blockage; or the existing duct material is plastic or foil and needs full replacement. Standard household vacuums and flexible brush kits cannot reliably clear compacted lint in elbows, remove animal nests, or verify restored airflow through measurement. These are limitations of tool capacity, not user effort, per Broken Arrow Pest Control.
How to clean a dryer vent: full process, both ends
Work through these steps in sequence. Each step identifies what to confirm before moving to the next.
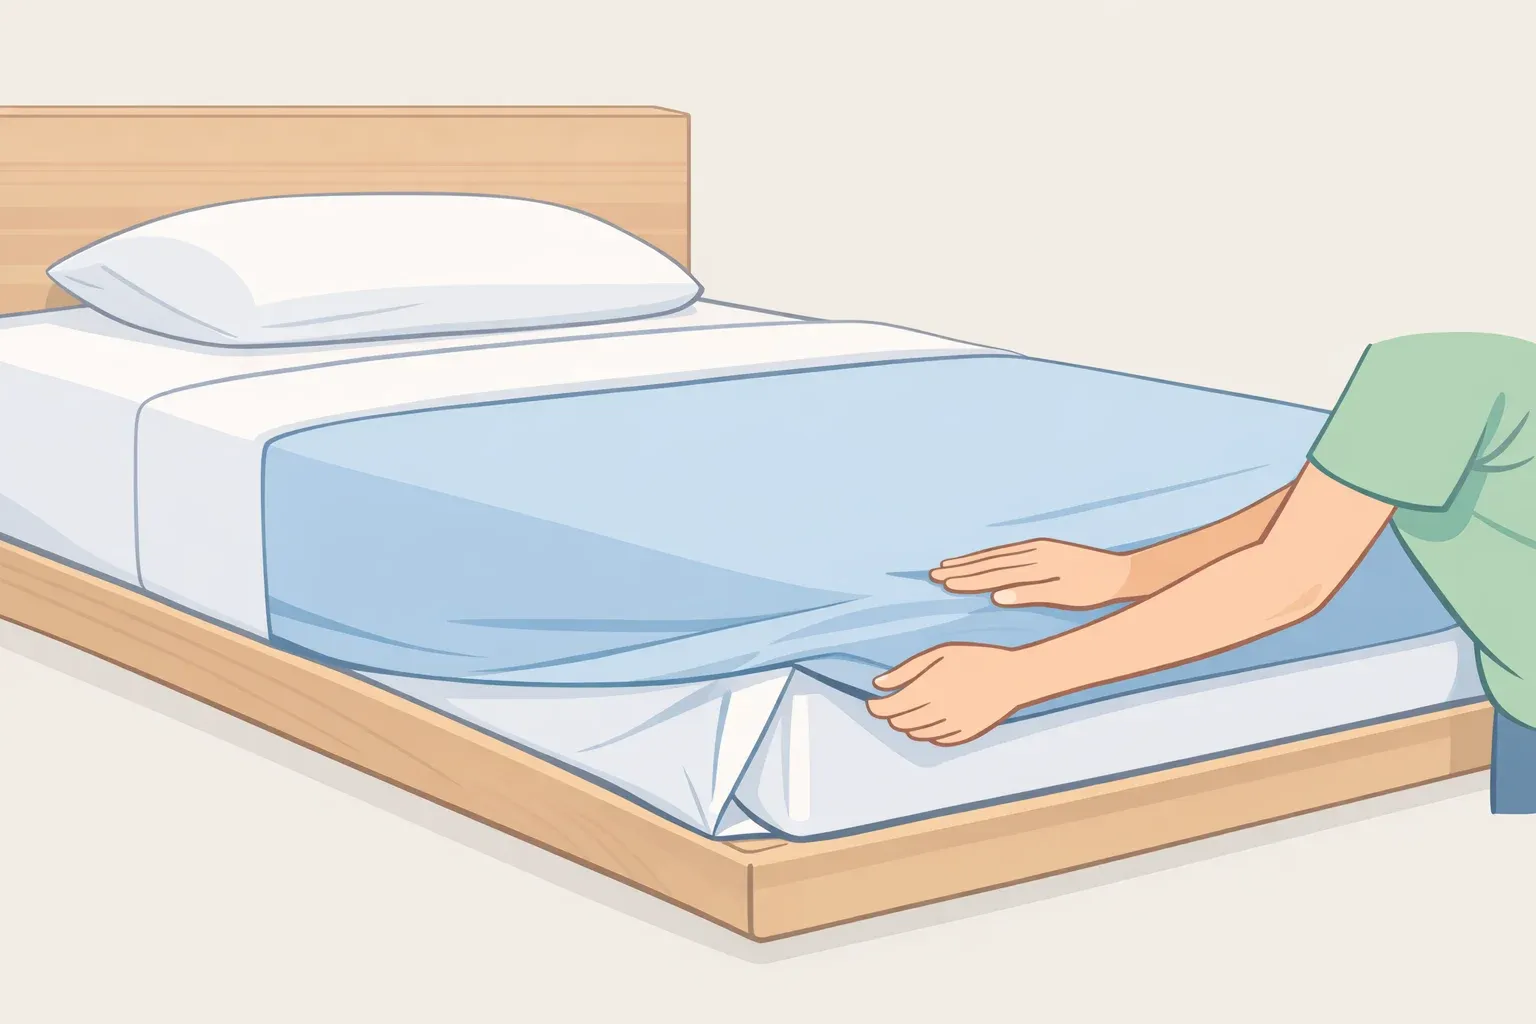
Step 1 Cut power and move the dryer. Unplug the dryer from the wall. For gas dryers, shut off the gas valve and cap the line before moving anything. With a second person, pull the dryer approximately one foot away from the wall. You need enough clearance to work behind it without straining the duct connection.
Step 2 Detach and inspect the transition duct. Loosen the clamps securing the flexible hose at the back of the dryer and at the wall inlet. Remove the hose and inspect it. If it's white plastic accordion material or thin foil vinyl, replace it before going further. These materials are prohibited for permanent installation under IRC code, degrade rapidly under heat, and are the most common material failure found during cleaning, per GuideSpot. The correct replacement is a UL 2158A-listed metal transition duct no longer than 8 feet, per All Clear DVC.
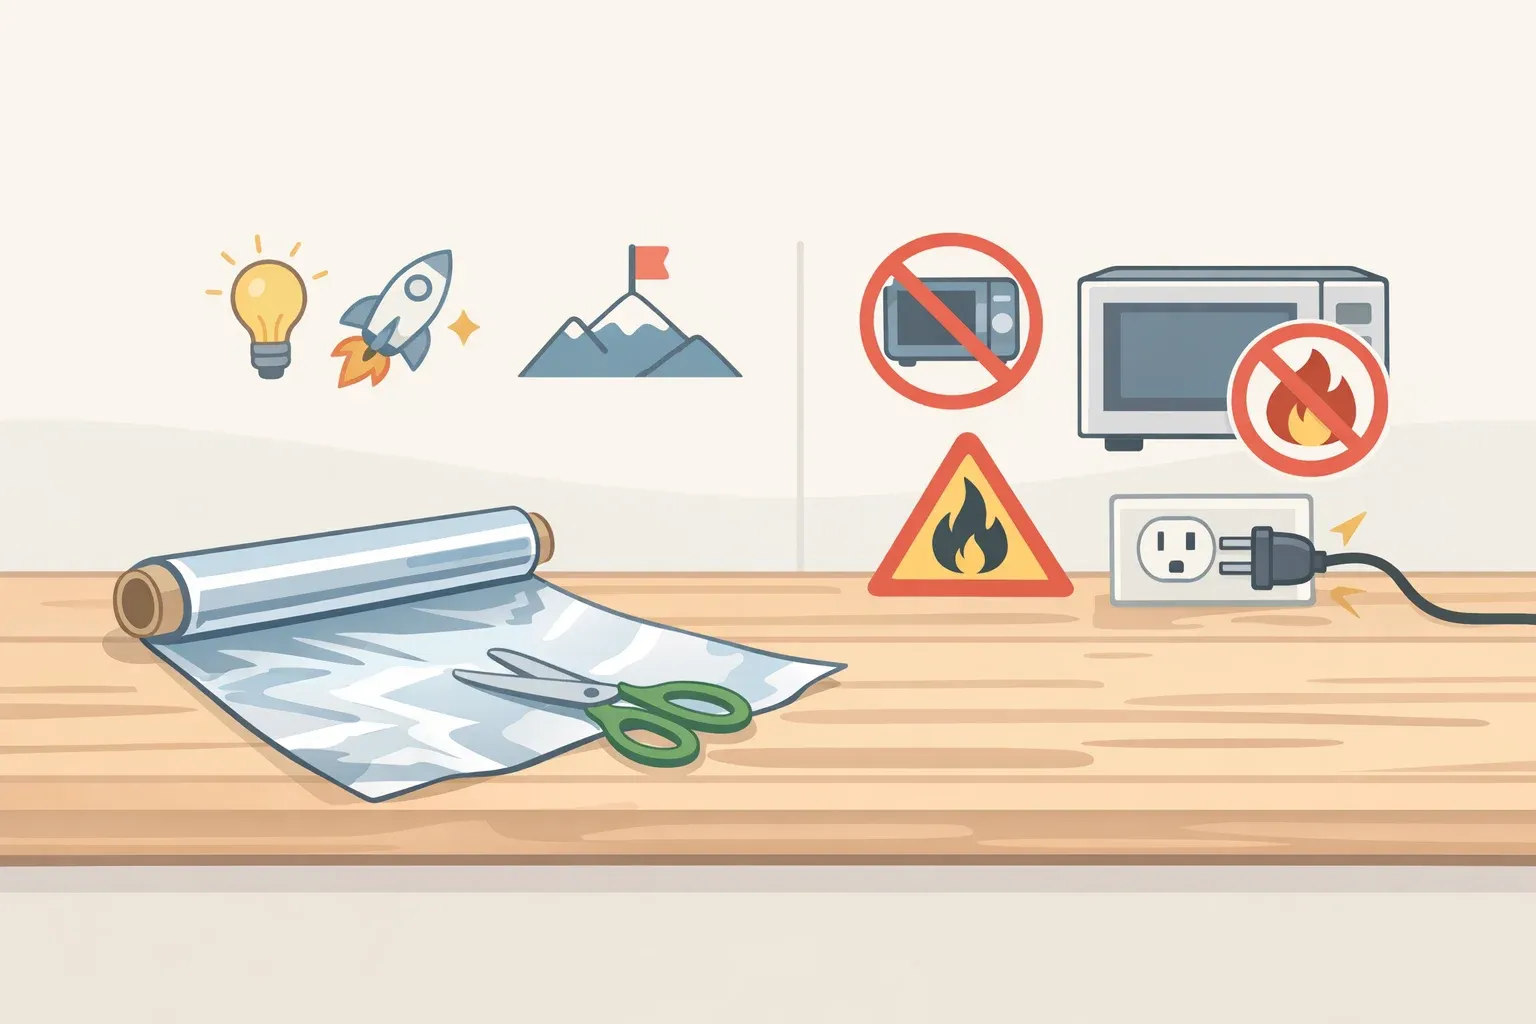
⚠ Gotcha: Standard duct tape fails quickly under the heat and moisture inside a dryer exhaust system, per GuideSpot. Use UL-rated metal foil tape for all sealing, everywhere in the system, without exception.
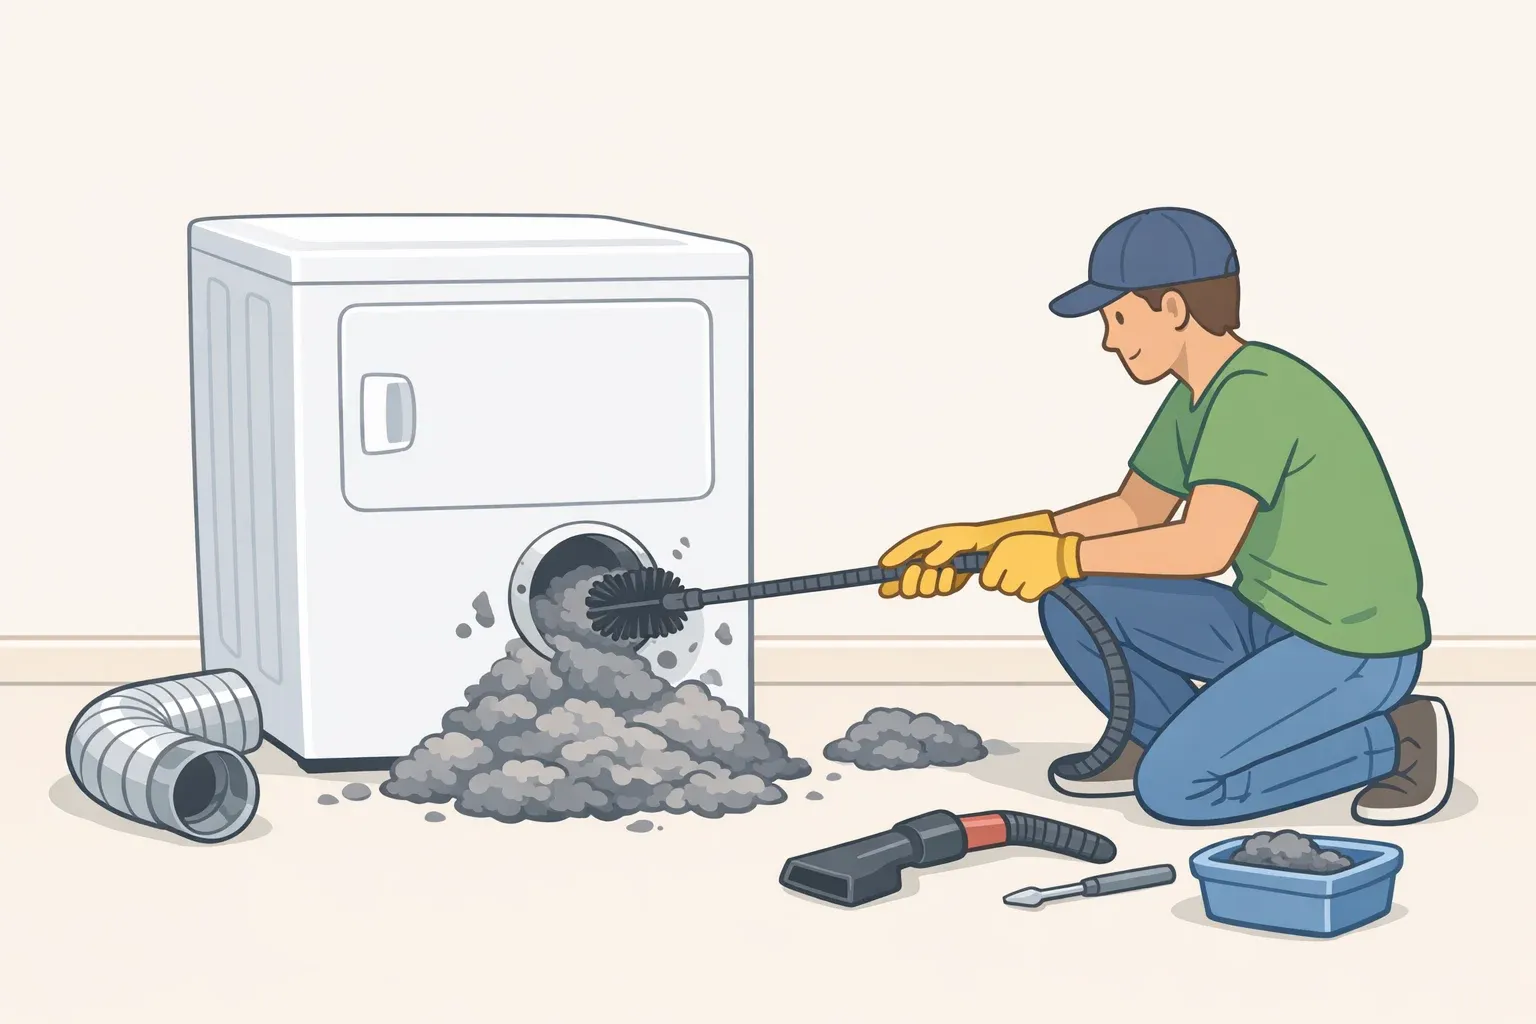
Step 3 Clean from the dryer end. Feed the flexible brush into the wall duct opening with a steady rotating motion, adding extension rods as needed to reach the full run. Run the vacuum hose at the opening simultaneously to capture displaced lint. Dense lint packing at the first bend and at the junction between the transition hose and the rigid duct is the most common finding in professional cleaning, per The Filter Report. Work these areas thoroughly.
Step 4 Clean from the exterior. Locate the exterior termination on the outside wall, typically a louvered or flap-style hood. Remove the cover and look for bird nests or compacted debris before inserting the brush. Both create total blockages and turn up frequently when a duct hasn't been serviced in multiple years, per Maytag Product Help. Run the brush inward from this end, vacuum out, and replace the cover.
⚠ Gotcha: The exterior termination requires a backdraft damper, a flap that opens under airflow and closes when the dryer isn't running. Mesh screens at the termination are explicitly prohibited under IRC M1502 because they trap lint and create blockages, per All Clear DVC. If your hood has a screen, replace it. The hood should also sit at least 12 inches above ground level to stay clear of snow, vegetation, and debris accumulation, per Maytag Product Help.
Step 5 Reconnect and test. Reattach the transition duct using clamps and seal joints with UL-rated metal tape. Restore power and gas if applicable, then slide the dryer back with a second person. Run a 15-minute air cycle to clear residual debris, per Maytag. Then run a standard full load and time it. Compare the result to the manufacturer's cycle estimate. That number is your new baseline and your confirmation the cleaning worked.
⚠ Performance check: If drying times don't improve after cleaning, check first for a kinked or crushed transition duct behind the machine. Confirm the exterior damper flap opens freely during operation (have someone check while the dryer runs), and verify the dryer has adequate clearance in its installed space. If none of those resolve it, the duct configuration itself may be the constraint. Move to the next section.
When cleaning doesn't fix it: setup problems that cause the same symptoms
Some dryer ducts stay problematic because the installation is the problem, not accumulated lint. No amount of routine cleaning compensates for a duct that's too long, made of the wrong material, or full of unnecessary bends. If drying times didn't improve after cleaning, or if you're starting fresh with an older home or DIY-installed setup, audit the duct configuration against these four points.
Prohibited duct material is the most common and most dangerous finding. Plastic or vinyl flexible ductwork used anywhere beyond the short, exposed transition section can collapse under heat, creating sudden total blockages, and is prohibited by IRC code throughout permanent installations, per GuideSpot. The correct material for the fixed run is rigid or semi-rigid metal duct with a smooth interior, minimum 28-gauge steel, 4-inch nominal diameter, per All Clear DVC.
Excessive duct length and too many bends is the second major installation error. The IRC sets a maximum exhaust run of 35 feet from the dryer connection to the exterior termination. Each 90-degree elbow reduces that allowable length by 5 feet; each 45-degree bend costs 2.5 feet, per All Clear DVC. A run with two 90-degree bends is already limited to 25 feet of straight duct. A duct snaking through a wall or attic with three or four bends and standard-length rigid sections may be over the limit before a lint particle has ever passed through it.
Two additional problems that are easy to miss:
- Interior screw penetrations: Sheet metal screws protruding into the duct interior are prohibited. The exposed tips snag lint and create blockage points at every connection, per The Lint King and All Clear DVC. Use metal foil tape and clamps only at all joints.
- Duct venting into interior spaces: Routing exhaust into an attic, crawlspace, or garage deposits hot, lint-laden, moisture-heavy air into structural cavities. Mold, rot, and fire risk follow directly, and it's a clear code violation, per GuideSpot. All dryer exhaust must terminate outside the building.
If any of these conditions apply and can't be corrected with straightforward DIY, the duct configuration needs professional assessment. ENERGY STAR-referenced guidance cited by GuideSpot indicates properly vented dryers can use 20% or more less energy than machines fighting restricted or noncompliant ductwork. A misconfigured installation erases that advantage permanently, not just seasonally.
Professional cleaning: what it does that DIY can't, and when to book it
Professional duct cleaning is not a premium upgrade over a thorough DIY job. It addresses a different category of problem.
Certified technicians run a rotary brush through the entire duct length while a high-powered vacuum operates simultaneously, clearing compacted lint at bends and at the transition junction where standard brush kits lose effectiveness, per The Filter Report. The full pathway from dryer connection to exterior termination is covered in a single visit, typically 30 to 60 minutes. Airflow can be measured before and after, per Broken Arrow Pest Control. DIY cannot replicate that.
Most residential jobs cost $75 to $250, with a national average around $140 to $150. Severe obstructions like bird nests or compacted blockages add $120 to $250, per The Filter Report. Set that against a service call at $200 to $350 for an appliance that turns out to have nothing mechanically wrong with it, per Maytag, and the calculation is straightforward.
Book professional service if:
- The duct cleaning history is unknown. That uncertainty is usually reason enough to schedule an inspection.
- DIY cleaning produced no measurable improvement in drying times
- The duct is concealed in a wall or ceiling with multiple bends
- A bird nest or structural blockage is suspected at the exterior termination
- The current duct material requires full replacement
Maintenance schedule:
- Clean the lint screen after every load, without exception
- Full duct system: every one to two years under normal household use, per Maytag Product Help; annually for high-laundry households, pet owners, or homes with long duct runs
- Once, immediately, for any home where the cleaning history is unknown
The decision hierarchy after you've finished
This guide covered the full sequence: warning signs, DIY dryer duct cleaning from both ends, performance verification, setup audit, and when professional service is the right call rather than a deferral.
The action sequence from here is simple. Run a timed test load and compare it to manufacturer spec. If times are back to normal, clean the lint screen every load and schedule the next full duct cleaning within a year or two. If times are still long, check the transition duct for kinks, confirm the exterior damper opens freely under airflow, then assess the duct run for length and bends against the 35-foot IRC limit, per All Clear DVC. If the setup is noncompliant or performance still hasn't improved, book a professional service.
Three facts worth keeping in mind:
- Failure to clean accounted for 31% of all residential dryer fire ignition factors tracked by the USFA from 2018 to 2020, and the CPSC links roughly 15,500 such fires annually to more than $84 million in property damage, per The Filter Report. The risk doesn't appear suddenly. It builds load by load.
- Dryers with restricted ducts ran 20 to 30 minutes longer per load in testing, adding up to 150 extra run hours annually for an average household, directly compounding against the DOE's baseline of 782 kWh per year for a standard electric dryer, per The Filter Report. Long dry times are a cost, not just an inconvenience.
- Improper installation is the second leading contributor to dryer fires behind failure to clean, per NFPA-referenced data cited by GuideSpot. Cleaning a noncompliant duct extends its life. It doesn't make it safe.


Comments
Be the first, drop a comment!