


A pile of clean laundry sits on top of the dryer where it's been since Tuesday. The detergent is somewhere under the sink. There's no clear surface to fold anything even if you wanted to. The clothes aren't the problem. The room is.
A well-organized laundry room does one thing above all: it cuts the number of decisions and steps between dirty clothes and clean, put-away ones. When the layout works against you, more effort doesn't fix it. Structure does.
This guide follows the same sequence professional organizers use: declutter and zone first, build a sorting system, put every tool at its point of use, then calibrate for safety based on who's in your household. Work through each step in order. The payoff compounds. Whether you have a full laundry room or a stacked washer-dryer in a closet, the same principles apply at different scales.
Step 1: Clear the room, then define three zones
Start here before buying anything. A cluttered room with undefined zones stays chaotic regardless of what storage tools you add. This step creates the workflow that every other change builds on.
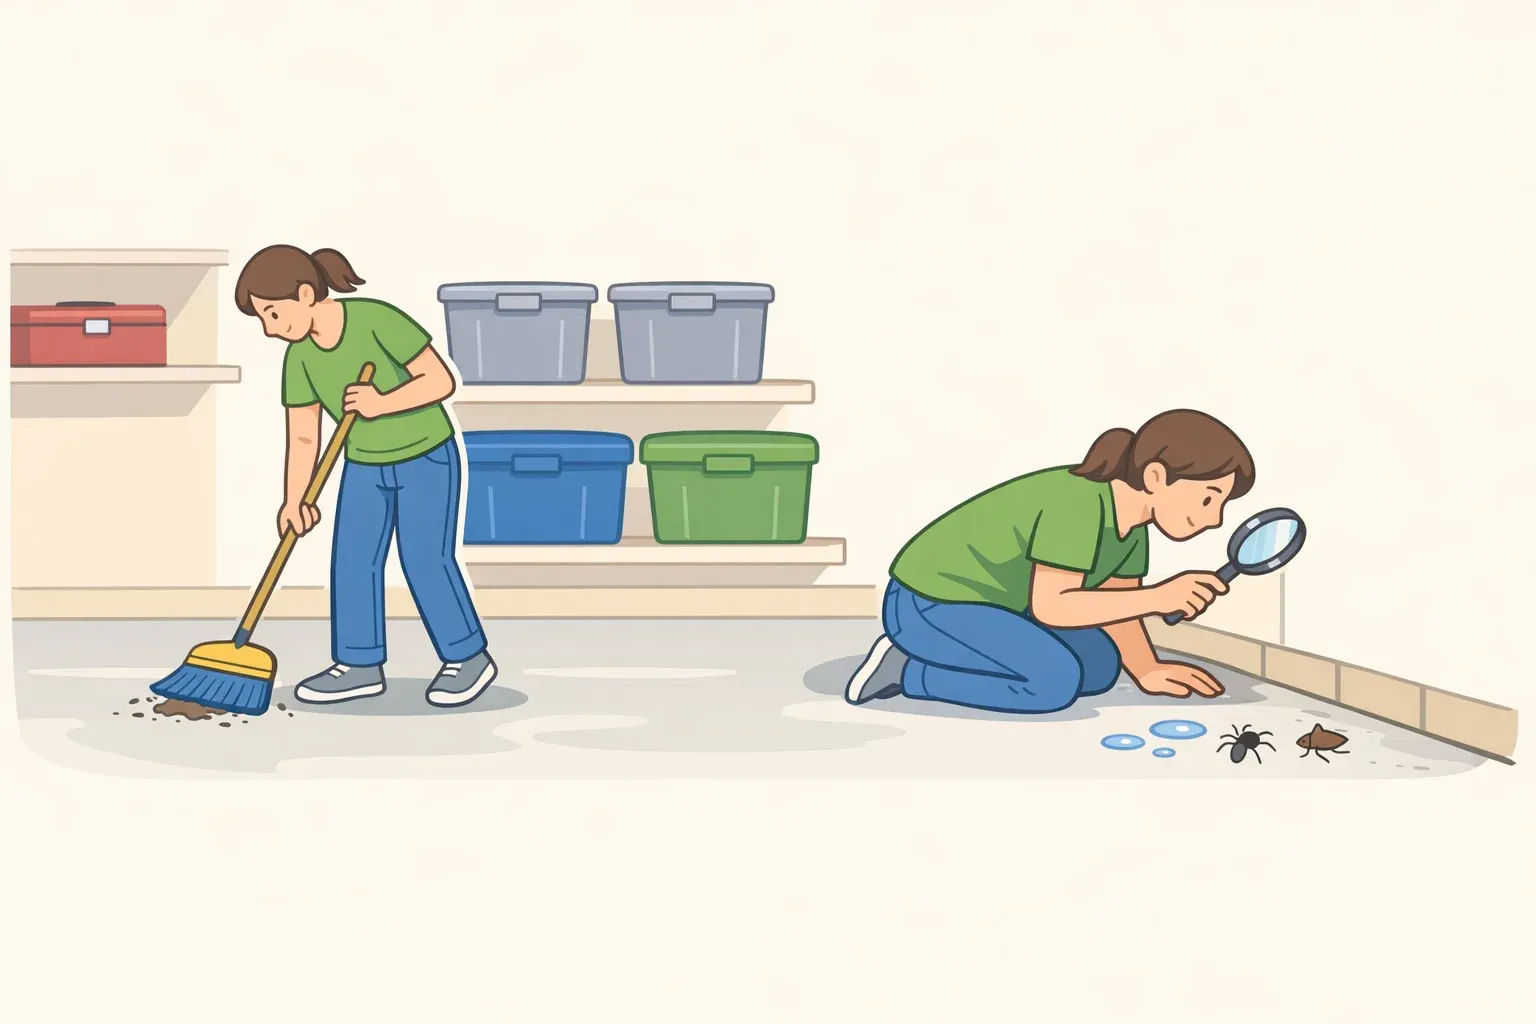
Laundry rooms are typically small, which works in your favor: the clear-out usually doesn't take long. Pull everything out and sort into four piles: trash, donate, move to another room, and keep in the laundry area. Anything that doesn't support washing, drying, or folding doesn't belong here. This step alone can reveal how much usable space already existed.
Don't buy bins until you know what the room actually needs. Most laundry room clutter problems are layout problems, not storage shortages. Adding containers to a room that hasn't been zoned typically makes things worse.
Map three zones before adding anything. Every functional laundry setup benefits from three distinct areas.
Dirty zone: Where clothes land before washing hampers, sorting bins, and pre-treatment spot
Active zone: The washer, dryer, and all supplies within reach
Clean zone: Folding surface, hanging area, finished laundry waiting to be put away
Separating these zones spatially, even by a few feet, creates a one-way flow that reduces both mess and errors. The most common failure pattern is mixing dirty and clean zones: clean laundry piled on top of the washer next to the dirty hamper, supplies scattered, no clear path from start to finish.
For small spaces, not every zone has to live inside the laundry room itself. Hampers work best near where clothes actually come off bedrooms and bathrooms rather than in a closet that can't accommodate them. The clean zone can be a nearby bed or table if there's no room inside. Decide where each zone lives before moving on, even if part of the system exists in another room. Label the bins and zones once you do it makes the system work for everyone in the household, not just the person who set it up.
Step 2: Build a sorting system that removes decisions at the machine
Unsorted laundry requires a decision at every load. A pre-sorting system eliminates that: when a compartment is full, that load is already ready to run.
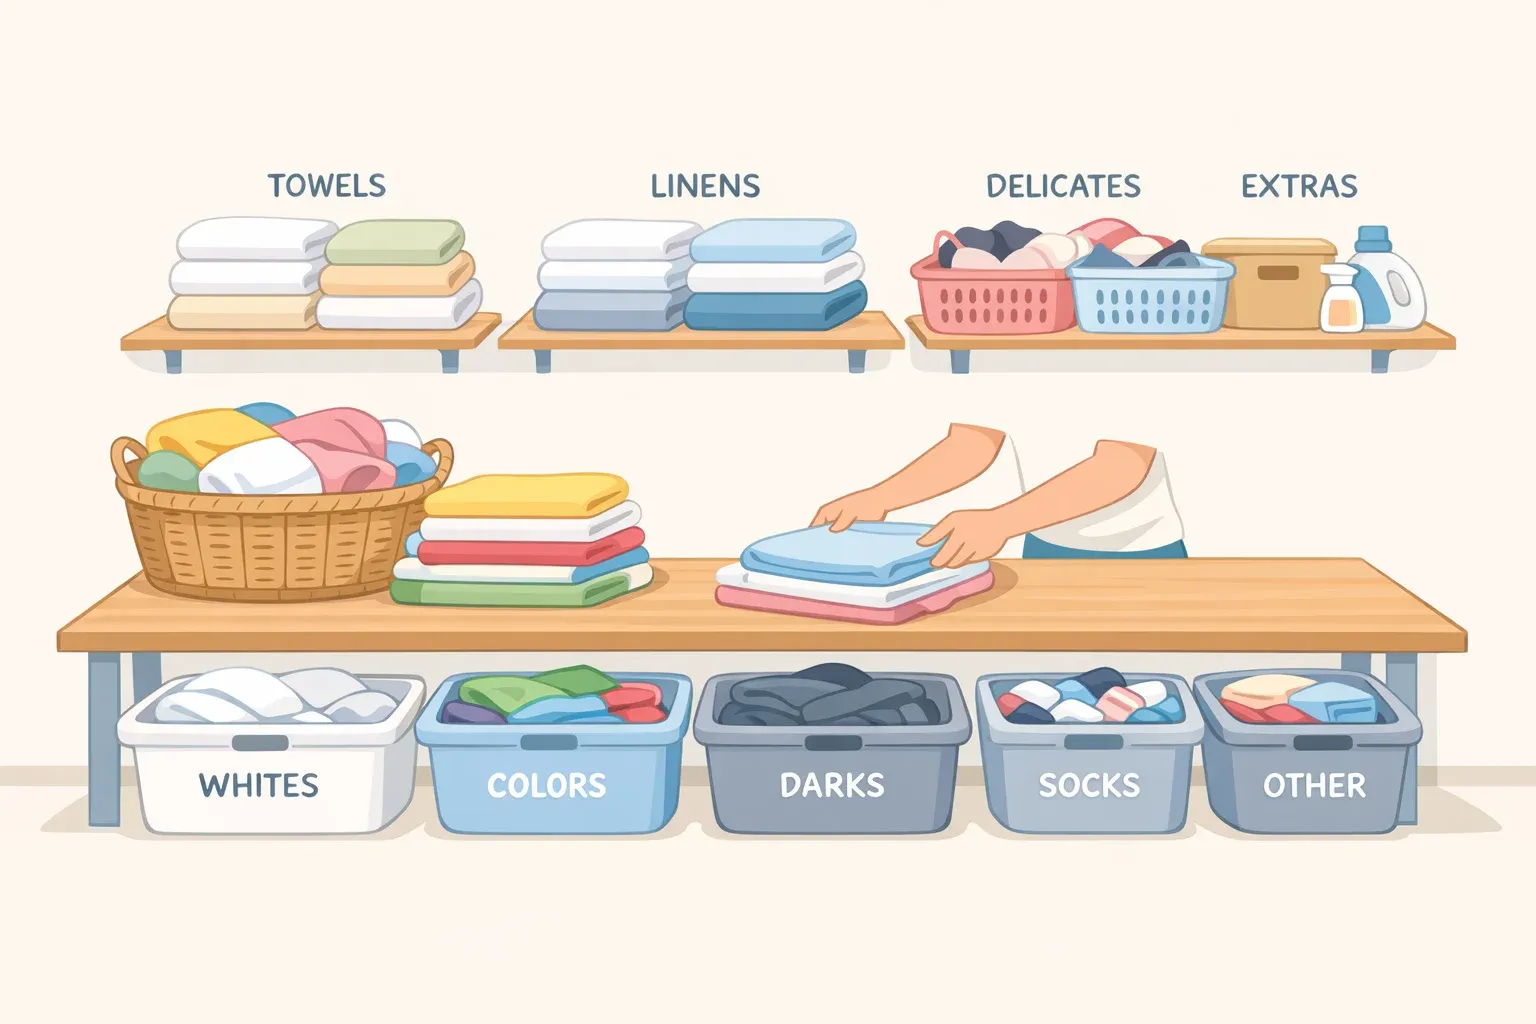
If you have room near the machine, a three-compartment sorter labeled by category — darks, lights, colors, or whatever system the household uses — means no sorting at the machine. Full compartment equals a load that's ready to go.
If you don't have floor space for a sorter, pre-sorting happens in bedroom or bathroom hampers, and loads arrive at the machine already separated. The sorting just happens earlier in the process; the time savings are identical.
For families with children, there's a different approach at the clean end: sort dryer loads into per-person bins as clothes come out rather than by textile type. Each person gets their own labeled bin; when it's full, it goes to their room. Distribution is done before anyone has to dig through a shared pile.
Pre-treatment belongs in the dirty zone, not a cabinet across the room. Treating stains before they set is far more effective than relying on the wash cycle. A stain pen, stain spray, and a small brush on a tray near the hamper is the whole setup. It doesn't need to be elaborate; it needs to be there when a stain happens.
Step 3: Keep every supply, surface, and hanging spot at its point of use
Storage that's inconvenient gets ignored. Every tool placed away from where it's actually used adds a step, and enough small steps turn a manageable routine into one people avoid. Three friction points, in priority order: supplies, folding surface, hanging area.
Keep supplies by the machine
All core supplies — detergent, fabric softener, stain treatment — should be reachable from the machine without taking a step. A wall-mounted shelf above the washer-dryer pair holds three to four products and is the most direct solution for a full room.
For the gap between machines, a slim rolling cart keeps supplies off the counter and floor without requiring any installation. For laundry closets with no counter or wall space, an over-the-door organizer is recommended.
Renters, take note: the rolling cart, the over-the-door organizer, and a tension rod all require zero wall installation. None of them needs a landlord's permission.
Before drilling anything into a laundry room wall, find out what's behind it. Laundry room walls frequently contain water supply and drainage lines; it's not a step to skip.
One important exception: the convenience-first supply placement above is the wrong approach when young children are present. Step 4 covers those adjustments specifically.
Create a folding surface
No folding surface is a structural problem with a structural fix. The absence of a dedicated folding area is a primary reason clean laundry ends up in unfolded piles.
For a full room, a counter over front-loading machines at standard 36-inch height provides a comfortable standing surface and doubles as storage underneath. For a laundry closet, a wall-mounted fold-down shelf stores flat when not in use and provides a full surface on demand.
No room for either? Move clean laundry immediately to a bed or table for folding. Don't let it sit on or in the machine, that's where piles start.
Add a hanging spot
A tension rod between cabinets, a wall-mounted rod above the machines, or a few sturdy hooks eliminates the intermediate pile for dress shirts and hang-dry items. Clothes go from the dryer to the hanger directly, skipping the step where they stack up. Keep a small stock of spare hangers here so one is always within reach. Once those three friction points are handled, vertical storage options like pegboards and slat walls are worth considering. Good tools, but they belong after the higher-friction problems are solved.
Step 4: Calibrate supply storage for your household, especially with young children
The supply placement advice in Step 3 is the right default for most households. It's the wrong answer when young children are present. This step is where the advice branches.
Standard organization guidance keeps detergent within arm's reach, decants into dispensers for easy access, and assumes adults are the primary users. That assumption deserves a clear label.
In January and February 2024, poison centers across the U.S. received 1,423 reports of exposure to laundry detergent packets in children age five and younger. The pods are concentrated, brightly colored, and dissolve on contact with wet hands or saliva. Children can grab one and put it in their mouth in the time it takes to reach for a pair of socks.
For households with children six and under, the American Academy of Pediatrics recommends a high, locked cabinet for all laundry products not the top of the machine, not an accessible shelf, not an under-machine drawer. Keep products in their original containers, tightly closed. The more substantive recommendation: consider switching from pods to traditional detergent for the duration. Traditional laundry detergent is much less toxic than single-load packets. Decanting detergent into open countertop dispensers is a reasonable convenience hack for child-free households. Where young children are present, it's the wrong call.
The same logic remove the hazard at the source applies to dryer maintenance. Clearing the lint trap after every load and cleaning the dryer vent every three to six months keeps energy use down and fire risk low. Clogged vents increase drying time and energy use and, at worst, can cause a fire. A small trash bin beside the dryer, specifically for lint, turns the after-every-load habit into a two-second task.
Start with whichever bottleneck is causing your pileup
The four steps above compound each one removes friction, and the next builds on. They don't have to be done all at once, and they don't all carry equal weight for every household.
Find where your routine actually breaks down. If clothes pile up at the machine because sorting happens there, pre-sorting at collection is the fix. If clean laundry sits unfolded for days, the folding surface comes first. If the room feels chaotic despite having storage, the zone structure probably hasn't been defined.
The two changes with the highest payoff are also the lowest cost: defining the three zones and designating a folding surface. Both eliminate the most common pile-up points before they form. Storage hacks deliver most of their value when targeted at specific dead zones between the machines, behind the door, above the washer, rather than adding more containers to surfaces that are already cluttered.
A routine that's easy to complete is a routine that actually gets done.


Comments
Be the first, drop a comment!