


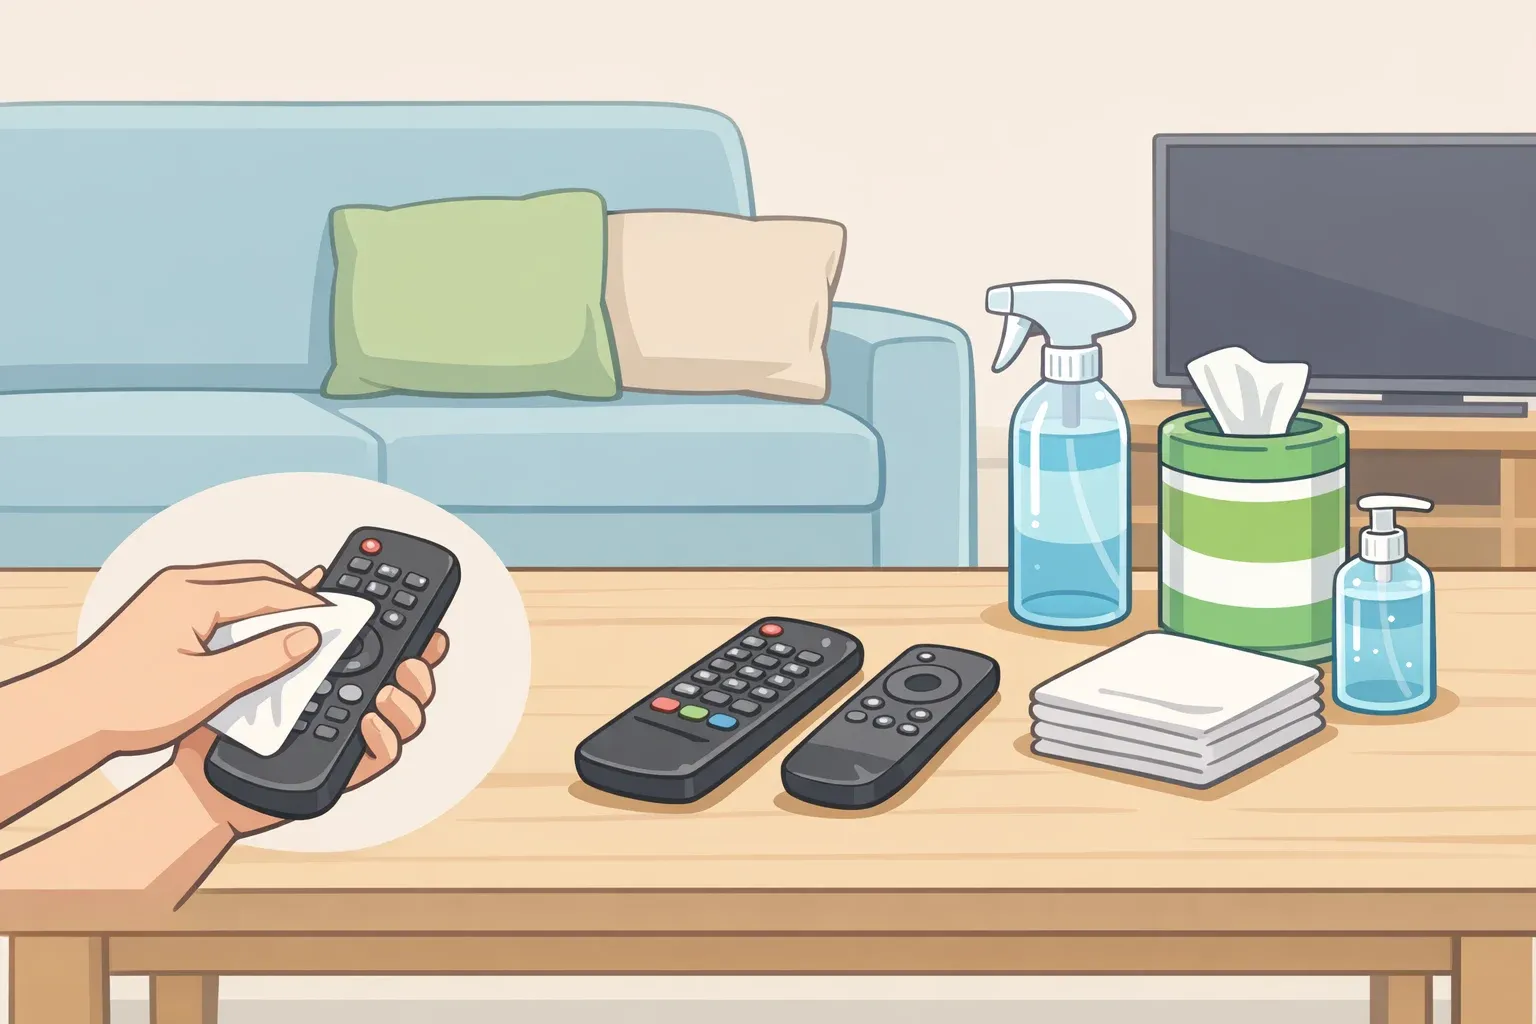
Clean remote controls once a month. Clean them sooner after visitors come through, and immediately when someone in the household gets sick. That's the core of it. This guide walks through how often to clean your remote controls across different household situations, what separates routine cleaning from disinfection, and the step-by-step method that handles both without damaging the device.
The CDC's home hygiene guidance puts remote controls in the same category as phones, keyboards, doorknobs, and countertops: high-touch surfaces that need regular cleaning and a fresh pass after visitors. Lower-traffic surfaces only need attention when visibly dirty. Remotes don't get that pass.
The monthly interval comes from BGR, not from CDC guidance directly, but it fits within the CDC's framework for high-touch surfaces and gives households a usable number where official guidance stops at "regularly."
How often to clean remote controls: building a schedule you'll actually keep
Don't let a full month pass without cleaning a TV remote. Apply that same interval to every remote in regular use: streaming devices, cable boxes, sound systems.
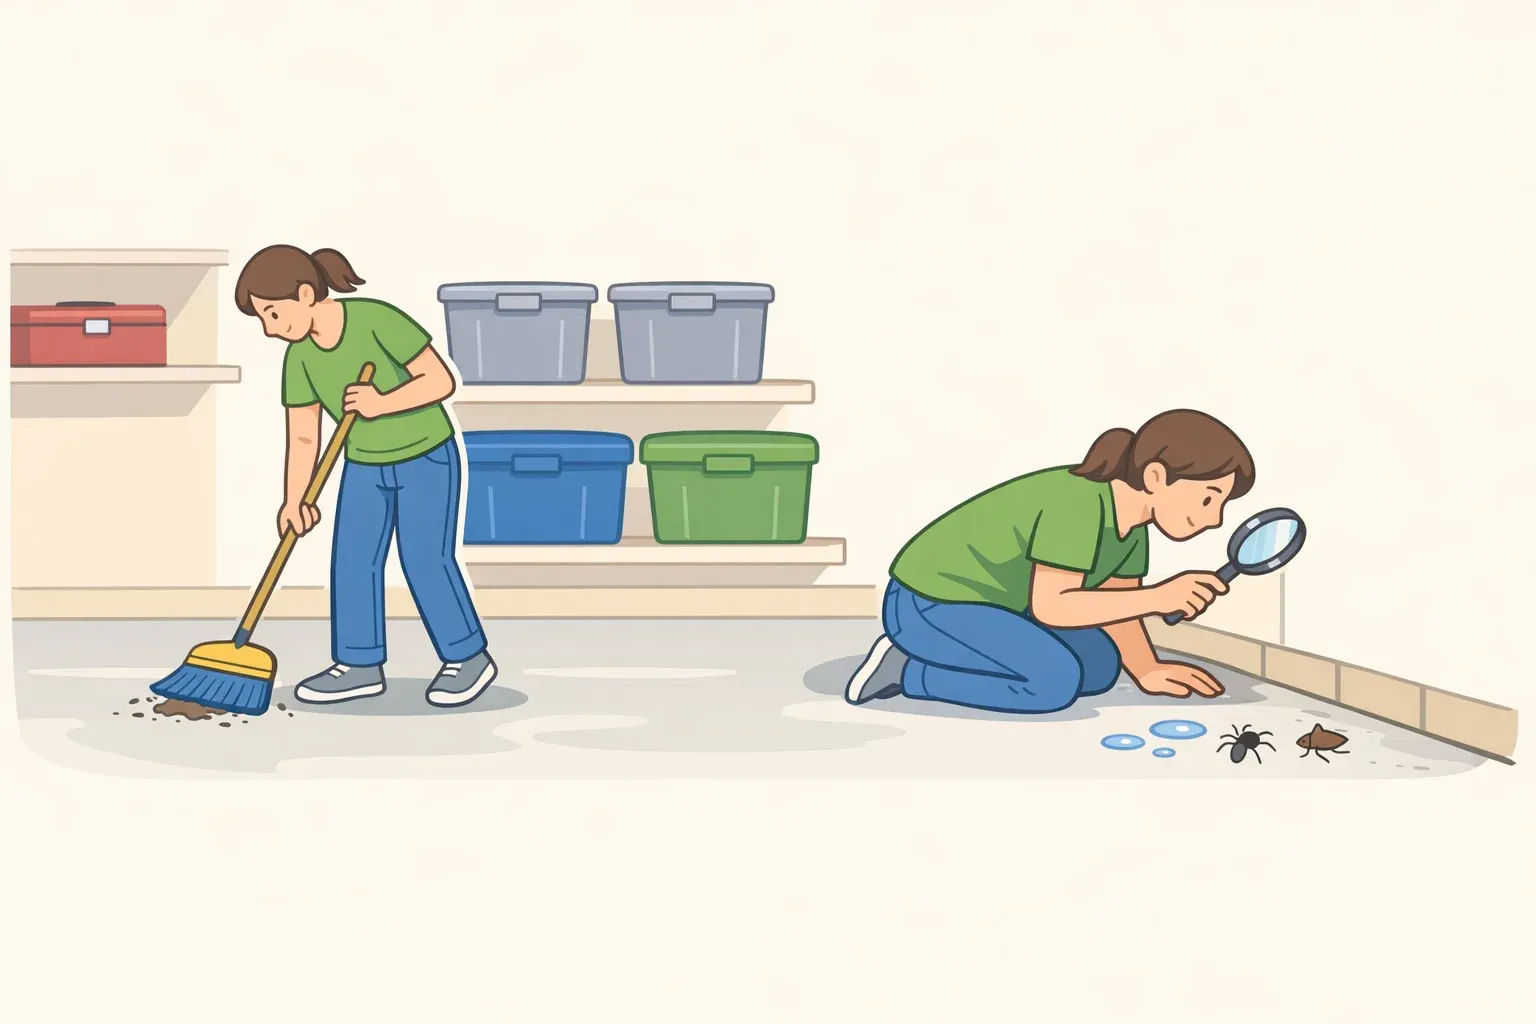
Monthly is the floor, not the ceiling. The CDC is explicit that households where people are more likely to get sick, specifically young children and people with weakened immune systems, should clean high-touch surfaces more frequently than the standard interval.
For those households, a calendar-based approach can still work, but three additional triggers matter more than any schedule. Clean after visitors come through. Clean as soon as someone in the house gets sick. Clean whenever the remote is visibly grimy or sticky. Those three situations carry more hygiene risk than the passage of time alone, and they're clear enough that there's no guesswork about whether the threshold has been met.
Here's the full framework:
Monthly baseline: Routine cleaning for any remote in regular household use
After visitors: The CDC specifically calls out cleaning high-touch surfaces after having people over. Do it the same day or the next morning, not at the next scheduled round
When someone is sick: Active illness in the household is a direct trigger for more frequent sanitizing. This is also when disinfection, not just cleaning, is warranted
When the remote is visibly dirty: Sticky buttons, grime in the seams, or residue on the casing are immediate triggers, regardless of where you are in the monthly cycle
Higher-risk households: The CDC recommends more frequent cleaning where young children or people with weakened immune systems are present. Treat monthly as a backstop; the three situational triggers above become the primary drivers
One scope note: this schedule applies to standard household remotes. If a remote has unusual materials or coatings, check the manufacturer's instructions before cleaning, since tolerance for cleaning products varies by device.
What "more often" actually means in practice
The CDC guidance doesn't specify a number for higher-risk households, and that's intentional. The practical interpretation is to treat the three situational triggers above as non-negotiable rather than optional, and to lower the threshold for what counts as "visibly dirty."
A remote in a household with young children sees more contact, more moisture, and more food residue than one sitting in a guest room. The monthly baseline still applies, but the situational triggers will fire more frequently.
For households managing an immunocompromised member, the logic is similar. The illness trigger becomes more sensitive, not just active during obvious sickness but during any period when others in the home have been out and about in crowded settings.
The CDC's guidance doesn't spell this out at the household level, but its facility guidance notes that high-traffic situations may warrant cleaning more frequently or adding disinfection alongside cleaning. The same reasoning translates.
Cleaning vs. disinfecting remote controls: which one does the situation call for
These two terms get used interchangeably, but they describe different actions with different thresholds.
The CDC is clear: in most household situations, regular cleaning is enough to prevent the spread of germs, and daily sanitizing may not be necessary if surfaces are cleaned carefully on a reasonable schedule. That matters because it means harsher products don't need to come out every time, and the remote doesn't need to be treated like a surgical instrument after every use.
Disinfecting has a narrower job. CDC facility guidance recommends adding disinfection in areas where someone has been obviously ill, and the same logic extends to home use. When a household member has a cold or flu, and the remote has been in circulation, that's the moment for a disinfecting protocol rather than a routine wipe-down.
Consumer Reports also notes that a more thorough disinfecting clean makes sense occasionally outside of illness, reasonable to build into the schedule a few times a year rather than every month.
The default: routine cleaning monthly, disinfecting when someone is sick, or the remote has had unusual exposure. The method is similar either way. The difference is primarily the product used and the attention paid to high-contact areas.
One thing worth keeping straight: cleaning removes visible dirt and reduces germ levels. Disinfecting, using an appropriate product at sufficient contact time, goes further. Doing both in sequence when illness is involved is the more cautious approach, and it's what the CDC's guidance implies, even if the home and facility documents don't spell it out at the remote-control level.
How to clean and disinfect remote controls without damaging them
What you'll need: isopropyl alcohol (70% concentration), a microfiber cloth, and a few cotton swabs. If running the disinfecting protocol, a diluted bleach solution is an option for some devices, but read step 4 before reaching for it.
Step 1: Remove the batteries.
Pull them out before anything else. This eliminates electrical risk and makes the remote easier to handle cleanly. Set the batteries aside somewhere dry.
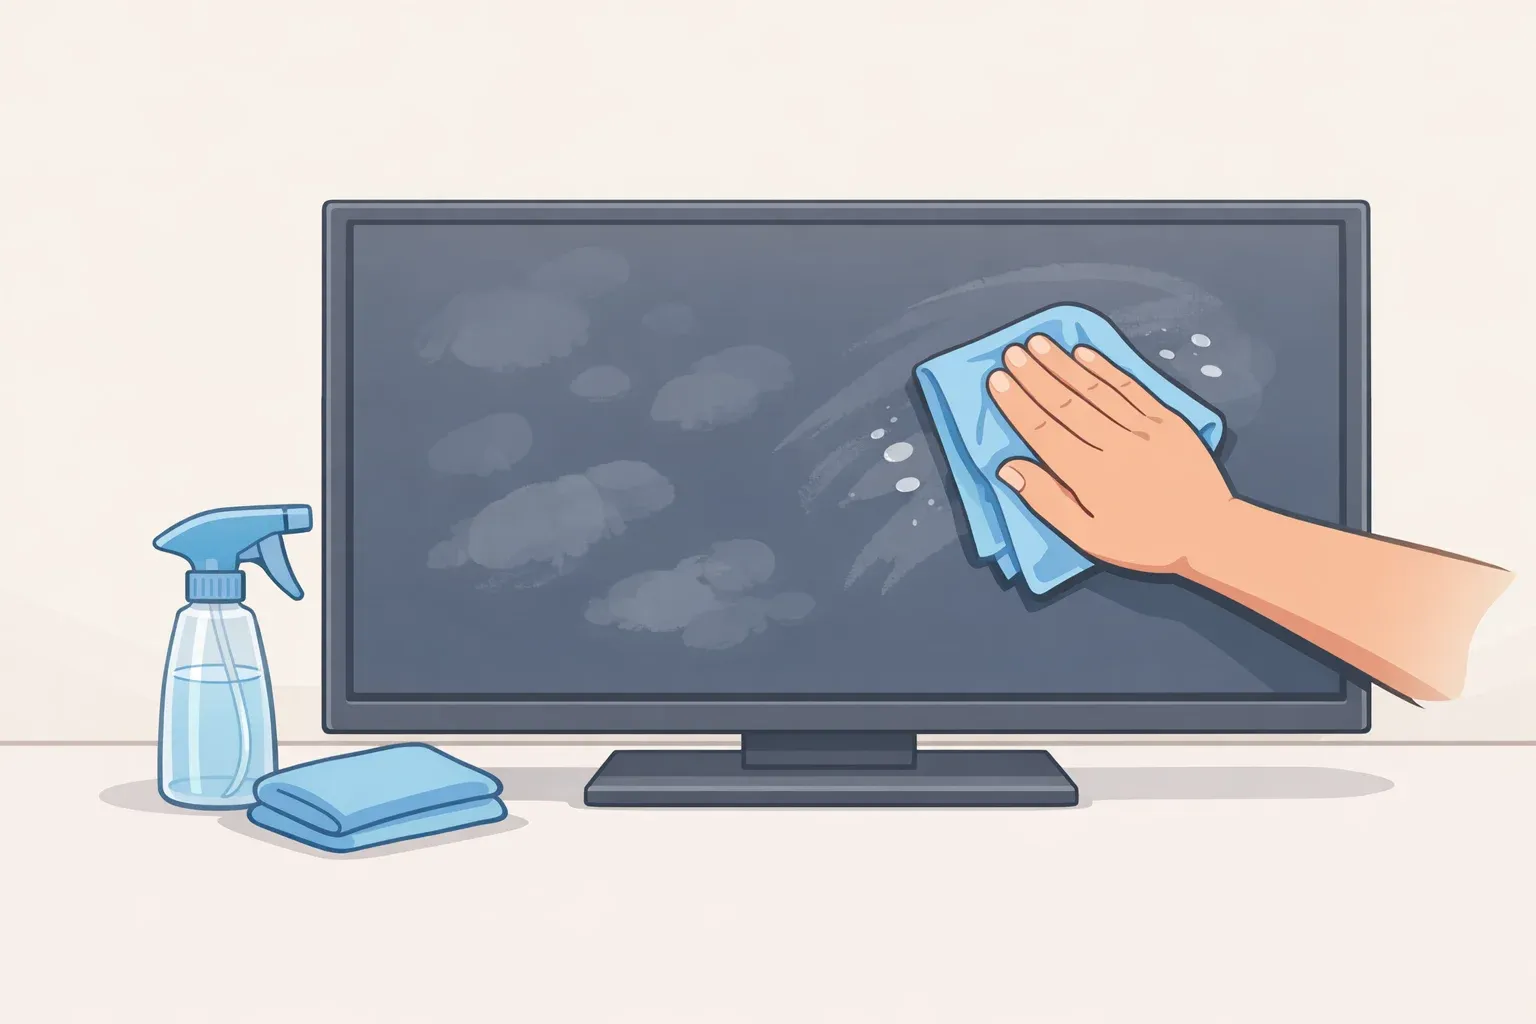
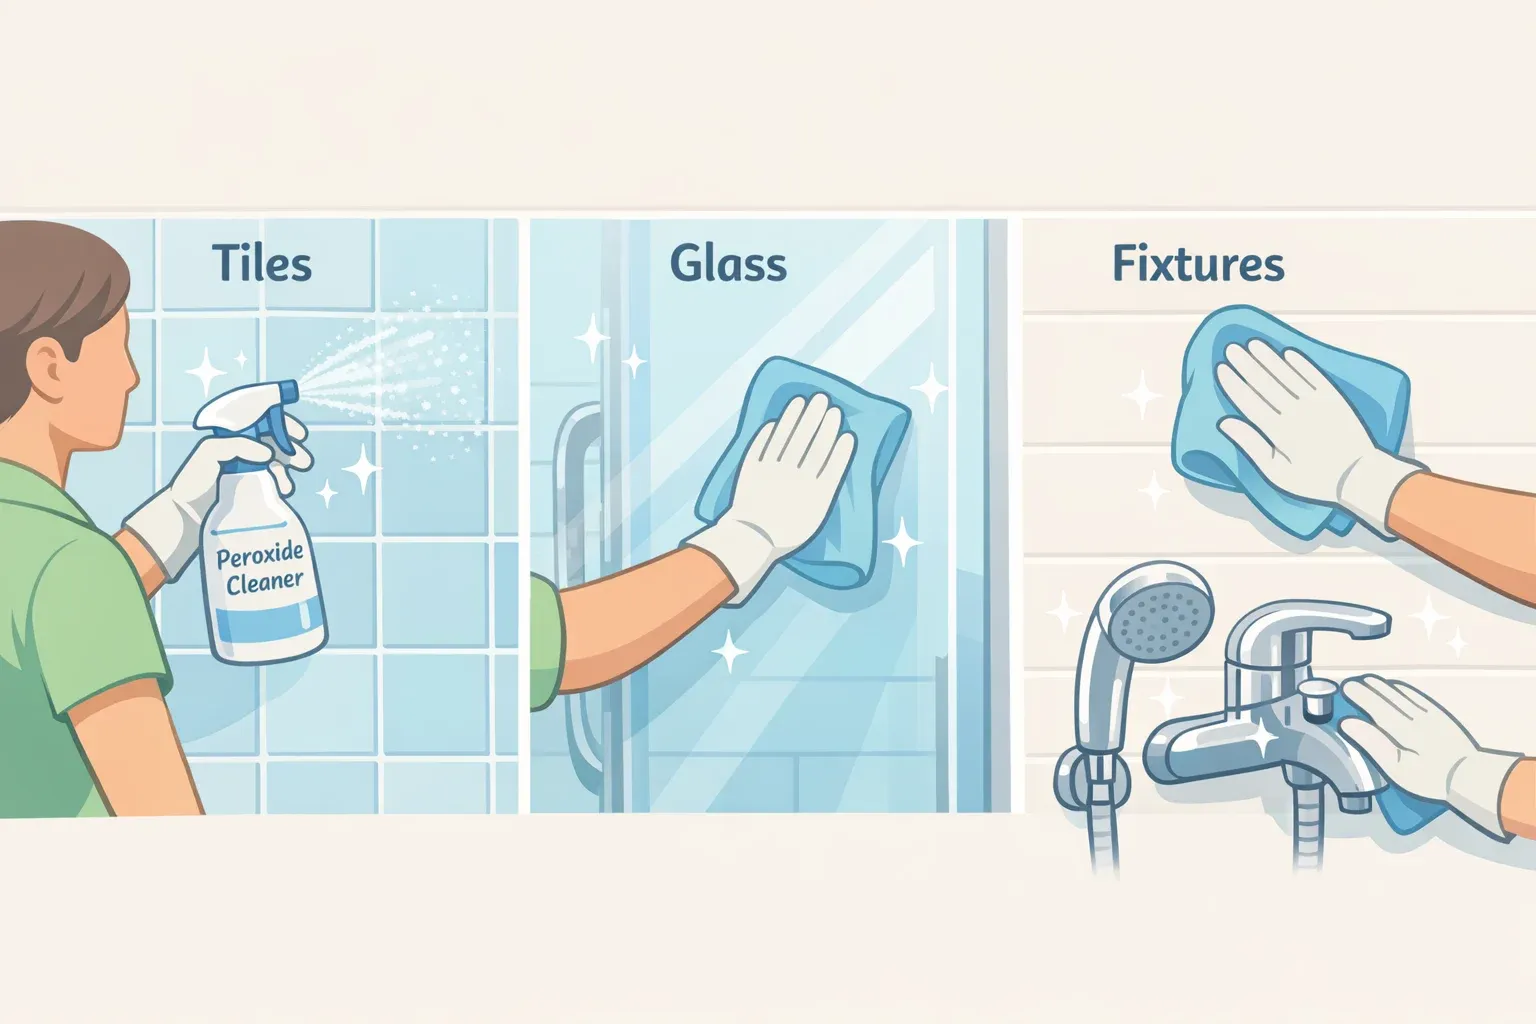
Step 2: Wipe down all exterior surfaces.
Dampen a microfiber cloth lightly with isopropyl alcohol, damp, not wet, and wipe the entire casing: front, back, and sides. The grip areas on the back tend to accumulate the most residue. Isopropyl alcohol is an appropriate cleaning agent for remotes. The CDC itself recommends following manufacturer's instructions for electronics, so check those first if the device has unusual coatings or materials.
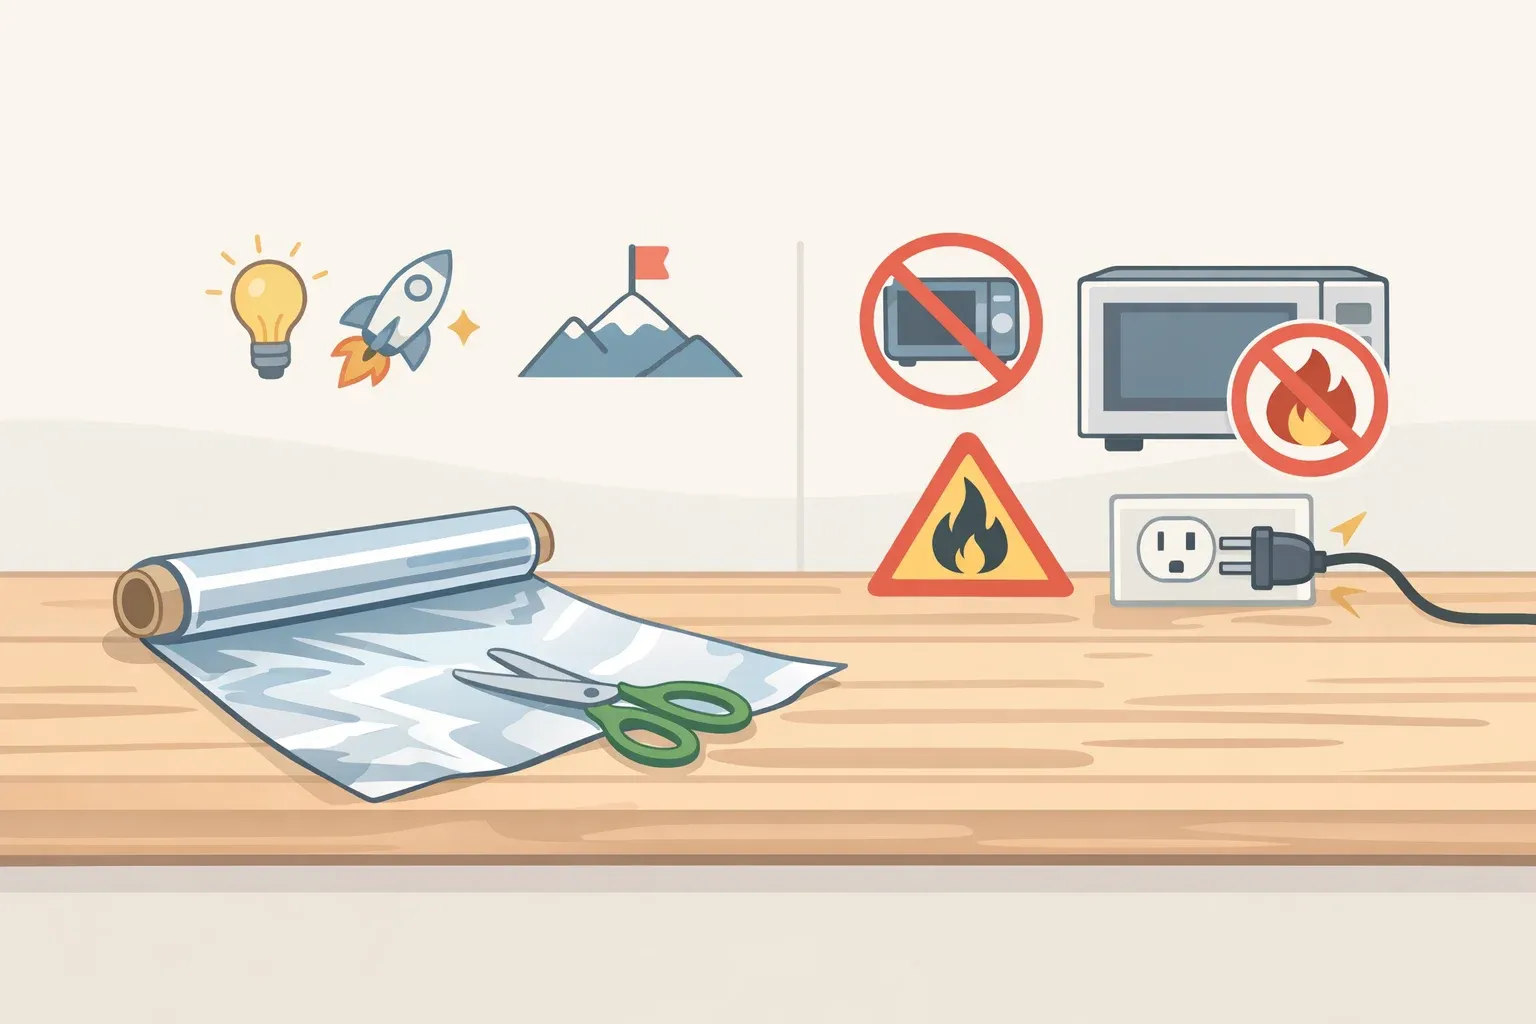
Never spray liquid directly onto the remote. Liquid that gets into seams or around buttons can reach internal components. Always apply the cloth first, and wring out any excess before wiping.
Step 3: Work around the buttons with a cotton swab.
Dip a swab lightly in isopropyl alcohol and run it around each button and into the gaps between them. This is where grime builds up and where a flat cloth can't reach. Don't oversaturate; the goal is to lift residue, not push moisture into the casing.
If there's visible buildup packed into seams or around button edges, a dry toothpick can loosen it before the swab pass. Work carefully, follow immediately with the alcohol swab, and avoid pressing debris further in.
Step 4: For disinfecting, choose the right product.
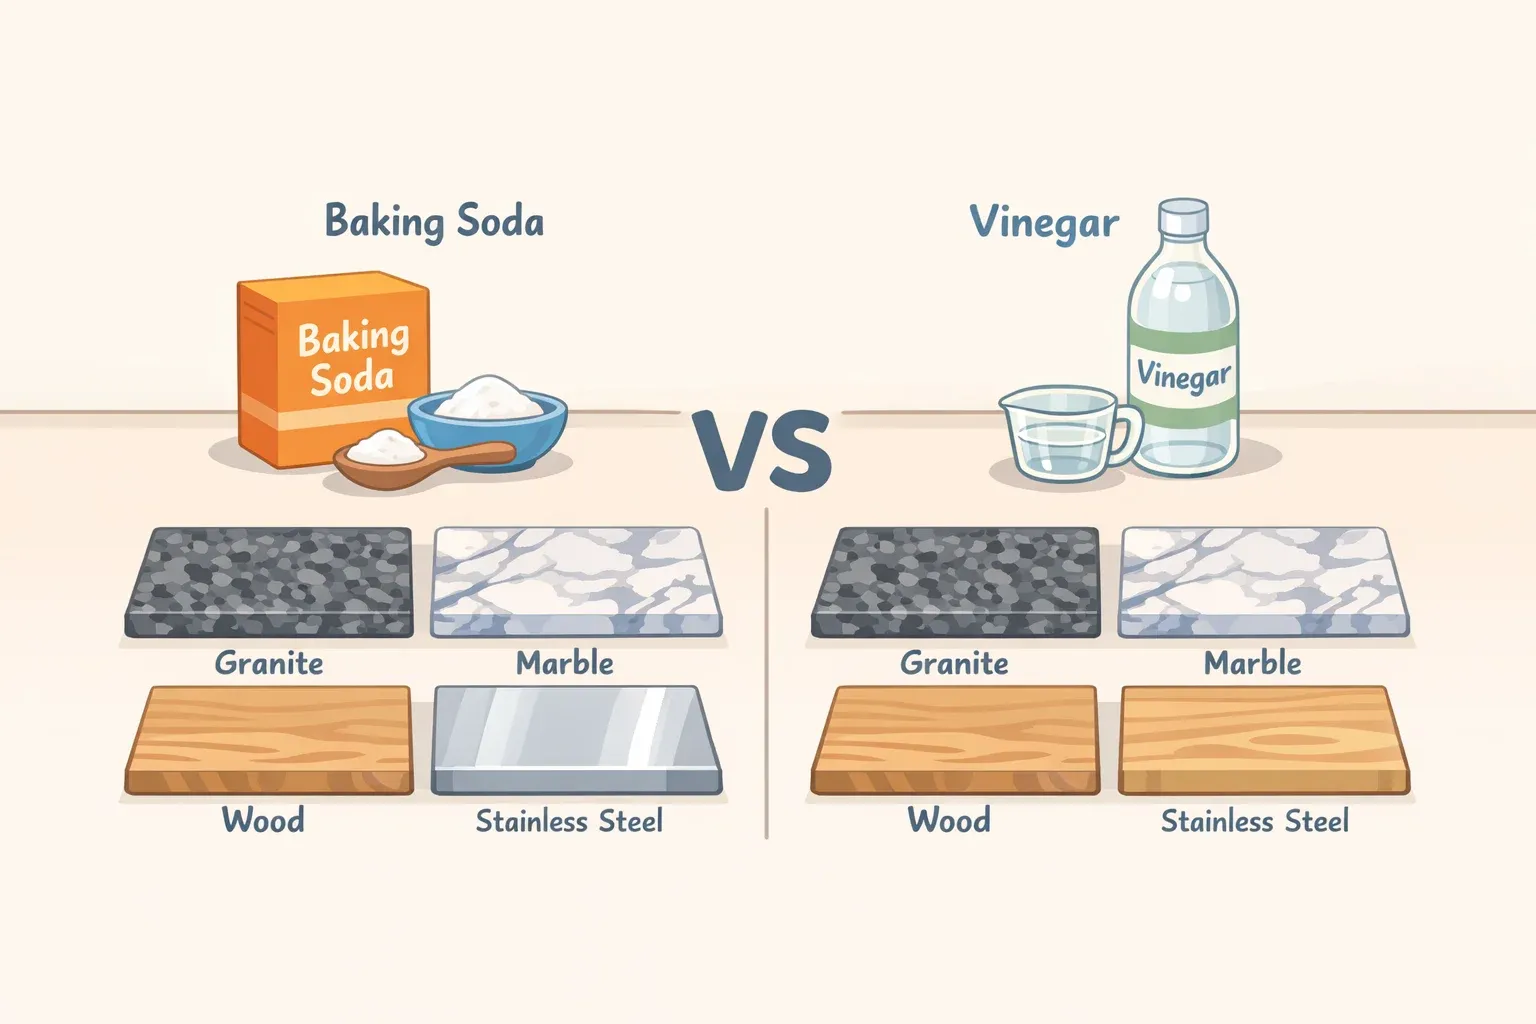
When someone in the household has been sick, use isopropyl alcohol and a diluted bleach solution, roughly four teaspoons of bleach per quart of water. Before using bleach, check whether manufacturer's instructions address it. Some plastics and coatings can degrade with repeated bleach contact, and manufacturer guidance takes precedence.
When manufacturer guidance is silent on the question, isopropyl alcohol is the first option, and it sidesteps the coating concerns that bleach can introduce over time.
Step 5: Air dry completely before replacing the batteries.
Set the remote down and wait before putting the batteries back in. If the cloth or swab was wetter than intended, check for visible dampness around the seams and battery compartment before closing it up. Don't shortcut this step.
The full process runs 10 to 15 minutes. Once it's a routine, it goes faster.
On wipeable covers
The CDC explicitly recommends using wipeable covers on frequently handled electronics, and it's one of the more practical suggestions that tends to get skipped. For a remote in a high-use living room or a household with young children, a silicone sleeve makes every monthly clean faster and protects against spills between sessions.
The real payoff is during those unscheduled cleanings, after visitors, or when someone gets sick. With a covered remote, that task takes about 30 seconds instead of 10 minutes. That lower friction makes it much easier to act on the trigger immediately rather than defer it to the next scheduled round.
Build the habit by attaching it to something you're already doing
Make remote cleaning a recurring chore. The easiest way to keep it recurring is to attach it to something already on the calendar: a monthly bathroom clean, a living-area tidy, or a regular grocery run. Treated as a standalone task with no anchor, it's easy to skip. Folded into something existing, it becomes automatic.
Two things interrupt the monthly rhythm: illness and visitors. Both announce themselves clearly. When either one happens, that's the signal to act now, not to note it and wait. The schedule absorbs those interruptions without breaking; you simply clean earlier than planned and reset the clock from there.
If a wipeable cover is already on the remote, the unscheduled clean takes a fraction of the time, which matters more than it sounds. The harder a habit is to execute in the moment, the more often it gets deferred. Lowering that friction is how the schedule actually holds.


Comments
Be the first, drop a comment!