


By the end of this guide, you'll have a quick post-cook routine that prevents most grill problems, and a step-by-step deep clean to run twice a year. More importantly, you'll know which one your grill needs right now.
Most grill problems share a common cause: neglected grease, ash, and carbon buildup. Grease fires, bitter smoke, temperature swings, premature rust — different consequences, same root. The solution isn't scrubbing harder; it's cleaning at the right moment with the right approach.
The USDA sets a clear baseline for grill surface hygiene: scrape off old residue, wash with soap and water, then fire up the grill to eliminate any remaining bacteria before cooking. Two tiers: a light routine after each cook, plus a thorough deep clean twice a year, handle both that safety baseline and the buildup problem. Good Housekeeping, drawing on testing from its Home Care & Cleaning Lab and Kitchen & Cooking Lab, puts it plainly: a deep clean isn't needed after every use, but a quick once-over between cookouts keeps a grill performing well all season.
Knowing whether your grill needs a five-minute cleanup or a full teardown is what this guide is built around.
Before you start: tools and safety basics
Every step here falls into one of two temperature windows. The quick routine happens while the grill is still warm, not actively hot, not fully cold. Warm means residue hasn't hardened yet, which makes mechanical removal significantly easier. The deep clean starts with a fully cool grill.
Skip wire-bristle brushes on both. Bristles detach, embed in grate surfaces, and can end up in food. Nylon and brass-bristle brushes are the safe alternatives. Replace any brush once it shows visible wear.
For the routine clean, you'll need a nylon scrub pad, mesh scrubber, or folded aluminum foil held with tongs; grease-cutting wipes or a degreaser spray; and a grill cover. For the deep clean, add a putty knife or plastic scraper, grease-cutting dish soap, a sponge or cloth, and a shop vac if you have a pellet grill.
Tier 1: How to clean grill grates after every cook
A brief routine done while the grill is still warm prevents the kind of buildup that turns into a deep-clean problem. A routine clean on a pellet grill takes around 15 minutes; on a gas or charcoal grill, it's quicker.
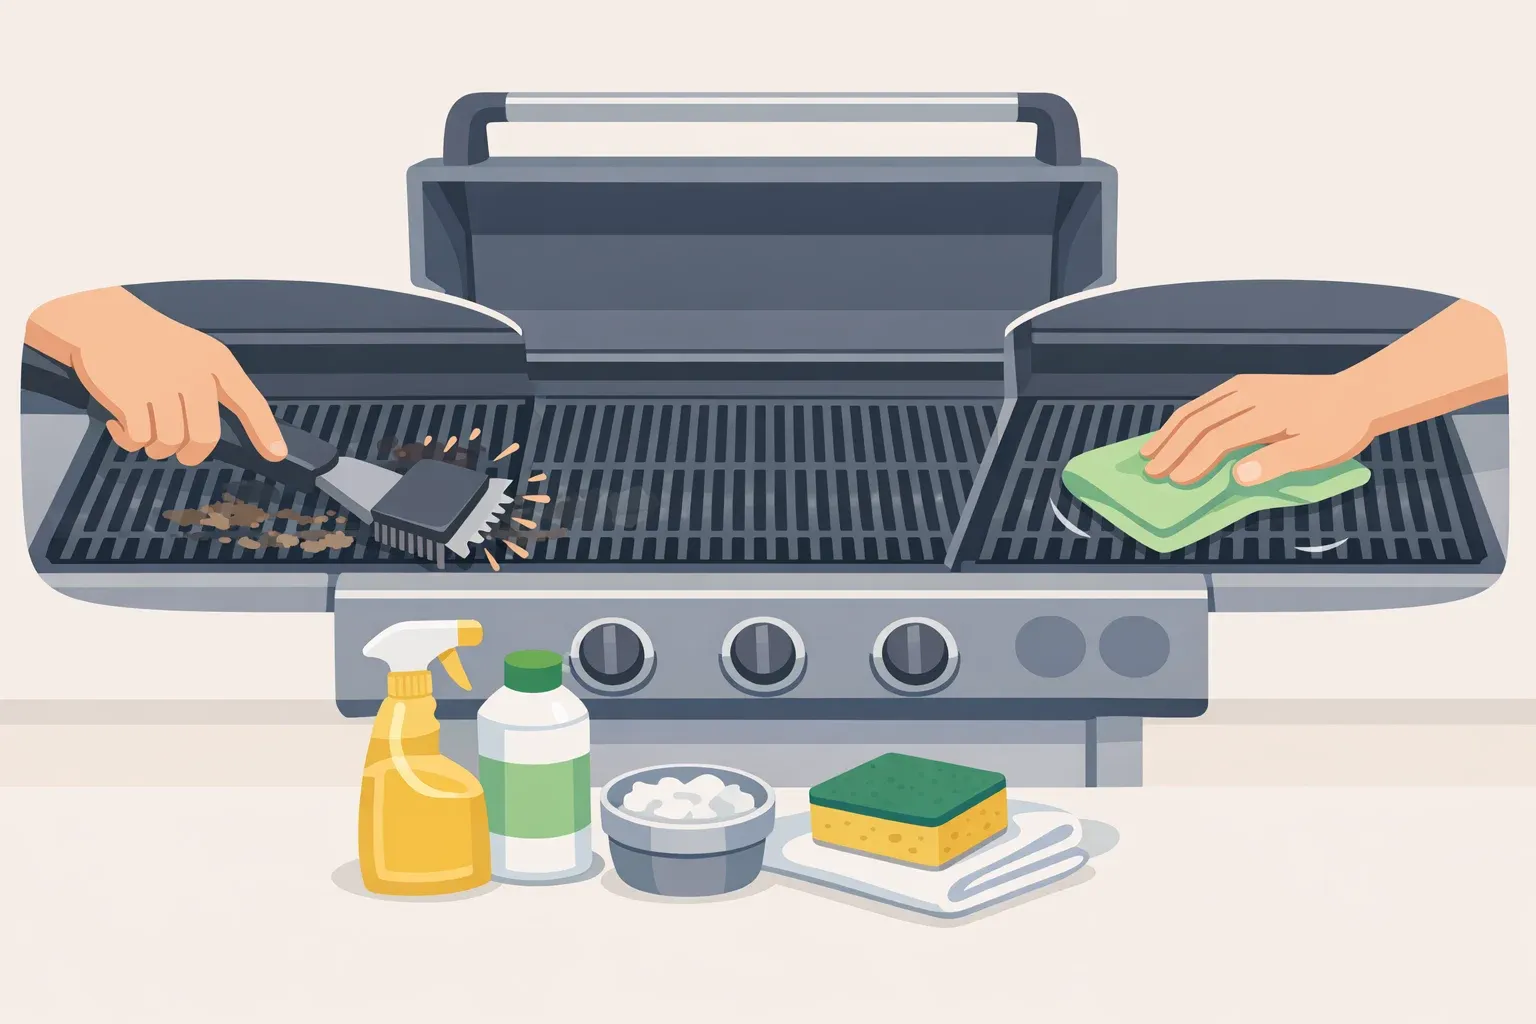
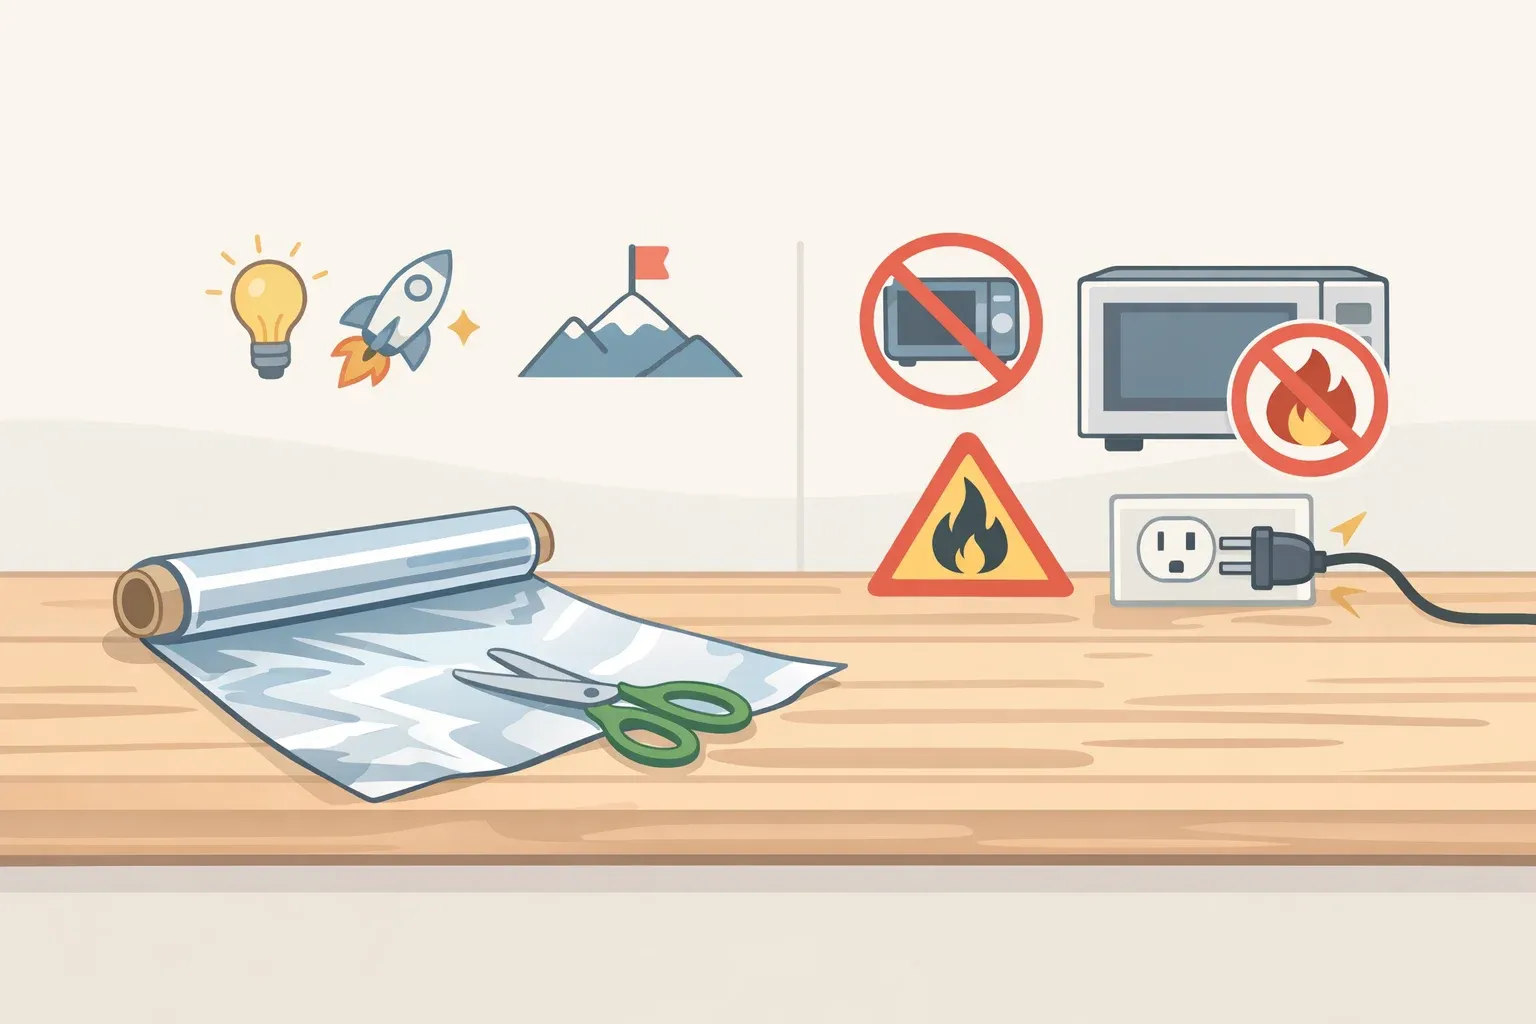
1. Scrape the grates while they're warm. Use a nylon pad, mesh scrubber, or folded aluminum foil gripped with tongs. Work the full surface. Most residue should lift with moderate pressure in a few passes. If it's resisting heavily, that's a sign you're due for Tier 2, not a reason to scrub harder.
2. Wipe the exterior surfaces. Handles, side shelves, and the lid pick up grease splatter after every cook. A grease-cutting wipe handles this in under a minute. Keep them near the grill so this step doesn't get skipped.
3. Check and empty the drip tray and grease cup. Don't let grease accumulate across multiple sessions. On pellet grills, pooled drip tray grease is a common cause of grill fires once it ignites during a high-heat cook, not a defective grill. Pour collected grease into a disposable container and let it solidify before disposing of it. Never down a drain.
Pellet grill note: Swap the drip tray liner every 2–3 cooks. Every 3–5 cooks, use a shop vac or ash vacuum to clear the fire pot, a 60-second step that directly prevents the 25–50°F temperature swings caused by ash buildup restricting airflow. A standard household vacuum can't handle hot ash safely.
4. Cover the grill once it's fully cool. A cover blocks dust, moisture, and UV exposure between cooks.
Two shortcuts worth avoiding:
Power washing forces grease and debris into burner tubes, gas lines, and electrical connections, causing clogs, corrosion, and ignition failure. It's one of the worst things you can do to a grill. Use a brush and hot, soapy water instead.
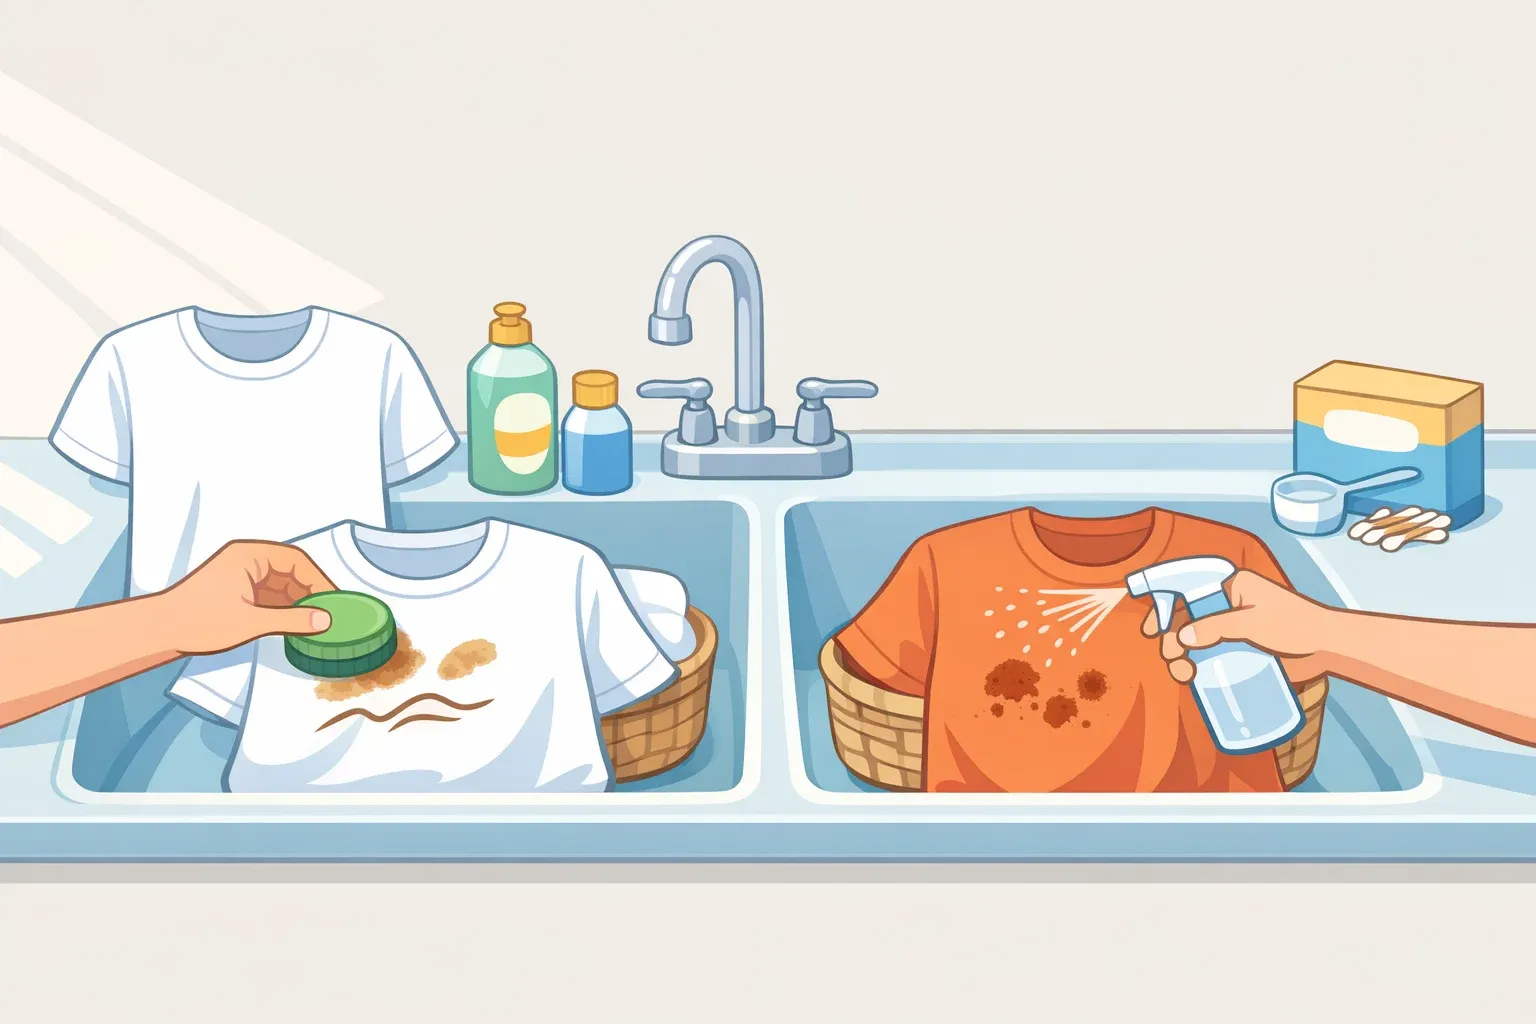
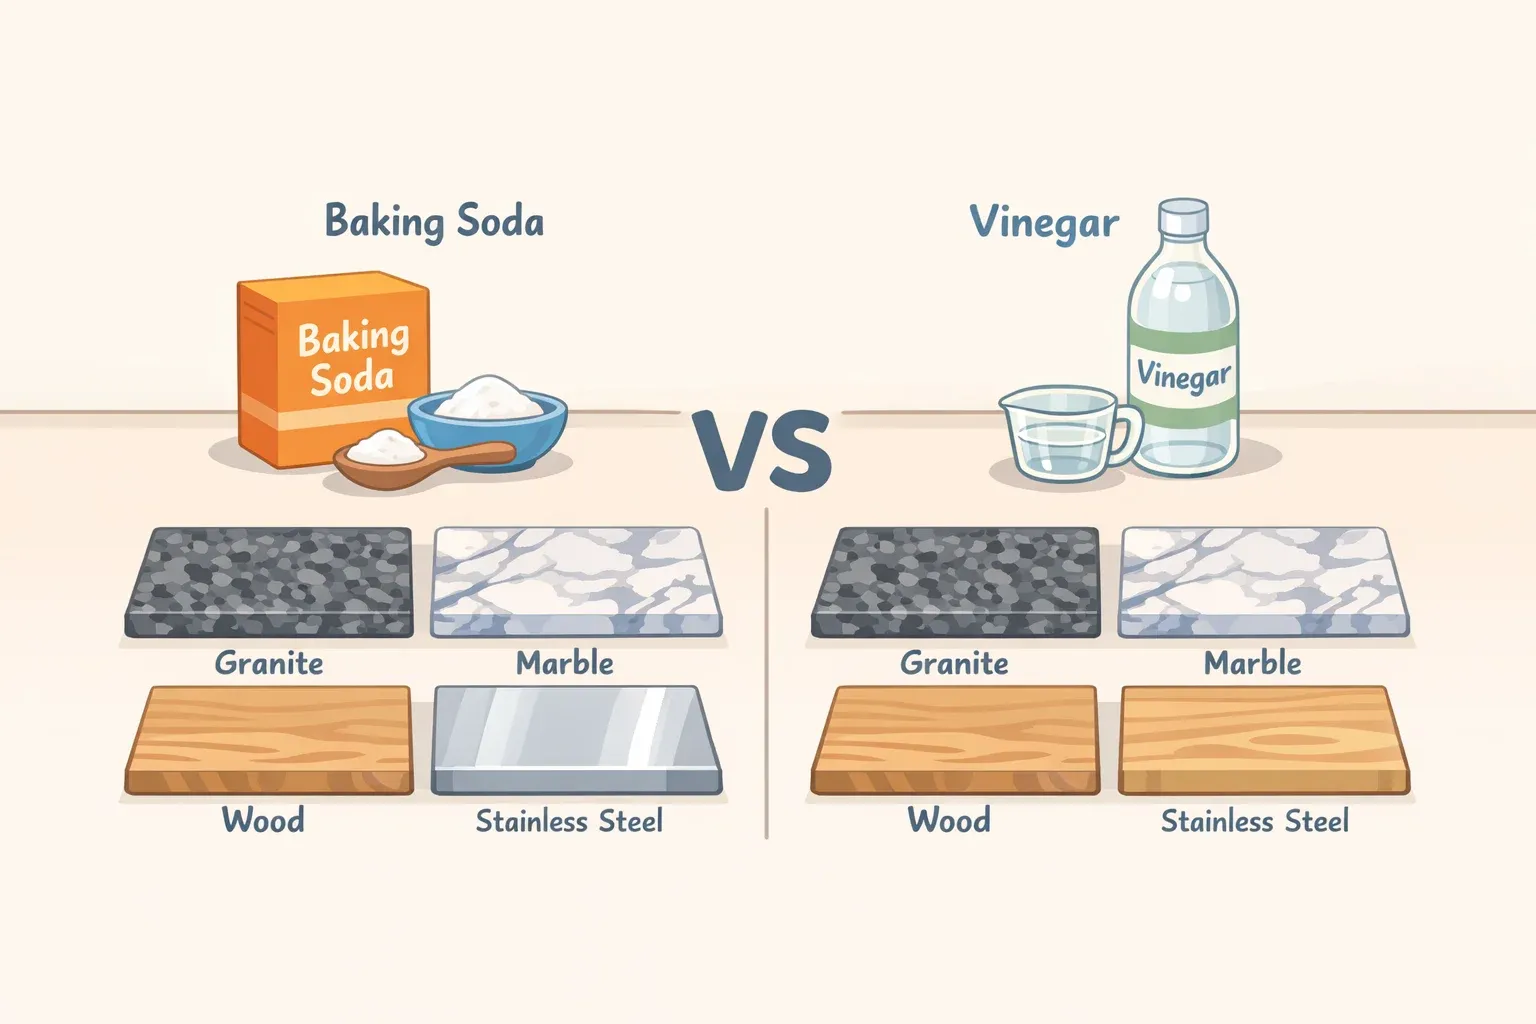
Vinegar on heavy buildup is a common mistake. Vinegar breaks down light surface residue and neutralizes odors on stainless exteriors; that's genuinely useful. But once grease has been through repeated high-heat cycles, it hardens into carbon deposits that mild acids can't penetrate. For anything beyond surface maintenance, grease-cutting dish soap and a proper soak are the right tools.
Tier 2: How to deep clean a grill twice a year
Run this once mid-season and again before winter storage. Pellet grill owners should calibrate by cook count instead: a full deep clean every 20–25 cooks, which takes 30–45 minutes.
Start with the grill fully cool.
1. Remove the grates and clear loose debris. Knock off large flakes before soaking; they'll contaminate the soak water otherwise.
Match your tool to your grate material here. This is where damage happens:
Porcelain-coated grates: Non-scratch pads only. Abrasive tools chip the coating; once the base metal is exposed, replace the grate. Porcelain grates also don't belong in the dishwasher; harsh detergent degrades the coating over time.
Stainless steel or cast iron grates: A firm nylon or brass-bristle brush works well. Wire brushes are a hard no on all grate types.
2. Soak the grates in hot water with grease-cutting dish soap for 15–30 minutes. A sink or large basin works. For heavily soiled grates, a second soak is worth the extra time.
3. Scrub, rinse thoroughly, and air dry completely. Moisture left on metal, especially cast iron or any exposed base metal, accelerates rust. Don't reassemble until the grates are fully dry.
4. Lightly oil the grates after drying. A thin coat of high-smoke-point oil, canola, avocado, or vegetable oil applied with a paper towel prevents rust and builds a non-stick surface. Cast iron grates need this step after every deep clean.
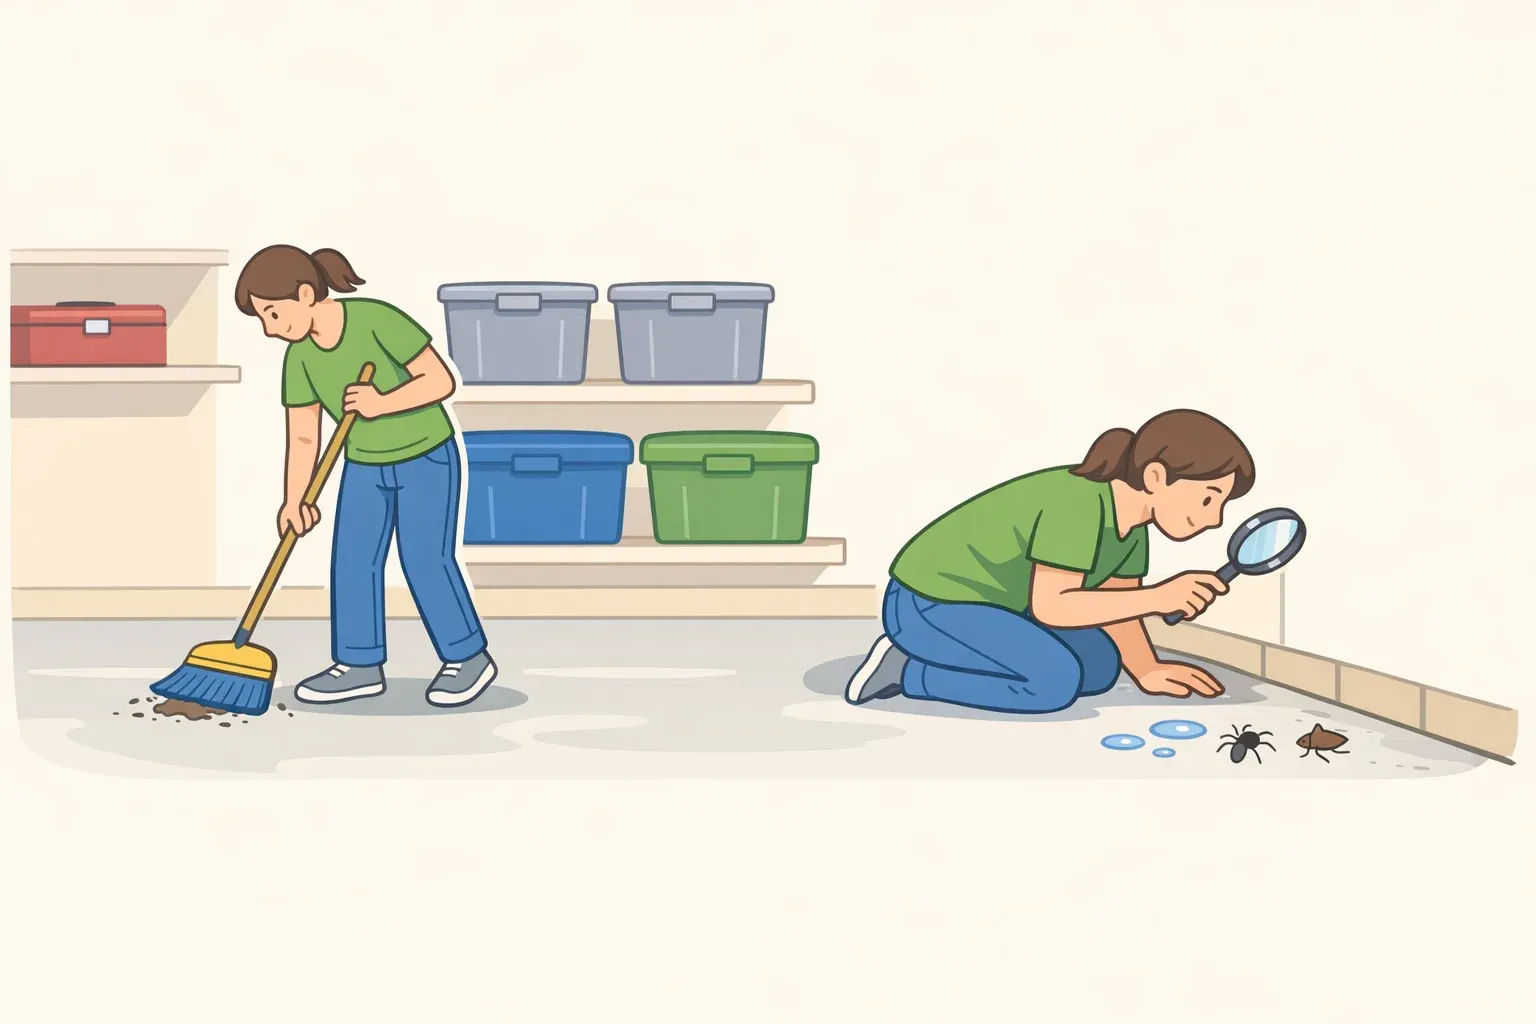
5. Scrape the firebox interior. With grates removed, use a putty knife or plastic scraper on the walls, lid, and floor. The goal is to remove grease buildup and carbon flake that could catch fire, not scrubbing to bare metal. Charcoal grill owners: empty the ash catcher completely at this step. Ash retains moisture and accelerates corrosion if left sitting.
6. Clean the drip pan and grease cup with warm soapy water. Line them with foil before reassembling to simplify the next session.
Gas grill note: Gas burners generally don't need frequent cleaning because heat burns off most residue during use. If flames are uneven or burner holes appear clogged, follow the manufacturer's instructions for removal and cleaning. Don't improvise.
Pellet grill note: Vacuum the fire pot thoroughly. Wipe the temperature probe with a damp cloth, only no scraping, no bending, no submerging. A dirty probe produces false temperature readings. Inspect the chimney and door gaskets for damage. After reassembly, run the grill at 350°F for 15–20 minutes to burn off moisture and re-season interior surfaces. Never use oven cleaner, harsh degreasers, steel wool, or a pressure washer on pellet grill interiors; these damage the interior coating and force moisture into the auger motor and control board.
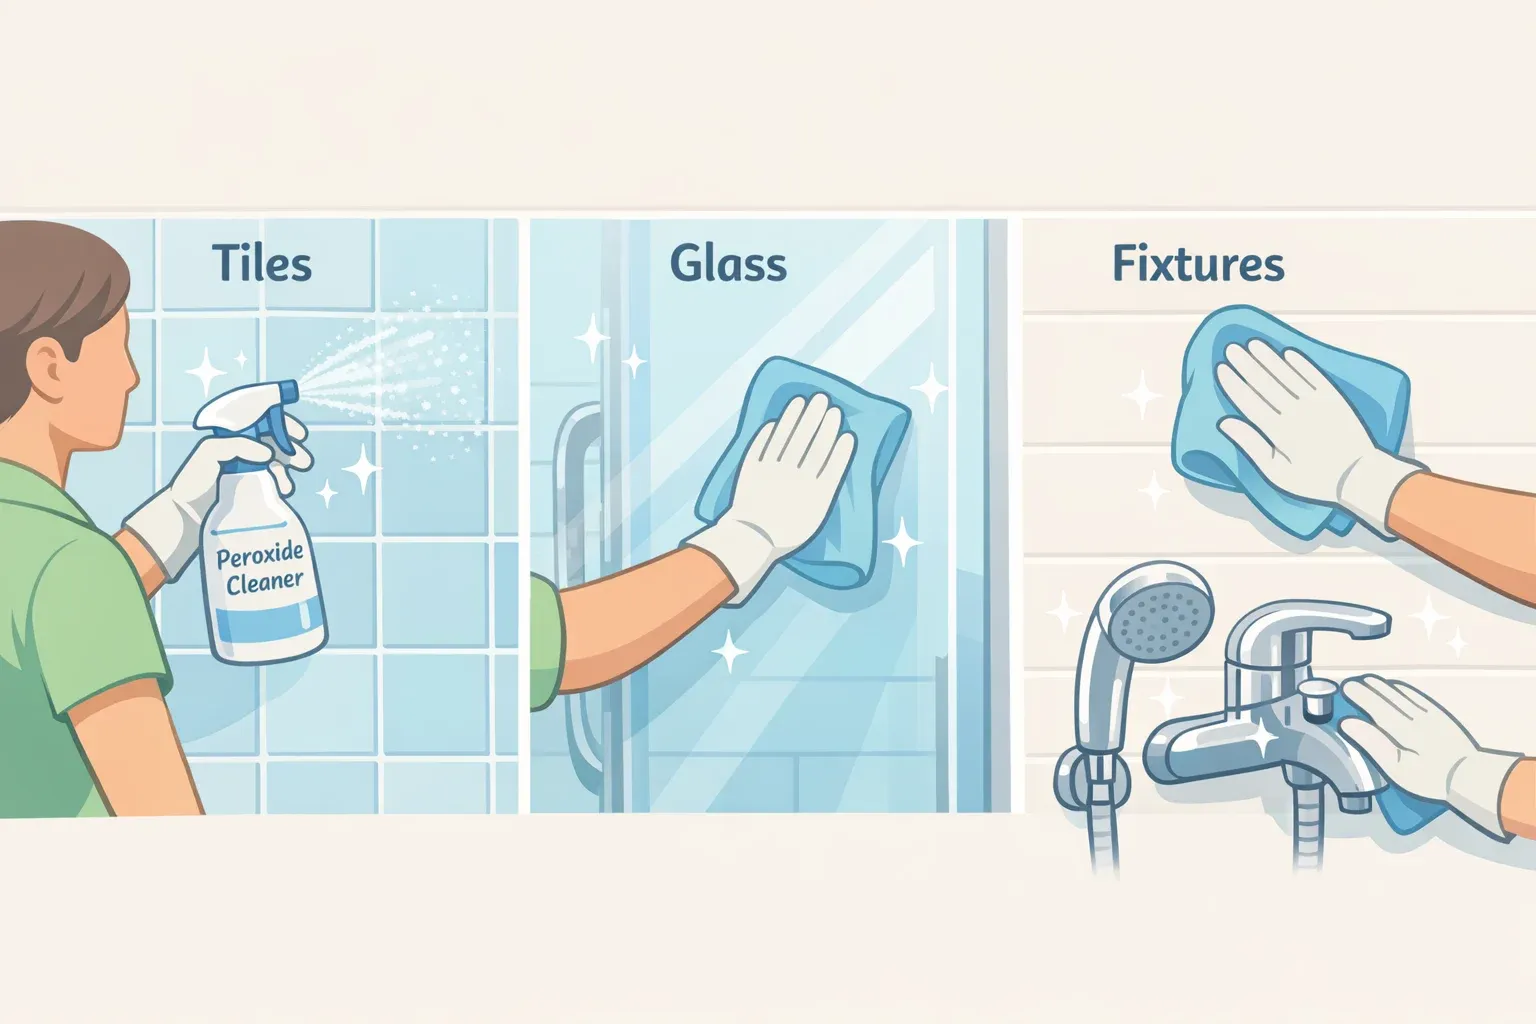
7. Wash the exterior with warm, soapy water. Cover handles, side shelves, and lower doors. For stainless steel exteriors, a stainless steel-specific cleaner avoids streaking. Rinse and wipe dry.
8. Reassemble and fire up the grill. This confirms burner holes are clear and completes the USDA-recommended heat treatment: scrape, wash, then heat to eliminate any remaining bacteria before the next cook.
How often to clean a grill: a quick decision guide
What you're seeing: Light residue from recent cooking
What to do: Use the Tier 1 quick-clean routine.
What you're seeing: Thick or sticky grease from a season of use
What to do: Use the Tier 2 deep-clean routine.
What you're seeing: Recurring flare-ups after cleaning the drip tray, uneven heat, or strong odors after a full deep clean
What to do: Home cleaning may not be enough. Consider professional service or inspect for deeper buildup or damage.
That third row matters. When those symptoms persist after a complete deep clean, the problem is likely inside the components, burner tubes, gas channels, or the auger, where buildup requires partial disassembly to reach. At that point, a professional service is worth considering.
Regular cleaning isn't just cosmetic. It improves flavor, promotes even cooking, and reduces flare-up risk. Old grease and carbonized residue produce bitter, acrid smoke that taints food, and a clean, dry grill lasts years longer than a neglected one. The system here requires no specialty products for most grills. Build the quick routine as a habit, and when the twice-yearly deep clean comes around, it will take half the time.


Comments
Be the first, drop a comment!