


The Best Way to Dust Your House Without Cleaning Twice
Most people who dust regularly still end up cleaning the same surfaces twice. The reason is simple: they pick the wrong starting point. Dislodge dust from a ceiling fan after you've already wiped the shelves below, and you're cleaning those shelves again. Gravity is indifferent to your cleaning schedule. The best way to dust your house is to work with it, not against it. Start at the ceiling and move straight down, letting physics organize the work for you.
Bob Vila puts it plainly: begin with the ceiling. Martha Stewart's cleaning experts, The Spruce, and The Clean Home, January 2026 all converge on the same principle. Top-down dusting means you never clean the same surface twice, cutting backtracking and saving time over any full-room clean.
By the end of this guide, you'll be able to dust a room completely, in sequence, without doubling back. The steps below cover the right tool, the correct order from ceiling to floor, how to handle the surfaces most people skip, and a maintenance schedule that keeps dust from coming back ahead of schedule.
Before you start, you'll need:
Two or three washable microfiber cloths
A spray bottle filled with plain water
An extension pole duster with a washable microfiber head (for ceiling-level surfaces)
A vacuum with a HEPA filter (for the final floor pass)
A small, soft-bristled paintbrush (for grooves, vents, and tight spaces)
Step 1: Prep your tools before you touch a single surface
Gather everything before entering the first room. Mid-task supply runs break the sequence and pile up into wasted time. Professional cleaners typically spend ten to fifteen minutes on setup before beginning, specifically to avoid stopping mid-room (The Clean Home, January 2026).
Dampen your microfiber cloths now. Lightly mist each one with water until it feels barely damp: enough to pick up dust on contact, not wet enough to leave streaks. Marla Mock, president of Molly Maid, describes the target as damp enough to collect dust without depositing moisture (Martha Stewart, January 2026). Fold each cloth into quarters for a flat, controlled wiping surface with multiple usable sides before you need a fresh one.
What to use instead of a feather duster: the case for damp microfiber
Feather dusters don't remove dust. They knock it airborne, where it floats briefly and resettles on surfaces you've already cleaned. Professional organizer Anita Birges is direct: traditional feather dusters "don't actually remove dust; they just redistribute it into the air, which then resettles on surfaces," worsening indoor air quality and aggravating allergies (Martha Stewart, March 2026). Research published in a Springer reference work on indoor particulate matter (March 2025) confirms that disturbing settled dust through human activity, air currents, or poor cleaning tools is a significant source of indoor airborne particles.
Microfiber fibers are designed to physically trap and hold particles rather than brush them aside. Used slightly damp, they capture dust on contact and eliminate the need for chemical sprays in most situations (Good Housekeeping, November 2025). For high or hard-to-reach areas, Birges recommends a washable microfiber duster with a flexible head: same principle, just on a longer handle (Martha Stewart, March 2026).
Step 2: Start at the ceiling corners, fixtures, fans first
Begin at the highest point in each room. Work in this order: ceiling corners, light fixtures, ceiling fans, the tops of tall furniture and cabinets, then door frames.
Use your extension pole duster for anything out of arm's reach. A telescoping duster clears an entire ceiling in a few minutes; doing the same job with a step ladder and a handheld duster takes far longer and introduces a fall risk (The Clean Home, January 2026). Ceiling fans and room corners are among the heaviest dust collectors in most homes, and the most consistently skipped (Martha Stewart, January 2026).
Work left to right across each surface, starting at the left side of the doorway and moving around the room. Use slow, deliberate strokes. swiping fast moving dust around rather than capturing it (The Spruce, December 2024). Don't flick the cloth at the end of a pass; that releases captured dust back into the air (Martha Stewart, January 2026). Rinse or rotate to a fresh side every two to three surfaces. A saturated cloth stops trapping and starts smearing.
⚠ Gotcha: If your home was built before the mid-1980s, have popcorn ceilings tested for asbestos before dusting them. Don't disturb that texture without professional clearance (Bob Vila, April 2022).
Once you've finished ceiling-level surfaces, all dislodged dust has fallen to the surfaces below, which you haven't cleaned yet. That's the system working correctly.
Step 3: Work down through mid-level surfaces, including the ones people skip
Move from ceiling-level down to eye-level surfaces: shelves, window frames and sills, picture frames, furniture tops, and door faces. Then continue to low-level surfaces: cabinet fronts, baseboards, and the sides and fronts of appliances.
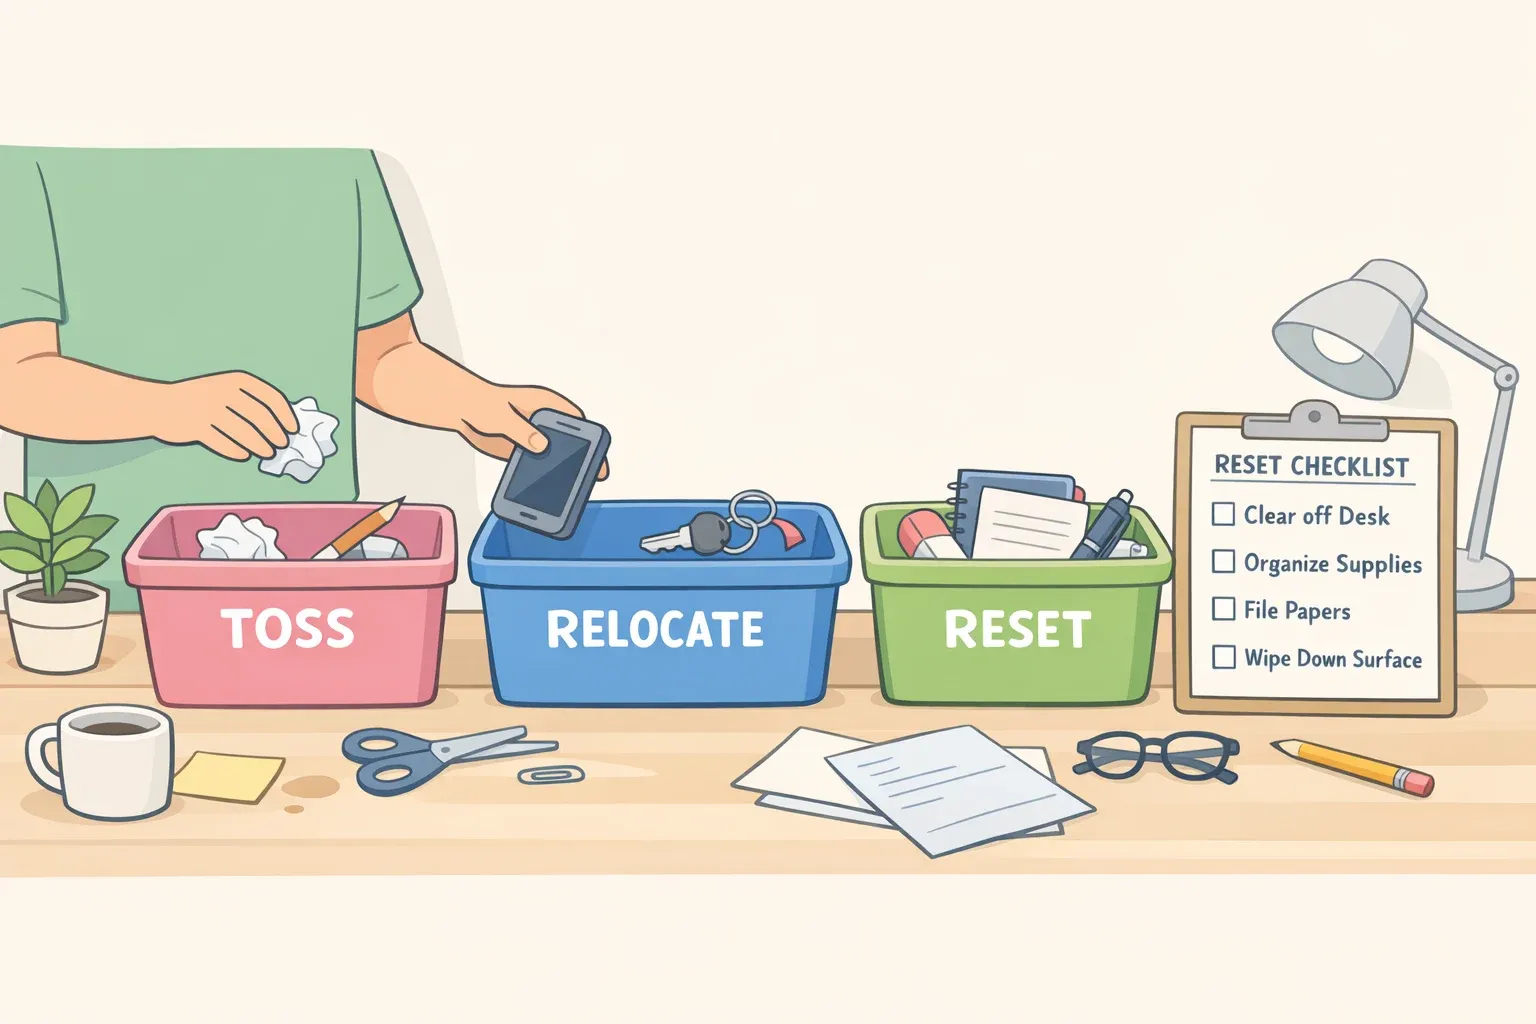
Clear items off surfaces before wiping. Dusting around objects misses the dust accumulated beneath and at their bases (The Spruce, December 2024). Wipe each object, then the surface underneath it, then replace the object.
Work with good lighting throughout. Dust is nearly invisible in dim rooms, and areas that look clean in low light often aren't (The Spruce, December 2024).
How to handle the surfaces most people miss:
Venetian blinds: Close the slats in one direction and wipe across them. Then close them the opposite way and wipe again. This covers both faces of each slat (Martha Stewart, January 2026).
Vents and air registers: Use the dampened paintbrush to work between slats. Dirty vents distribute particles back into the room every time the HVAC runs (The Spruce, December 2024).
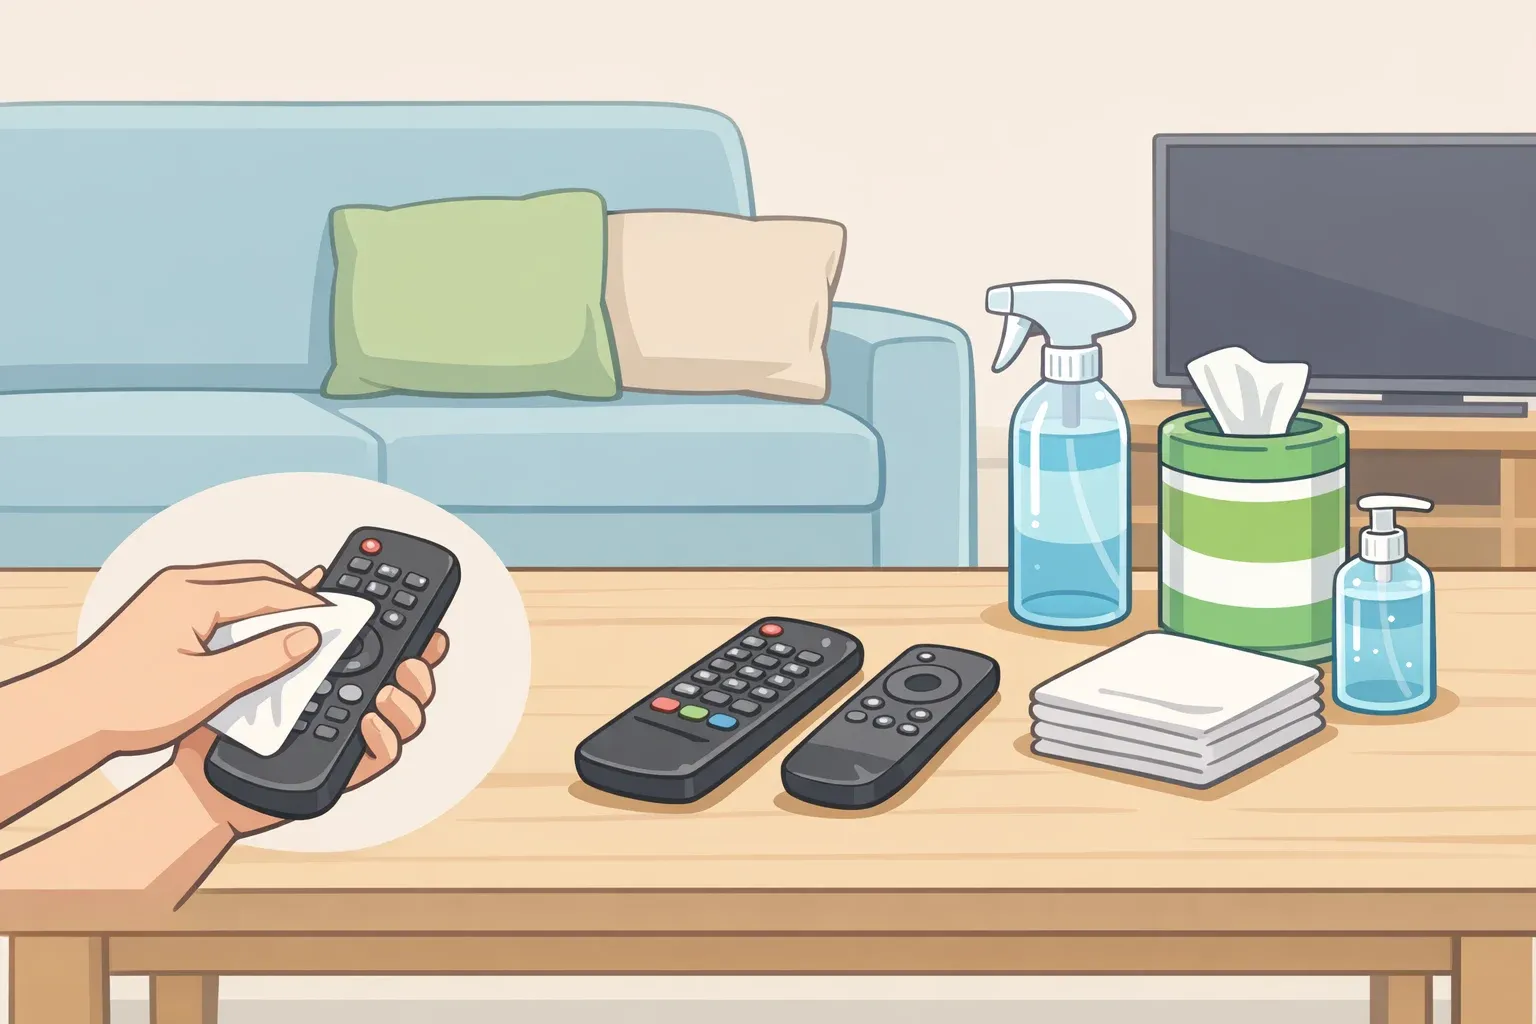
Electronics and keyboards: Use the dry or barely-damp paintbrush for keyboards, speaker grilles, and other surfaces where moisture is a risk. Keep the microfiber cloth dry for screens.
Behind and beneath appliances: Dust concentrates here. Pull refrigerators, washing machines, and large countertop appliances out periodically and sweep the area clean (Martha Stewart, January 2026).
Picture frames and lamp shades: Wipe frame tops first, that's where dust accumulates fastest, then the sides. Use a lint roller on fabric lamp shades; skip it on paper shades (Good Housekeeping UK, February 2024).
Vertical surfaces: Walls, door faces, and cabinet fronts collect dust too. Wipe them with a lightly damp cloth. Focusing only on horizontal surfaces means missing a significant portion of total dust buildup (The Spruce, December 2024).
Step 4: Finish with the floor vacuum before you mop
The floor is always last. Everything dislodged from ceiling to baseboards has settled here by the time you reach this step.
Vacuum before mopping. Going straight to a wet mop turns loose debris into muddy streaks (The Clean Home, January 2026). Use a vacuum with a HEPA filter; standard paper bag filters can allow disturbed allergens to escape back into the room air (University of Michigan Health, September 2023). The Asthma and Allergy Foundation of America notes that HEPA-certified vacuums are specifically tested to prevent allergens from recirculating into the air after capture (AAFA, August 2022).
If mopping after vacuuming, start from the corner farthest from the door and work backward toward the exit so you don't walk across what you've already cleaned (The Clean Home, January 2026).
Quick sequence checklist:
Ceiling corners → light fixtures → ceiling fans
Tops of tall furniture and cabinets
Door frames → window frames → window sills
Shelves (clear items, wipe surface, replace items)
Eye-level furniture surfaces
Blinds → lamp shades → picture frames
Vertical surfaces: walls, door faces, cabinet fronts
Baseboards and low cabinet fronts
Vacuum floors
Mop if needed
How to keep dust from coming back too fast
Technique matters. So does frequency.
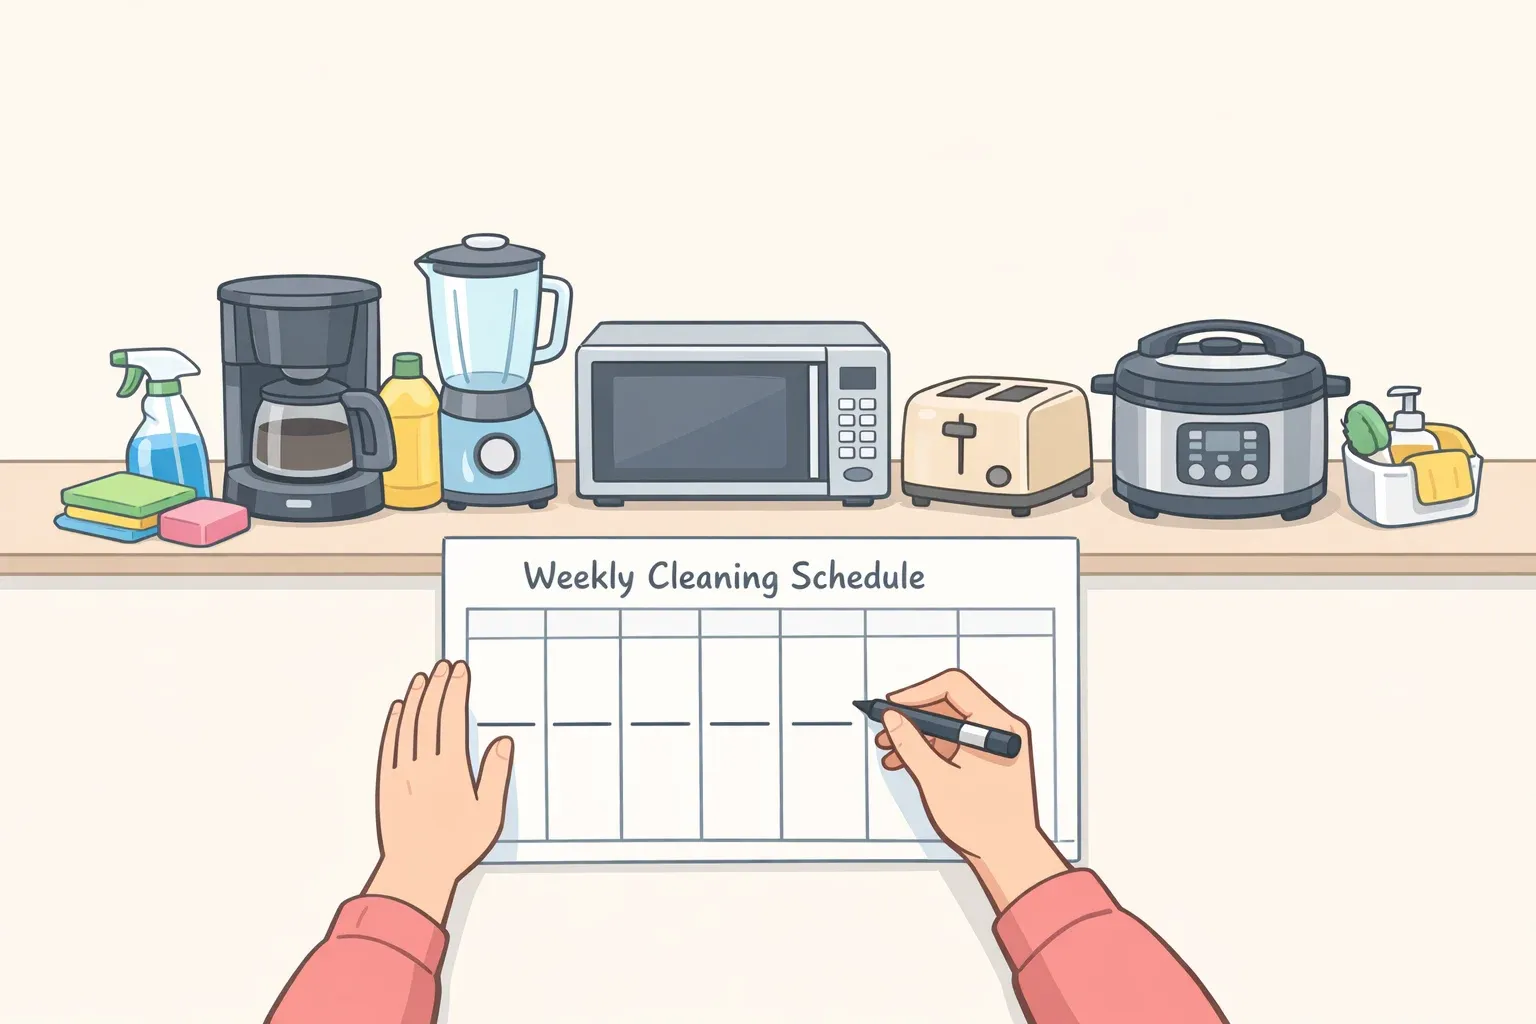
Weekly: Dust exposed surfaces tables, shelves, windowsills and vacuum carpets. Surfaces that get regular airflow accumulate dust faster and need more frequent attention (Bob Vila, April 2022).
Monthly: Go deeper on light fixtures, blinds, and other harder-to-reach surfaces. Wash bedding weekly; it's one of the leading dust sources in any home, and washing at a hot temperature kills dust mites (AAFA, August 2022; Martha Stewart, January 2026).
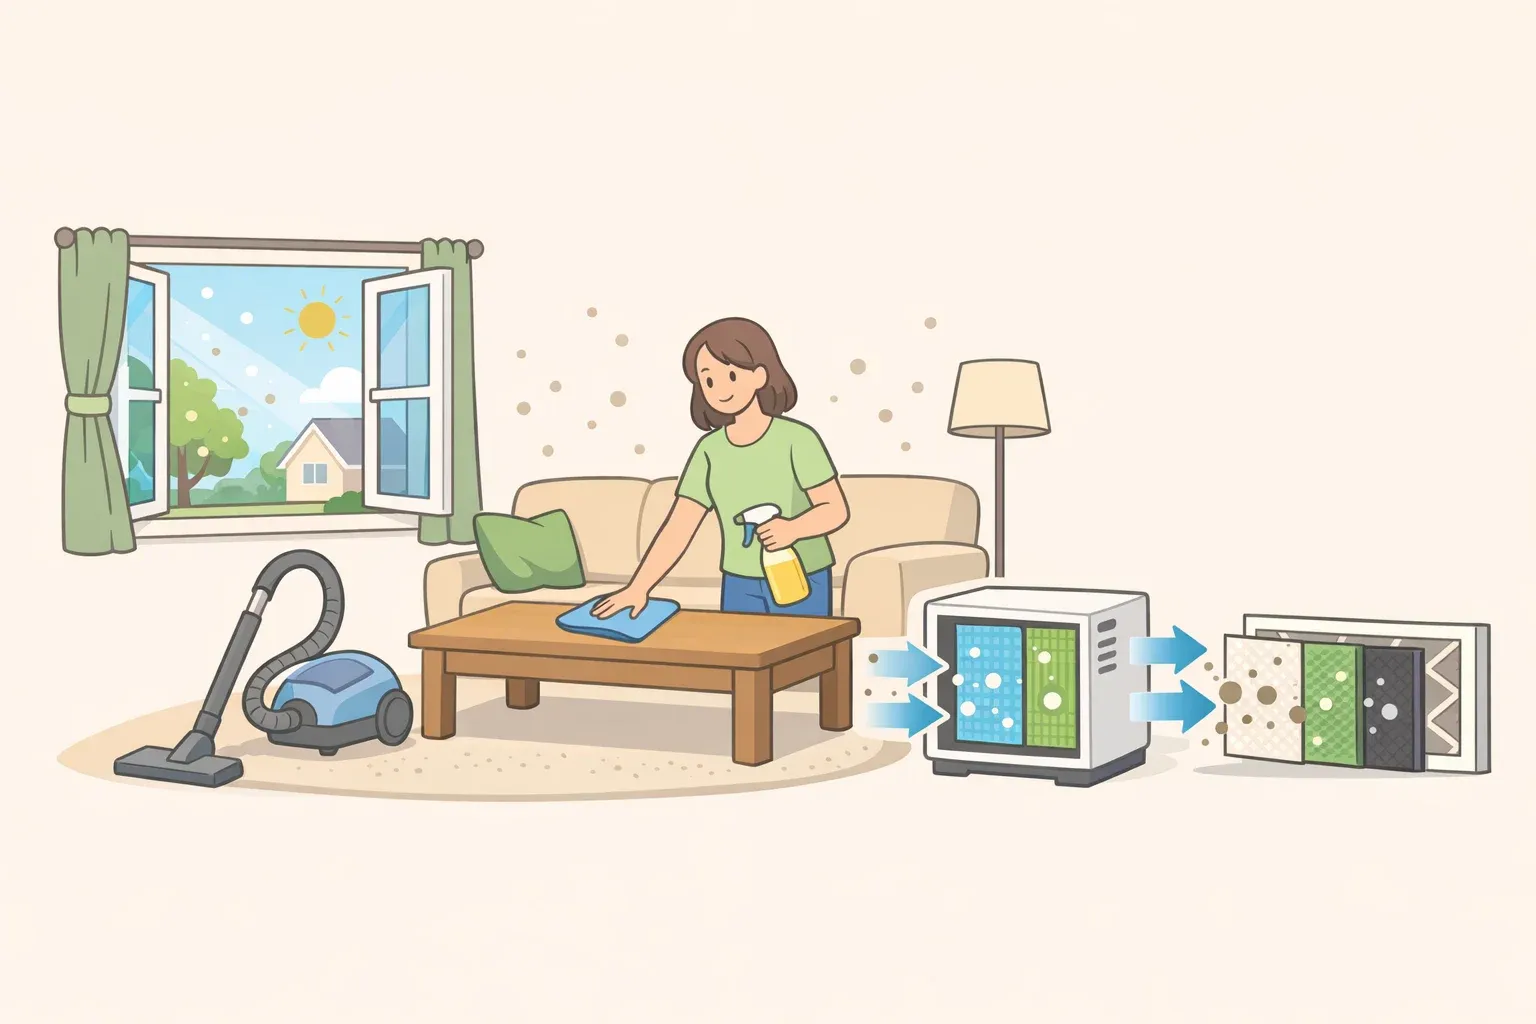
Every 90 days: Replace HVAC filters. Clogged filters recirculate dust back through registers into every room. In homes with pets or allergy sufferers, change them every two months (Good Housekeeping, November 2025). For allergy sufferers specifically, allergen-resistant mattress and pillow encasements outperform air cleaners at reducing symptoms, according to the AAFA (August 2022).
Every 3 to 6 months: Move and clean behind large furniture and appliances. This is a distinct task from routine dusting skipping it for a year means persistent heavy buildup in corners and under furniture (Good Housekeeping, November 2025).
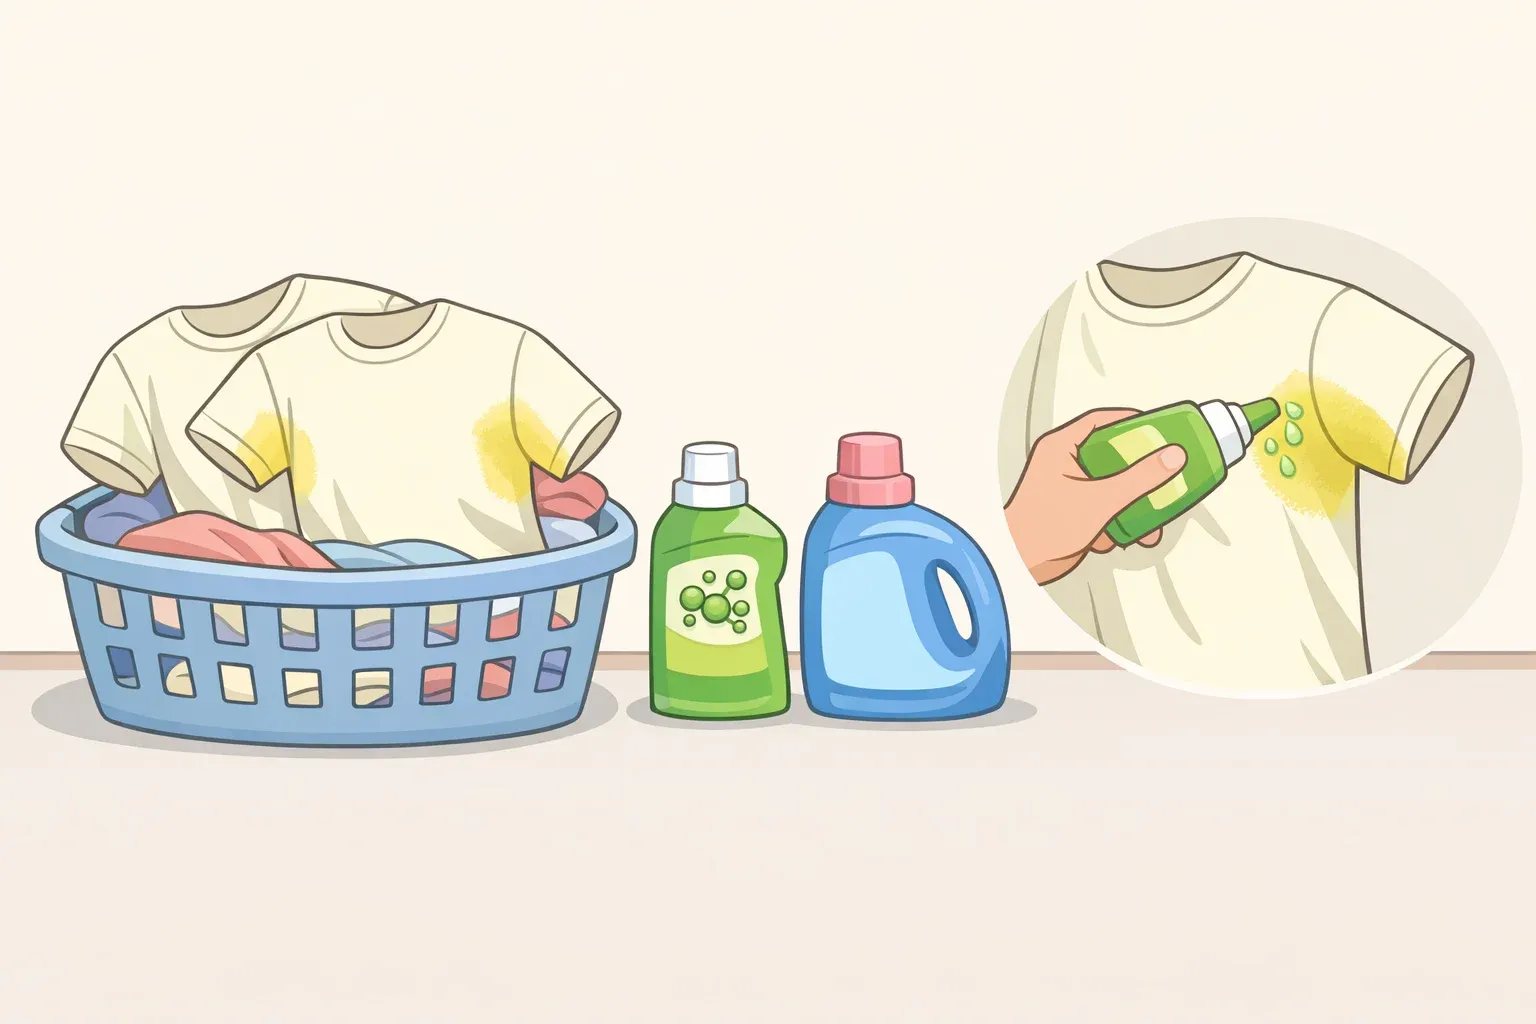
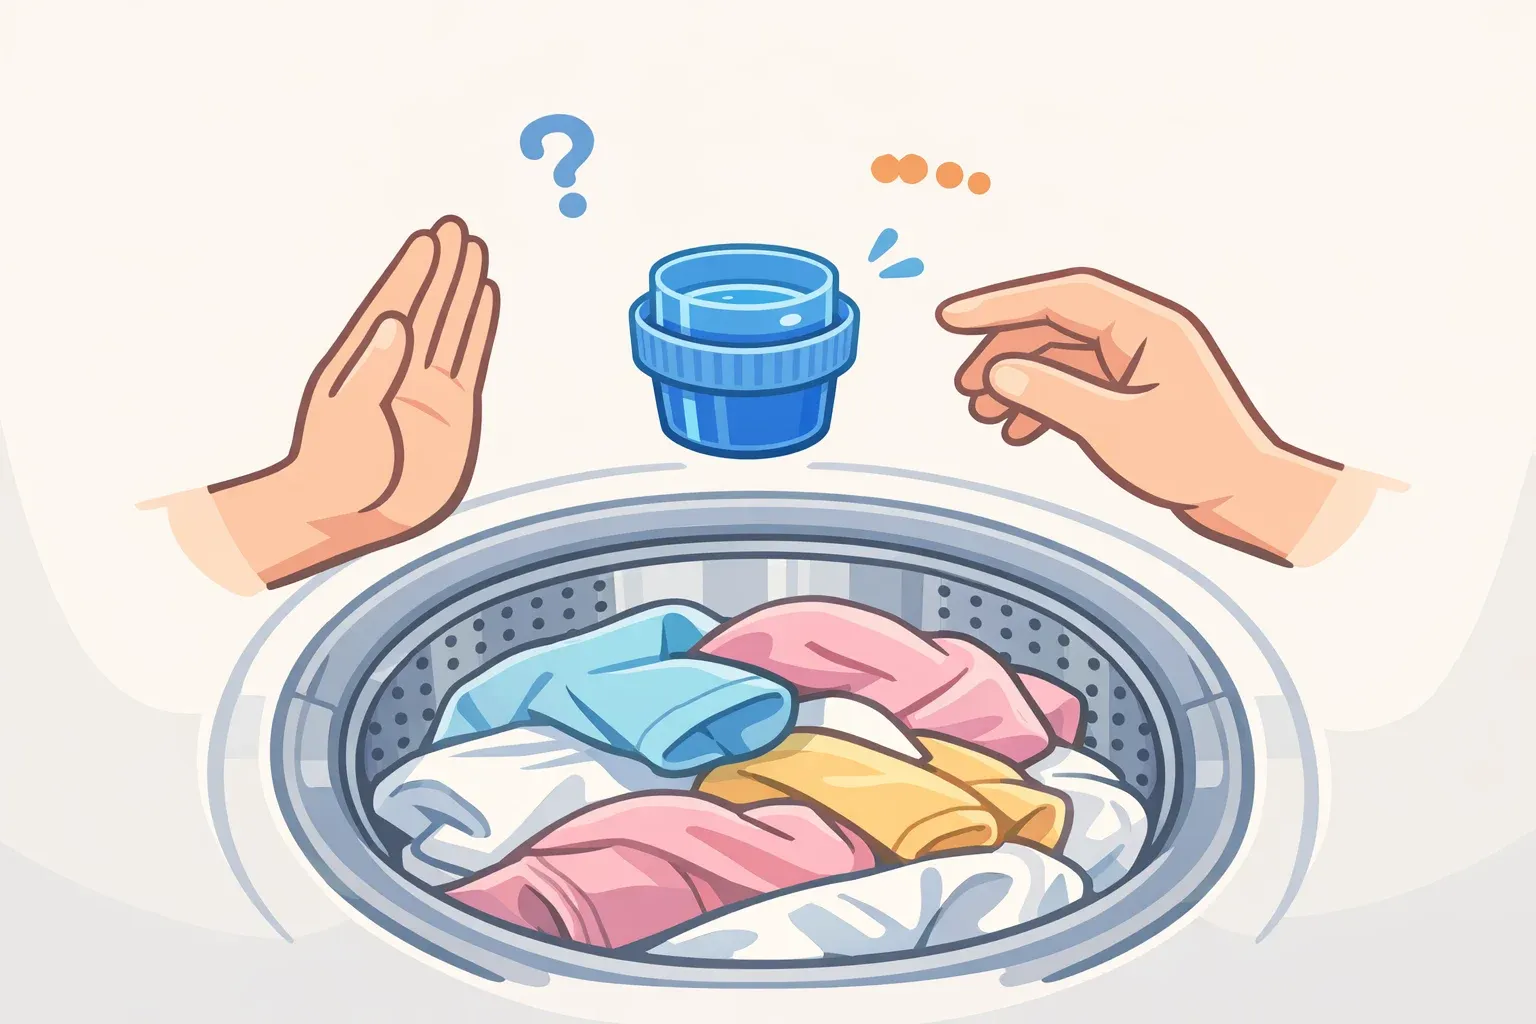
When laundering microfiber cloths: skip the fabric softener. It coats the fibers and reduces their ability to attract and hold dust particles (Bob Vila, April 2022).
If dust returns faster than expected between sessions, the cause is usually structural rather than technique: leaky windows and doors admitting outdoor particulates, dirty HVAC filters recirculating dust, pets, or clutter blocking airflow and trapping particles in dense zones (Good Housekeeping, November 2025). Checking window and door seals is the right first diagnostic step.
The broader payoff of getting this right is worth stating plainly. Dust a room in sequence, top to bottom, with a tool that traps instead of scatters, and you stop repeating work. Air quality improves. Surfaces stay cleaner longer. After a few rounds the routine gets faster, not because the job changes but because the method stops working against itself.


Comments
Be the first, drop a comment!